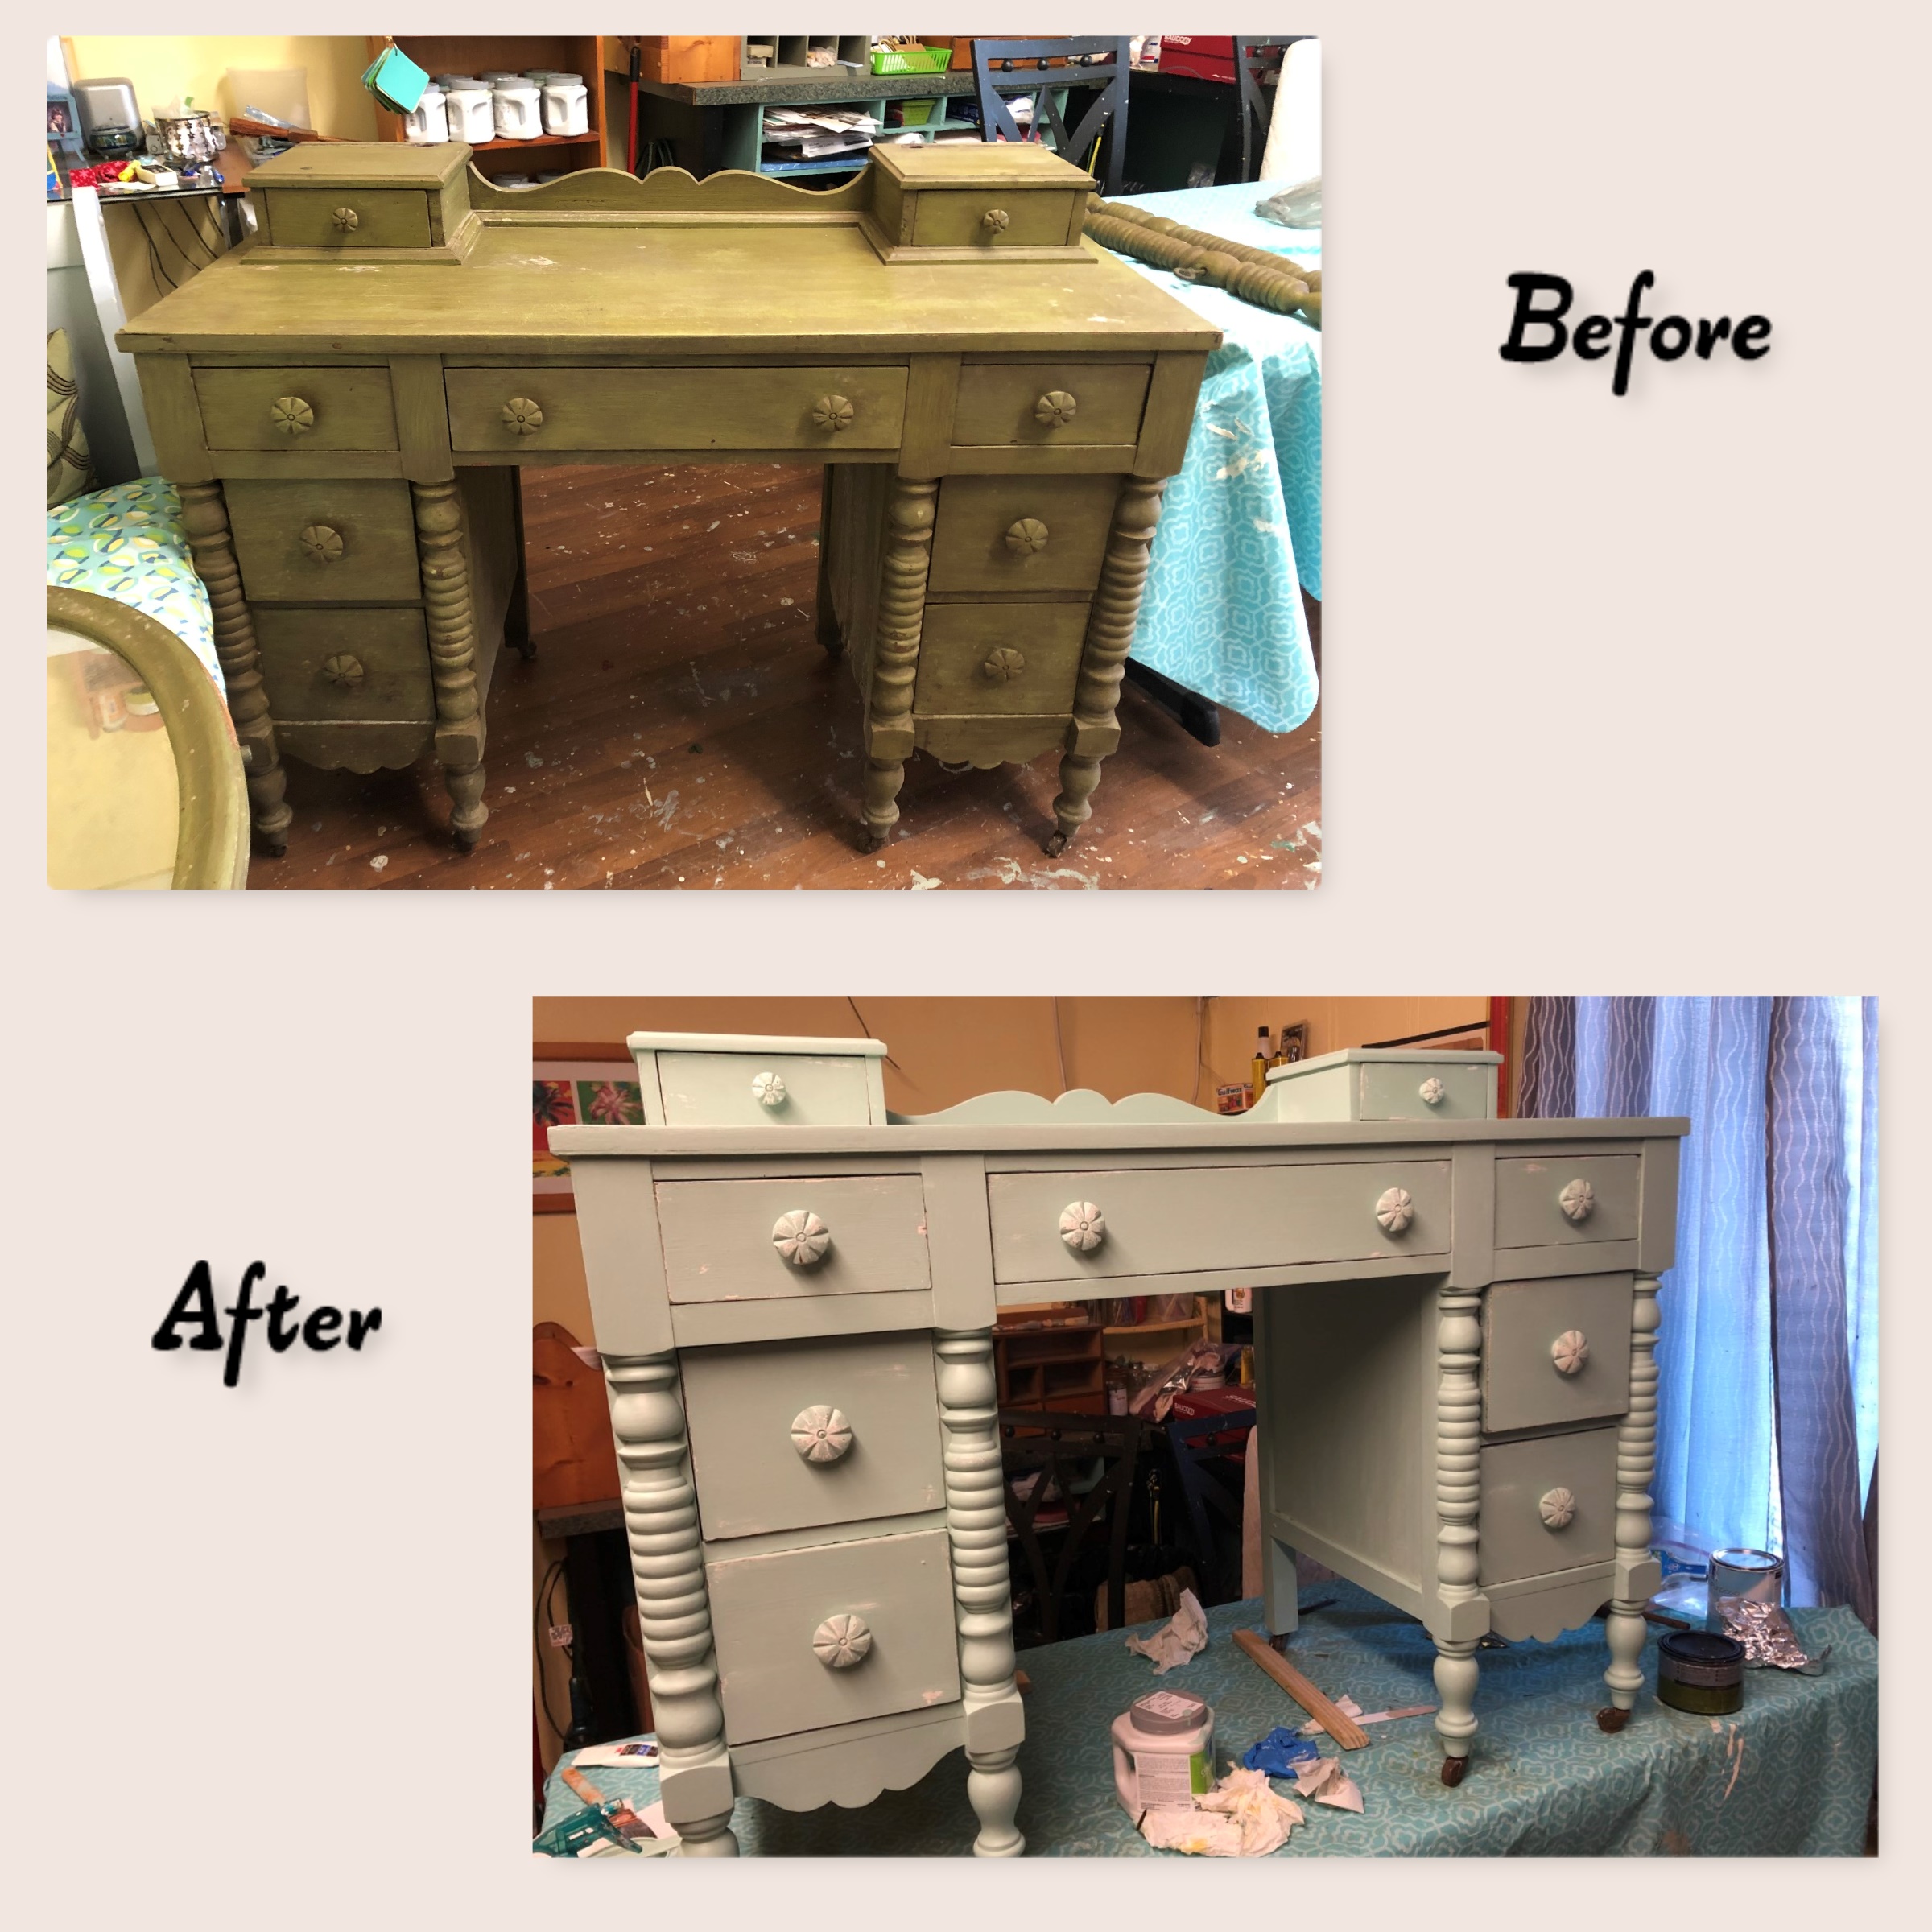
A long time friend of mine asked me if I would like to take on the job of redoing a dresserthat was hers, when shewas a little girl, for her granddaughter. I don’t tackle big pieces of furniture too much these days but how could I pass up transforming this wonderful, solid piece of furniture; especially for a friend and her family.
The history of the dresser: My friend’s parents got this dresser the year they were married in 1939. She remembers growing up with this dresser in her room. Her fondest memory is of mornings sitting on the vanity stool while her mother fixed her hair into a ponytail. She will put a framed picture of her on the dresser for her granddaughter to preserve this special memory.
The dresser was pulled out of a storage shed where it had been for 20 yearsawaiting its revival. It needed to be fixed in some areas but overall in good shape for an 82 year old piece of furniture.
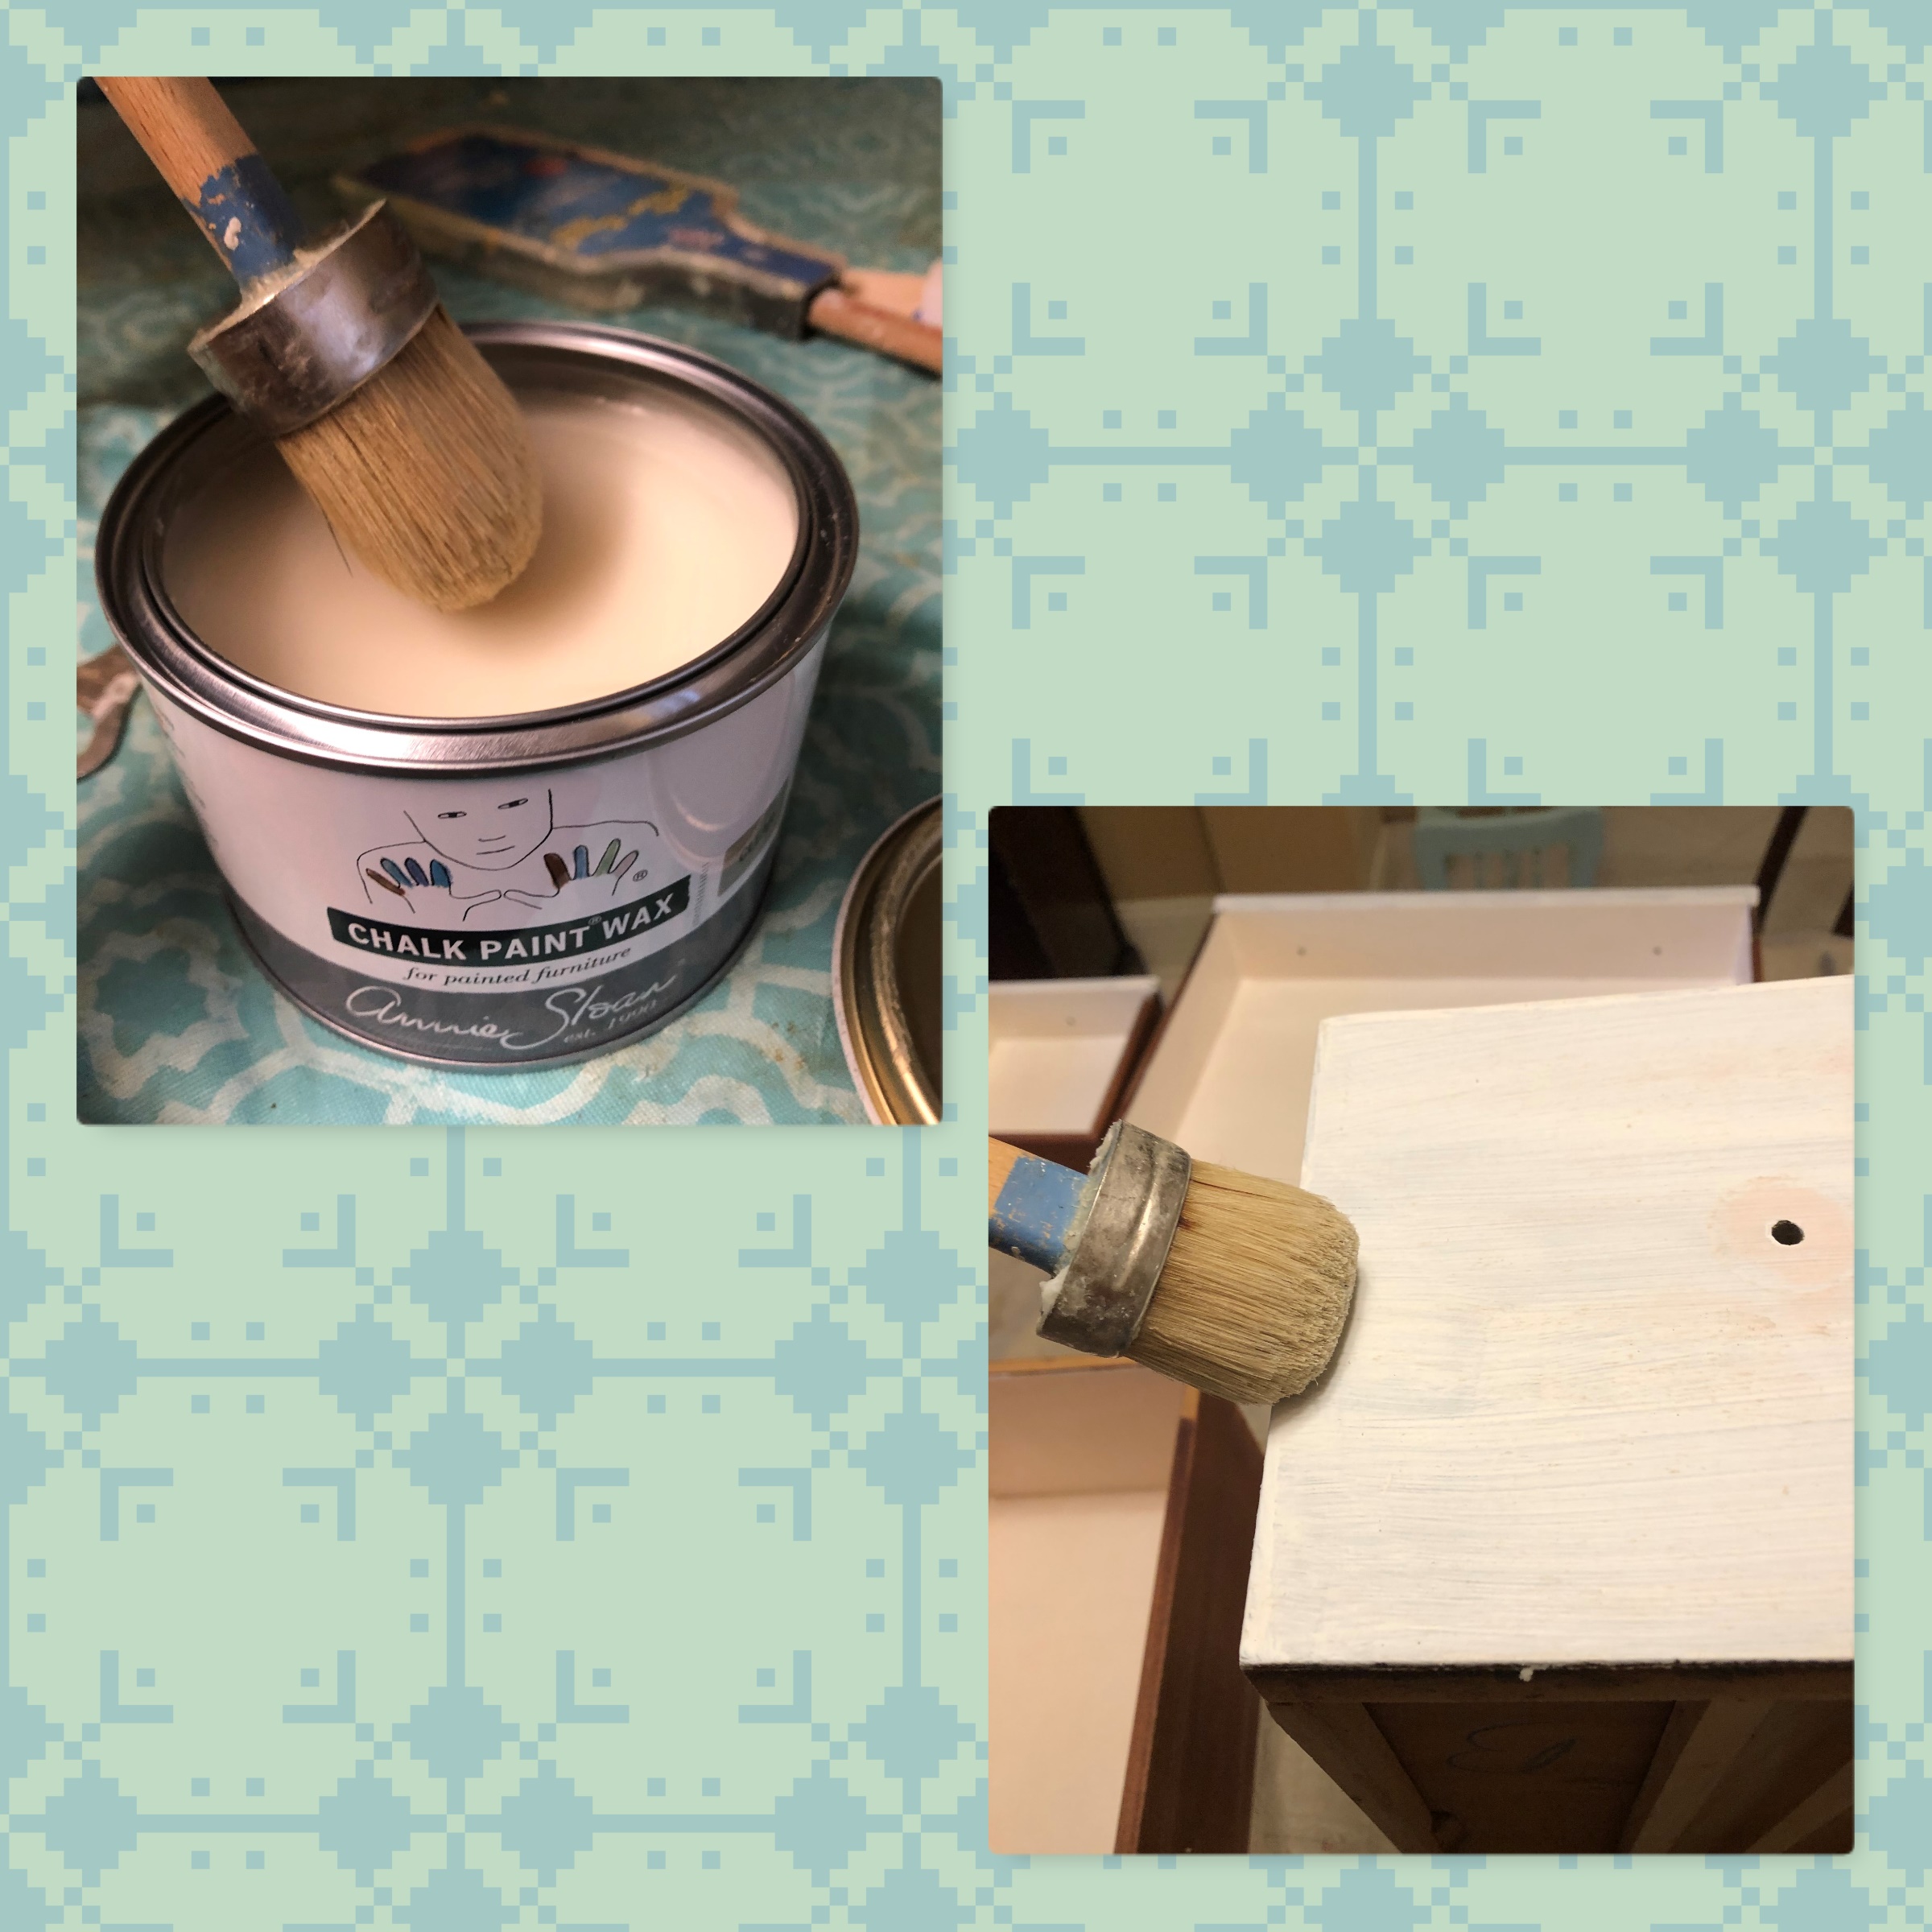
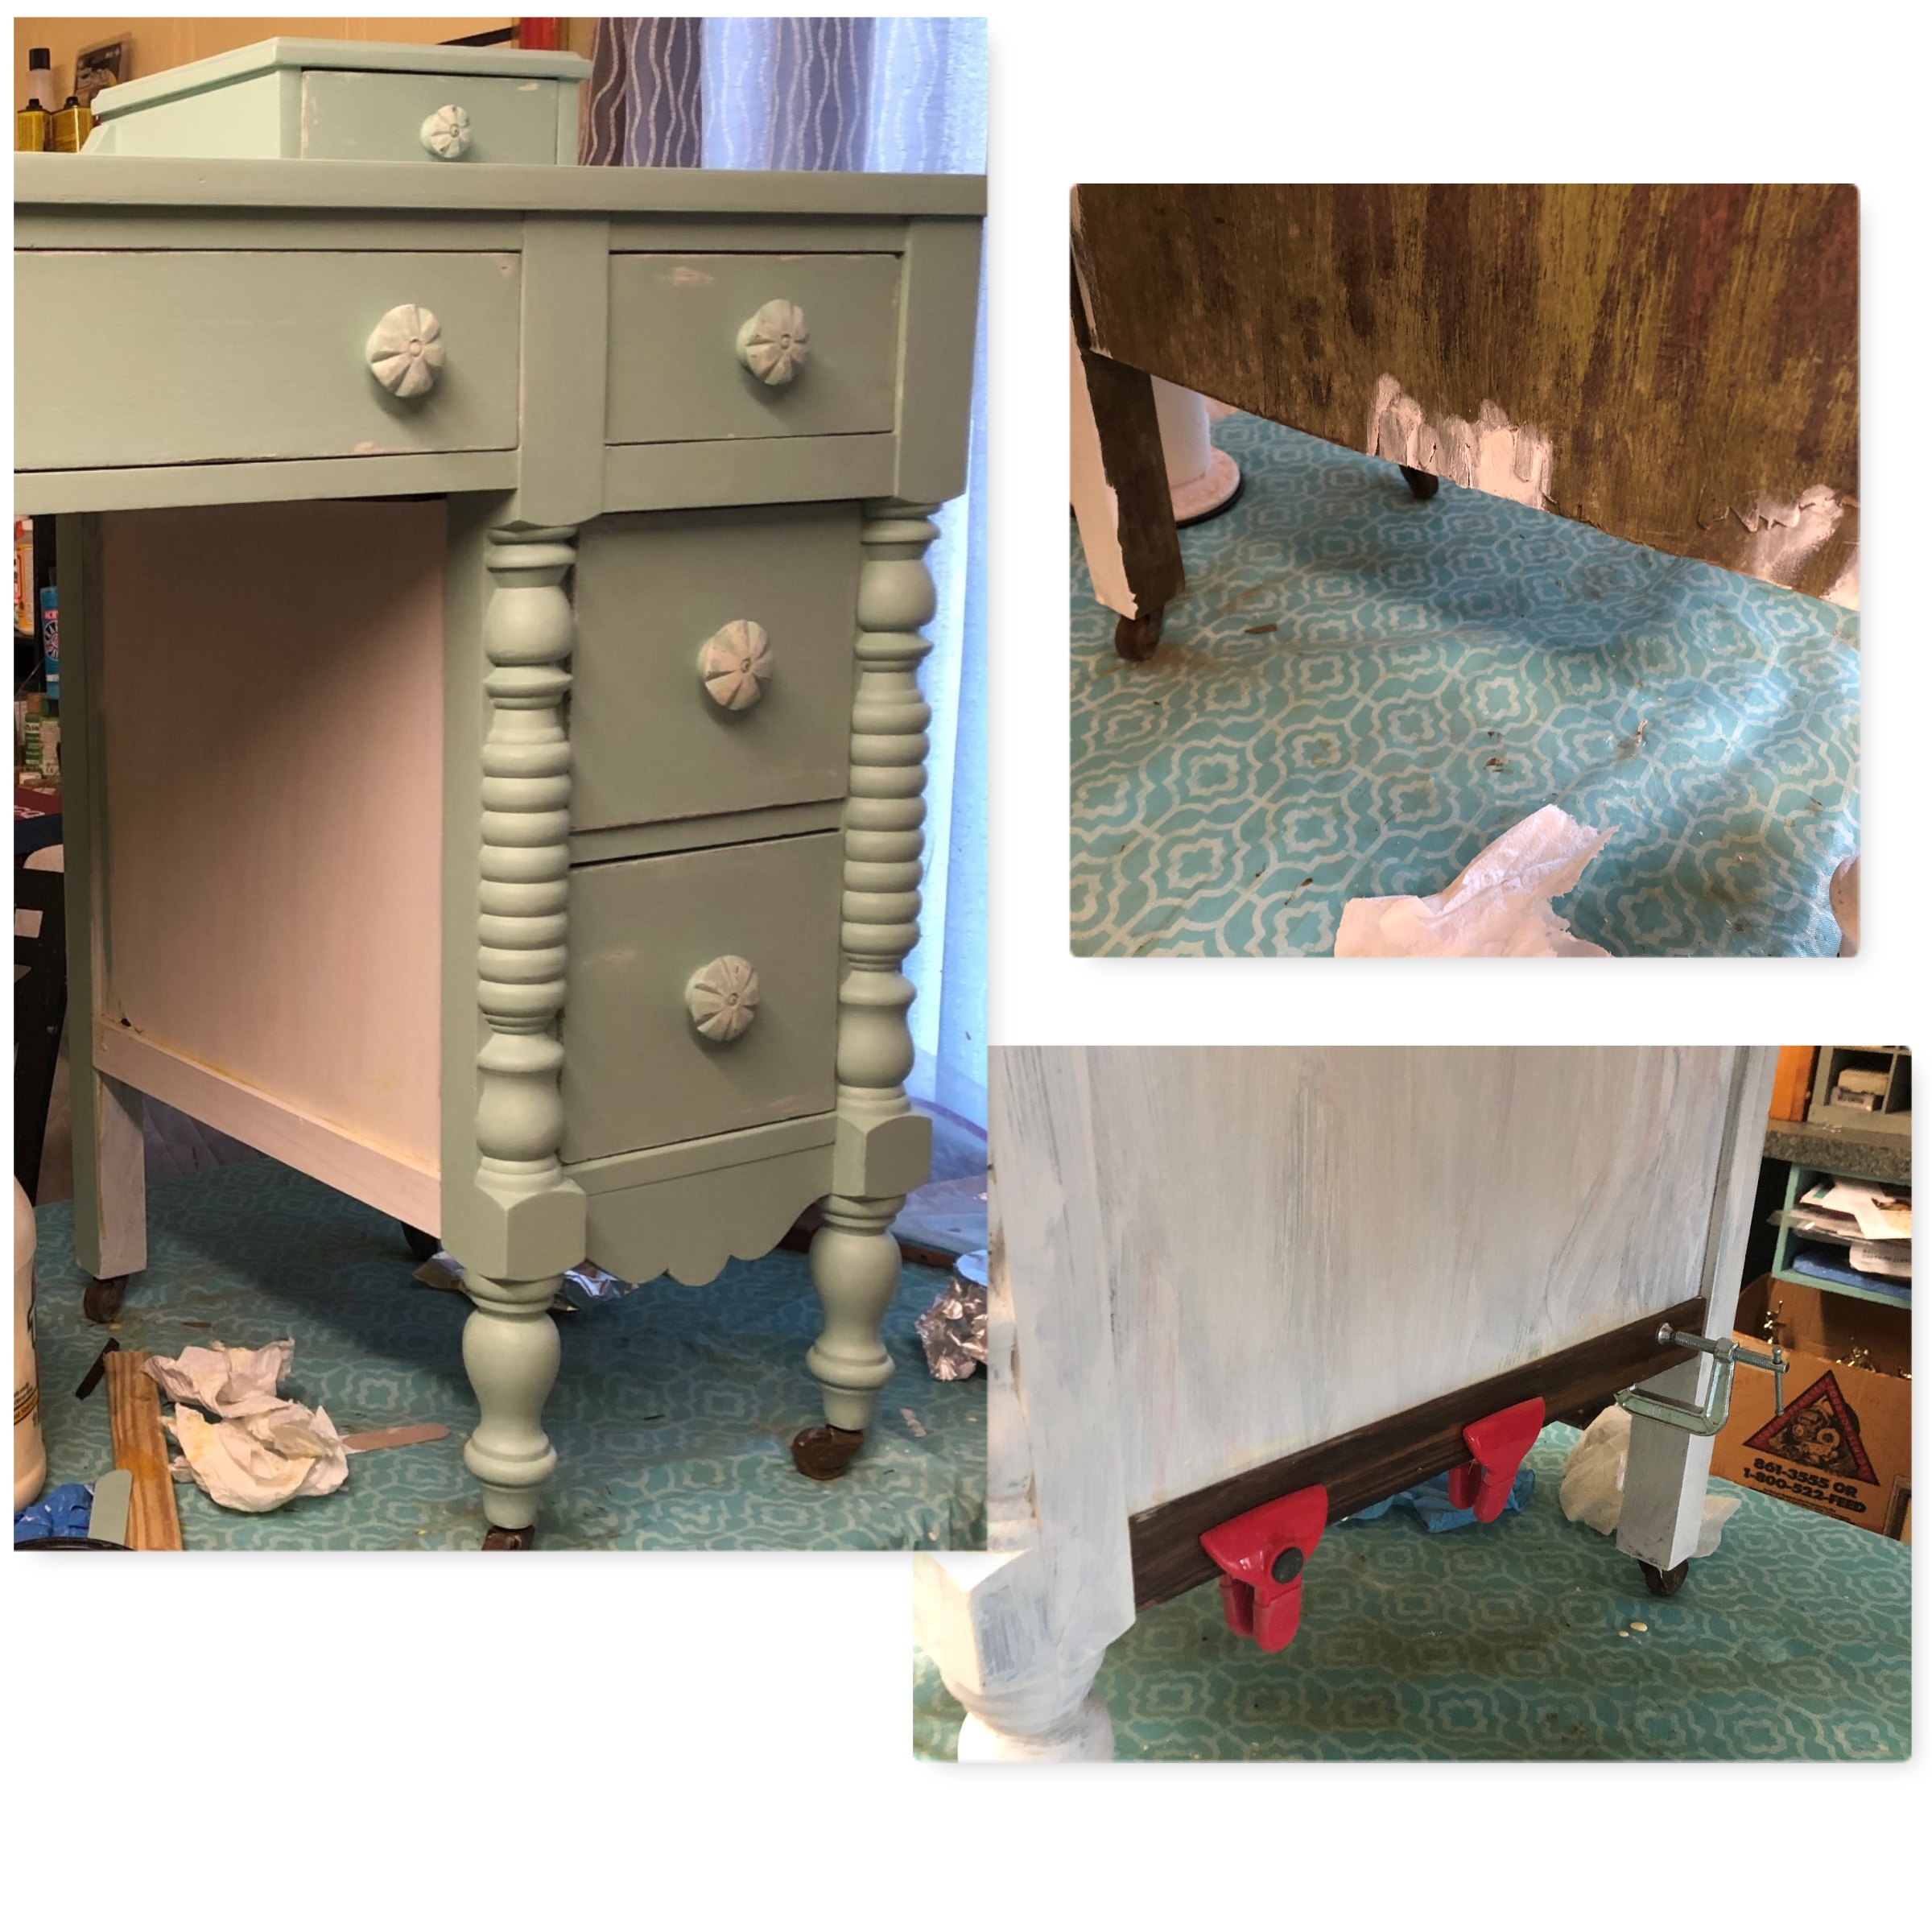
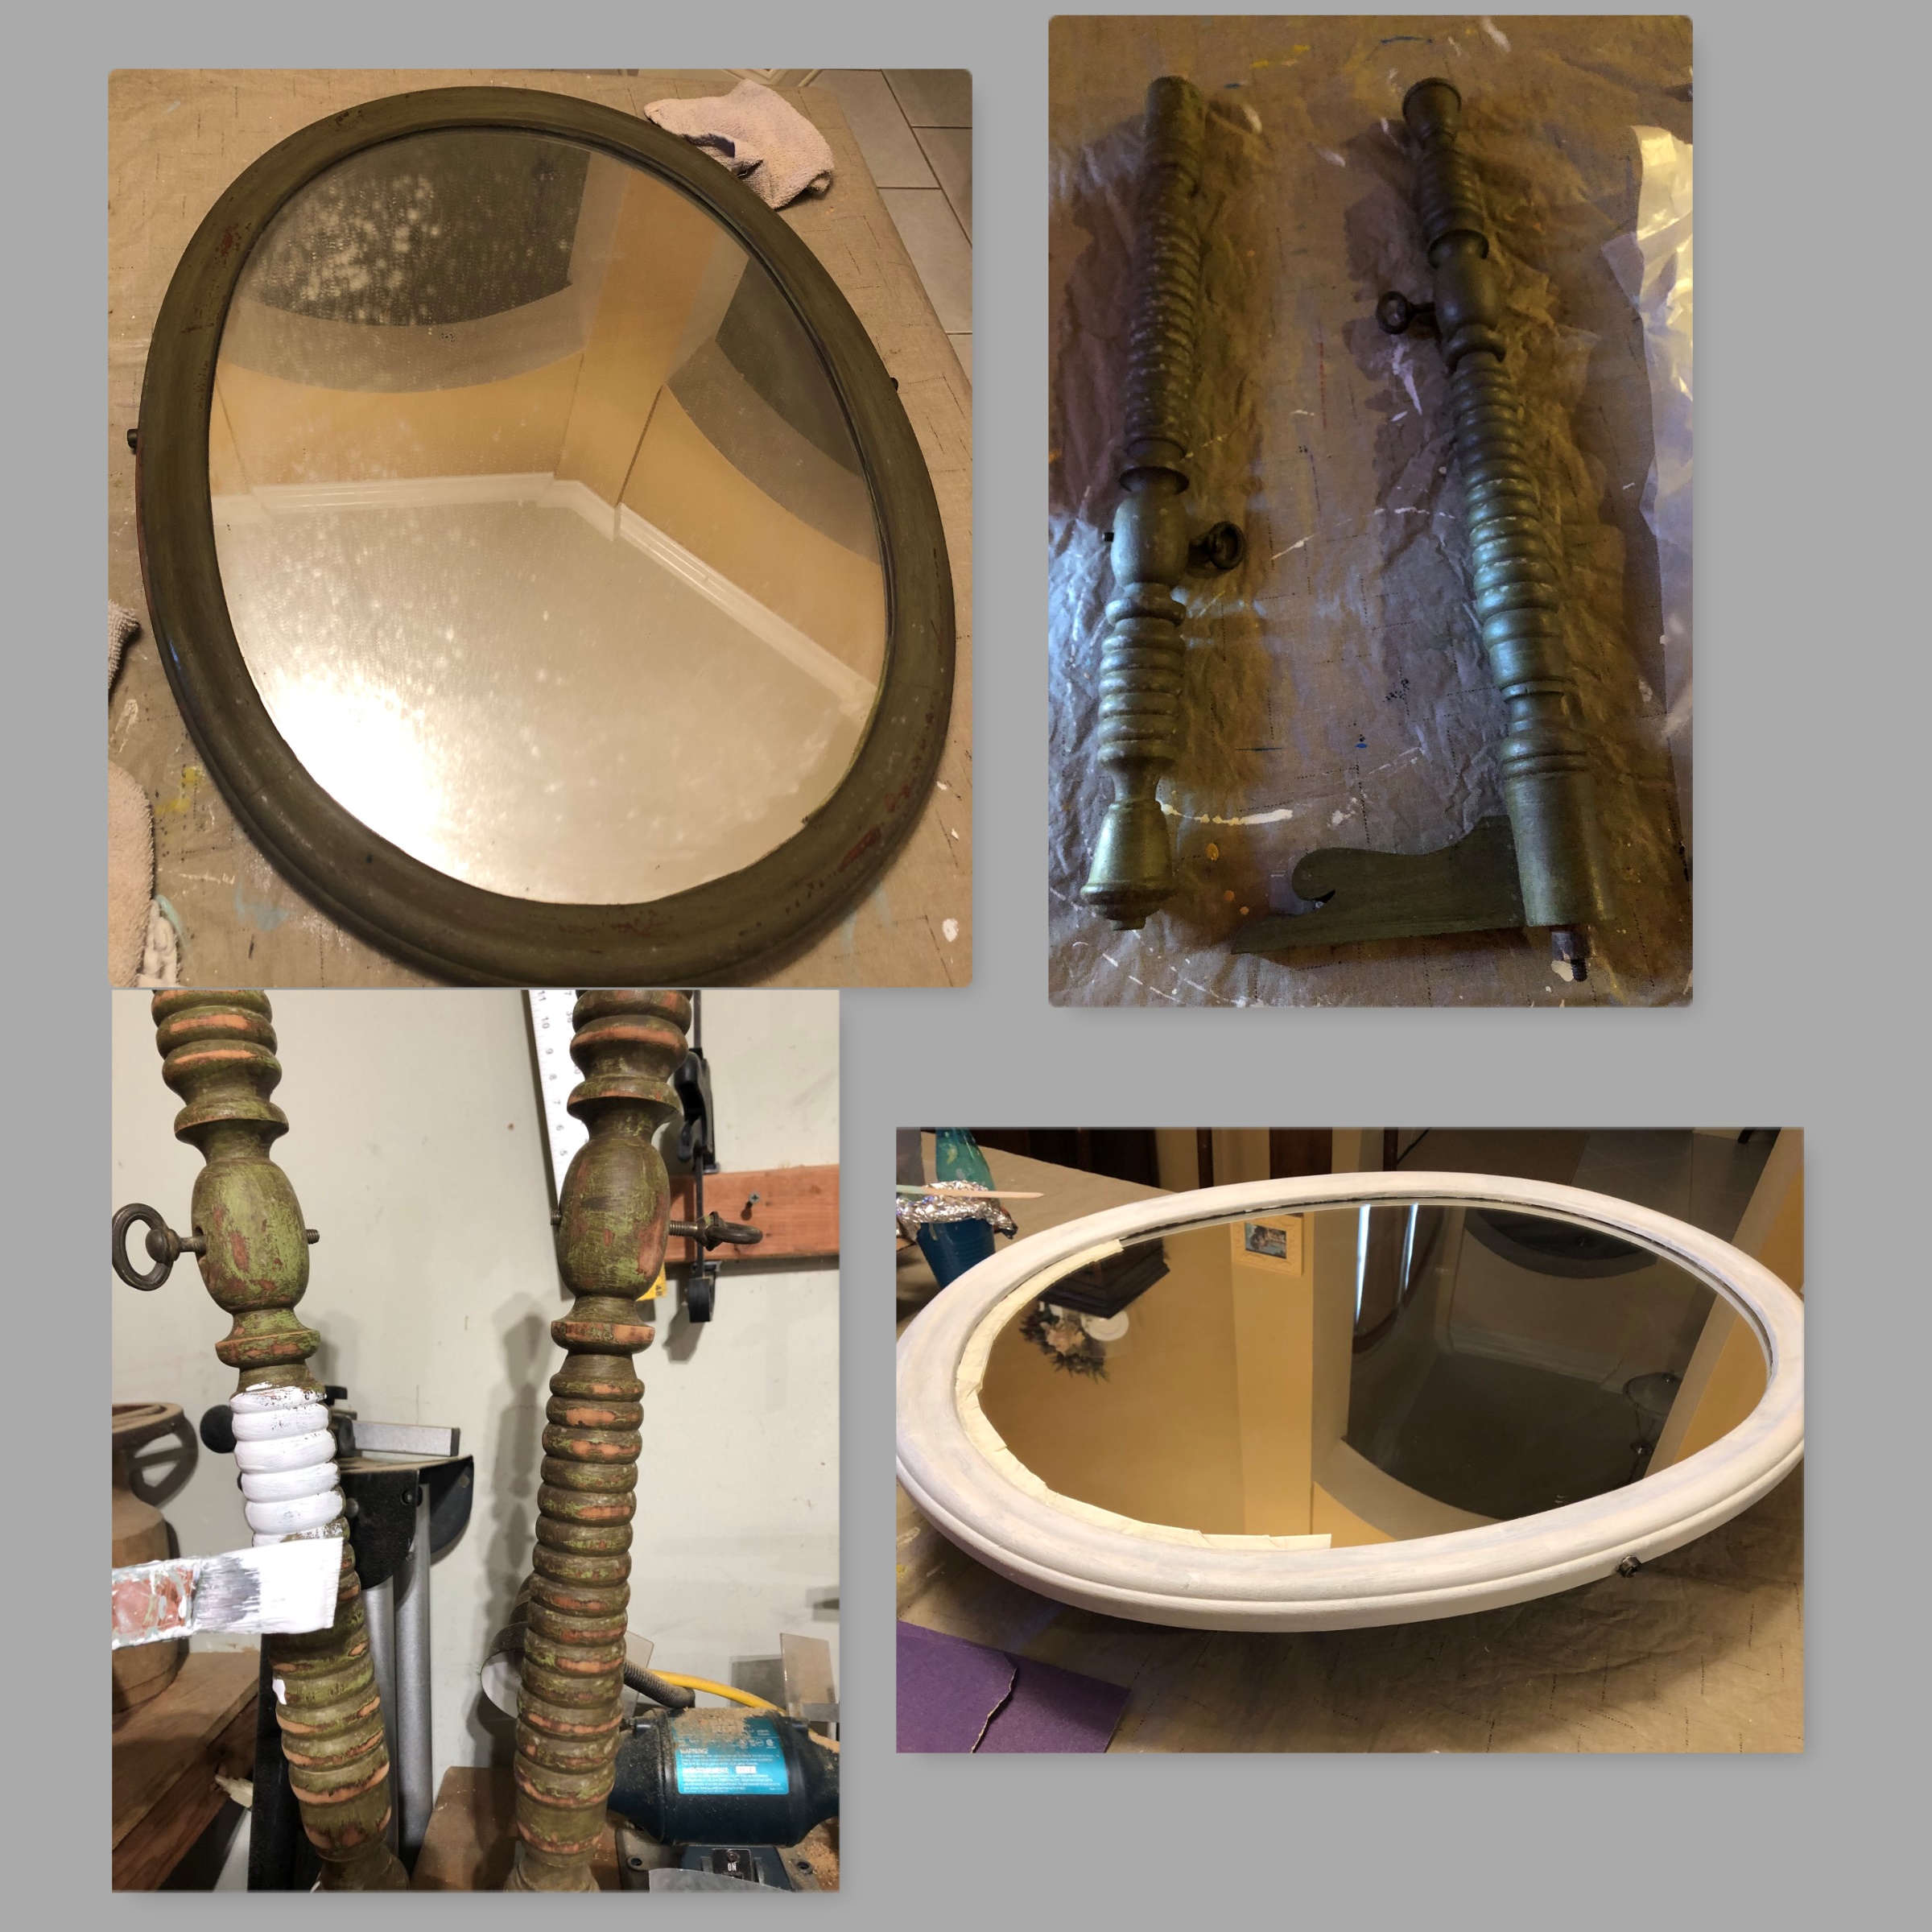
The first part I did was the drawers and knobs since I could do this part at home on my dining room table. Everything had to be cleaned and sanded to get off some of the antiquing and residue from being in storage. We didn’t want the green color to show through so I decided the best thing to do was put on a white primer for the 1st coat.The choice for the top color was Hazel 6471 – Sherwin Williams. I made my own chalk paint using this color. I’m so glad the original knobs were all in great shape and love the way they came out when distressed. (I’ll explain later on how I got mostly white to show through when I distressed)The top picture shows how we had to glue some of the veneer on the drawer facing that was coming loose. The bottom pics show the painting of the inside of the drawers to make them fresh for a little girls room. This ended up being one of the biggest challenges. The stain from the wood leaked through even though I used primer and many coats of white chalk paint. Then I had some issues with varnish yellowing so had to repaint them again. With so many drawers you can imagine how I wasn’t happy with this situation but I kept on trying till I got it right.Finally got the drawers nice and white.Next I redid the vanity stool which was original to the dresser. My friend did the upholstery for the seat and picked a beautiful fabric. (see final pic at end of post)This shows some of the process of the cleaning, sanding, and painting. Love the details and grooves on this dresser!I did not sand down completely to the original wood as you can see. I wanted to make it smooth for painting and get the antiquing off as much as I could. I had to vacuum the dust as I did it and I doubled up on the face mask to keep from breathing in the residue. After painting the furniture in primer, the next day I put a thin coat of Annie Sloan clear wax on the parts I wanted to distress ( edges, curves, etc.)This enables the white to show through after you put the top coat on and you lightly distress.It’s ok if a little of the original wood comes through but for the most part we wanted it to be light colors for a girl’s room, not dark and too distressed. The lower part of the inside area where the stool would go had some chipped and rough areas that needed to be fixed. My husband who is very good at fixing furniture areas, glued a strip of wood across that part on both sides. The last part I worked on was the mirror. I was thinking it might have bad spots like most mirrors of this age do. Surprisingly with a good cleaning it was nearly perfect!My handy husband clamped the posts that hold up the mirroron his vice so that I could paint them.He always comes up with great ideas. The last step was to put a few coats of varnish on the top of the vanity dresser with General Finishes High Performance satin. All the other parts were waxed with Annie Sloan clear wax. I was so happy to get it done and bring back to life a piece of history to a precious family.Here it is in its new home – just right for a special little 4 year old girl to spend many years at just like her grandma!