This china cabinet has been in my shop for a few years now. We really needed to use this area for extra seating for the restaurant so I was glad when a friend called up and was interested in it for her mother who lost her china cabinet in the recent flood. I should have painted it a long time ago – I think it would have sold much sooner. It was my first large china cabinet makeover and it was hard to stop once I got into it. I basically did the whole piece in one day with the exception of the added decorative piece on the drawer.
The first step was to take off all of the hardware and the bottom cabinet doors and to take out the 2 long drawers. My husband lifted the top part of the cabinet off and put on a table so it would be easier to reach and paint.
 My friend and I were texting back and forth all day trying to make decisions about the project. Her mother wanted it painted Duck Egg Blue which is comparable to Sherwin William’s Halcyon Green color and one of my favorite colors too. We came up with gray for the inside of the upper cabinet and the drawers. I chose Sherwin William’s Morning Fog which complimented the Halcyon Green color and I figured her white china would show up well with this background color.
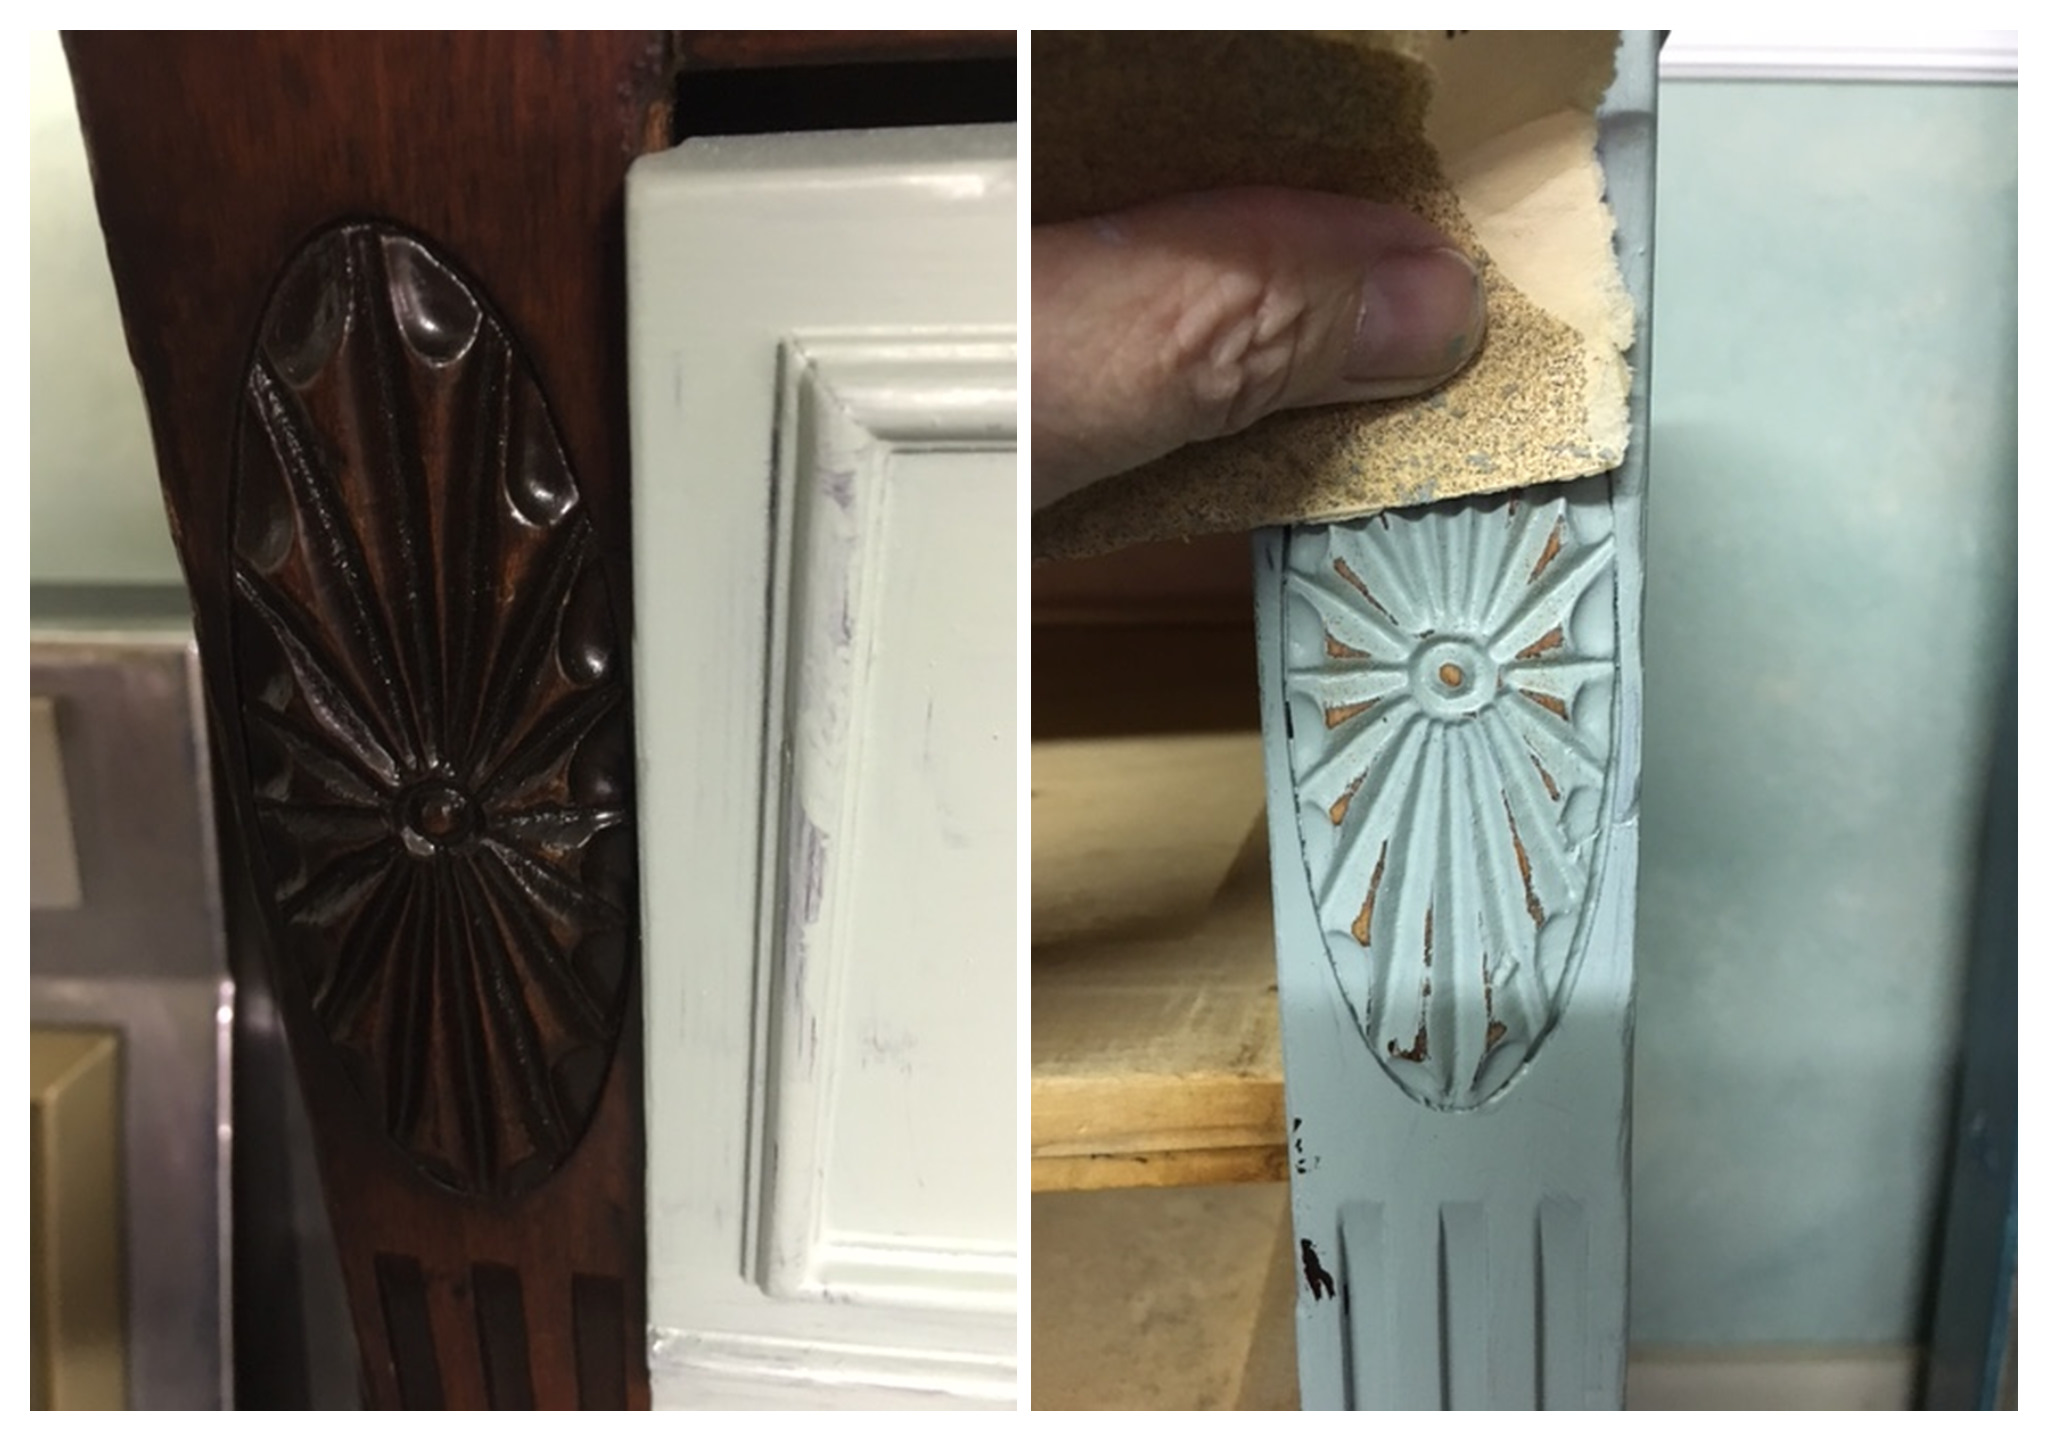
 I didn’t even notice this beautiful flower carving on each side of the cabinet until right before I painted it. It really stands out after it was painted and distressed. My friend had asked if I could add some decorative pieces to it and I sent her this picture to show that it had some already on it.


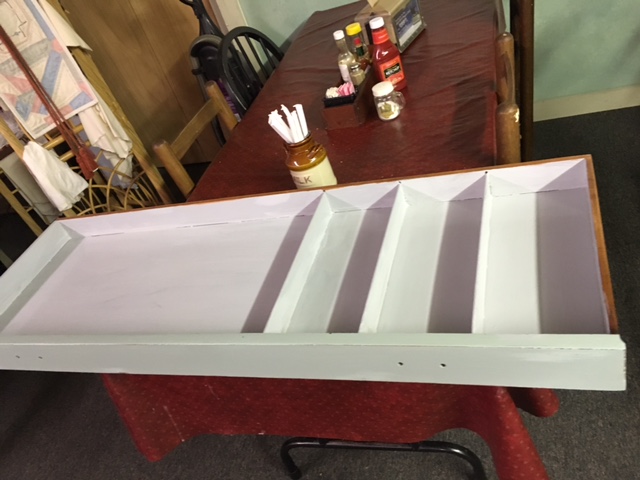
I took out the old felt lining and replaced it with some new gray felt. My husband had to make a new piece under one of the drawers for it to slide in and out on.
 I felt like it needed one more decorative piece on the long drawer that only had two handles. I found this one at Michaels Craft store and it was already painted gray. All I had to do was add a few touches of metallic rub to tie it in with the handles on the drawers. I glued it on with cement glue.


A close up of the finished cabinet with the decorative piece added.
To complete the project I put Cee Cee Caldwell’s clear wax on the entire piece and then put the original hardware back on. I can’t wait to see a picture of it in it’s new home. It was such a great stress relief for me to work on this project and I sure hope it will bring some joy in a difficult situation that she has been in with losing her home and belongings in the flood.


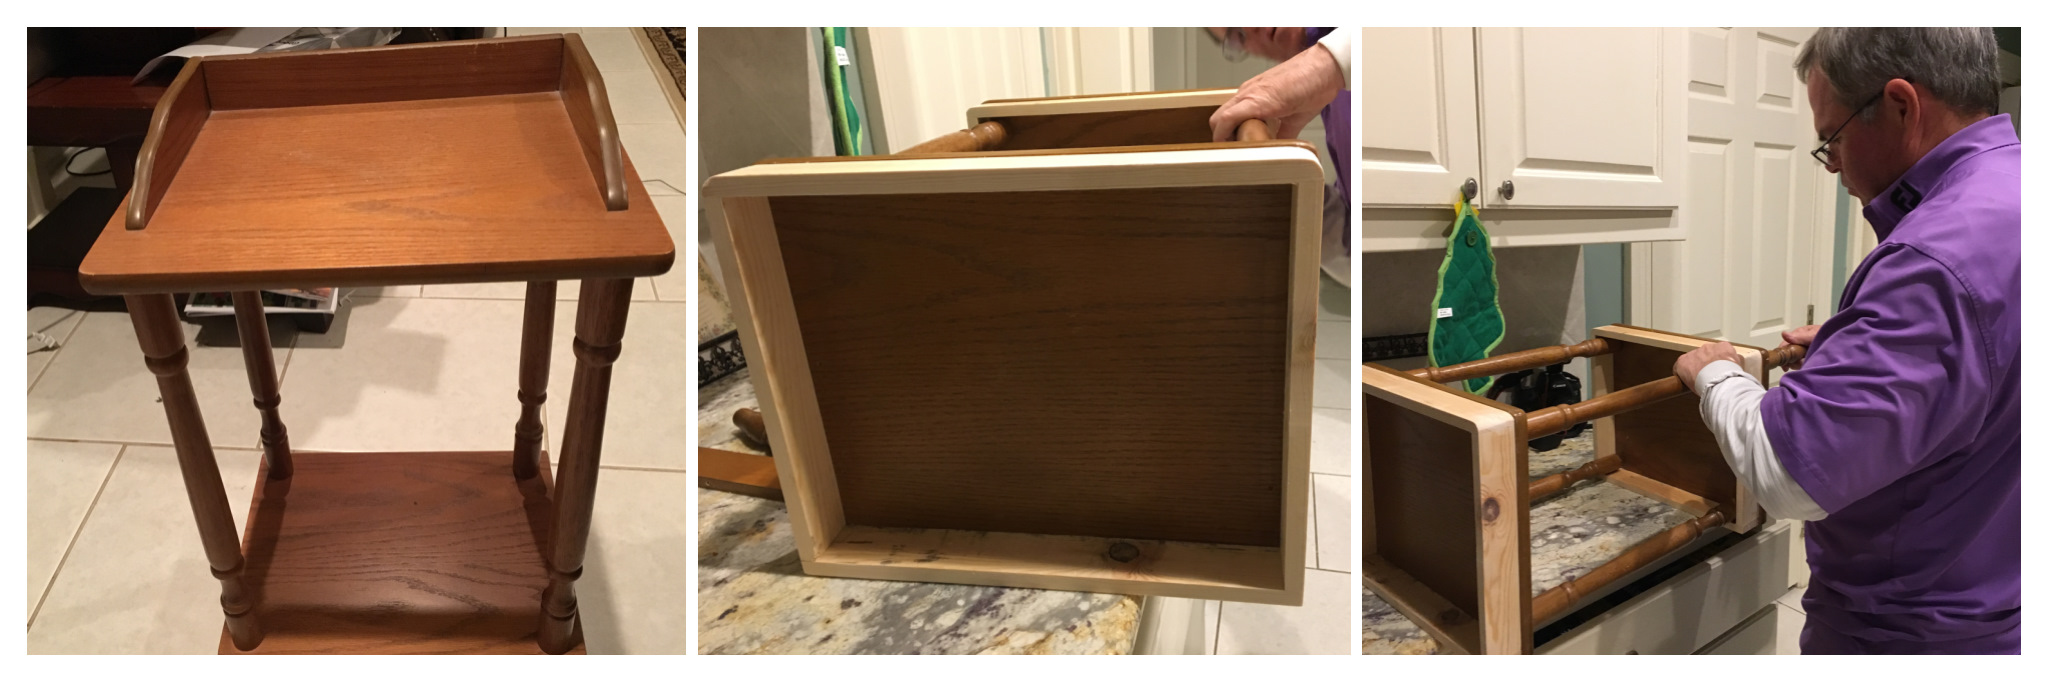
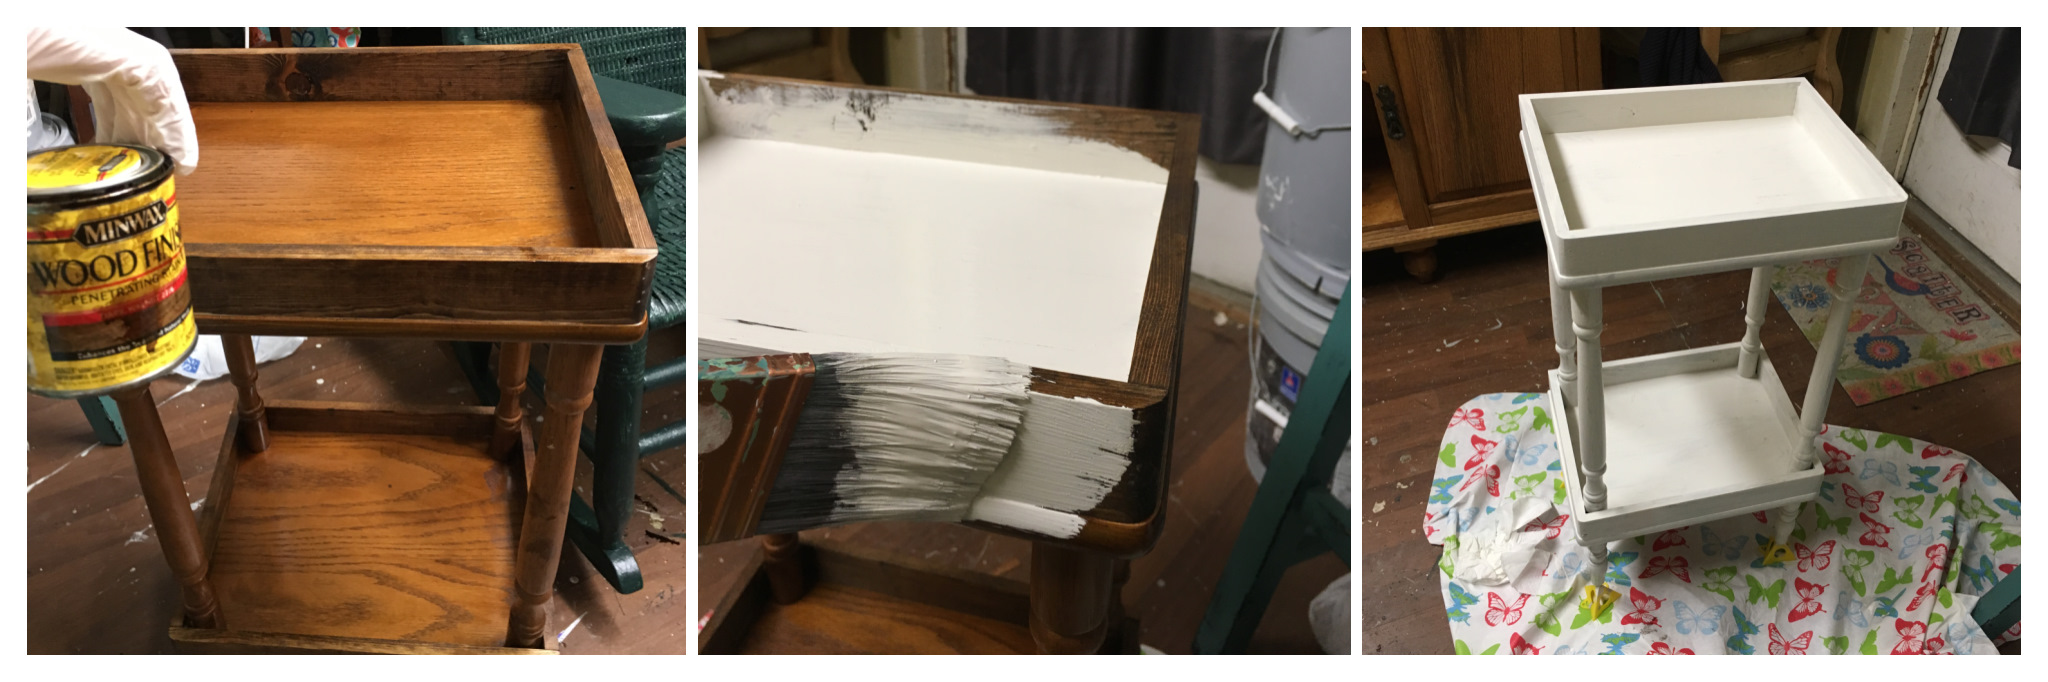
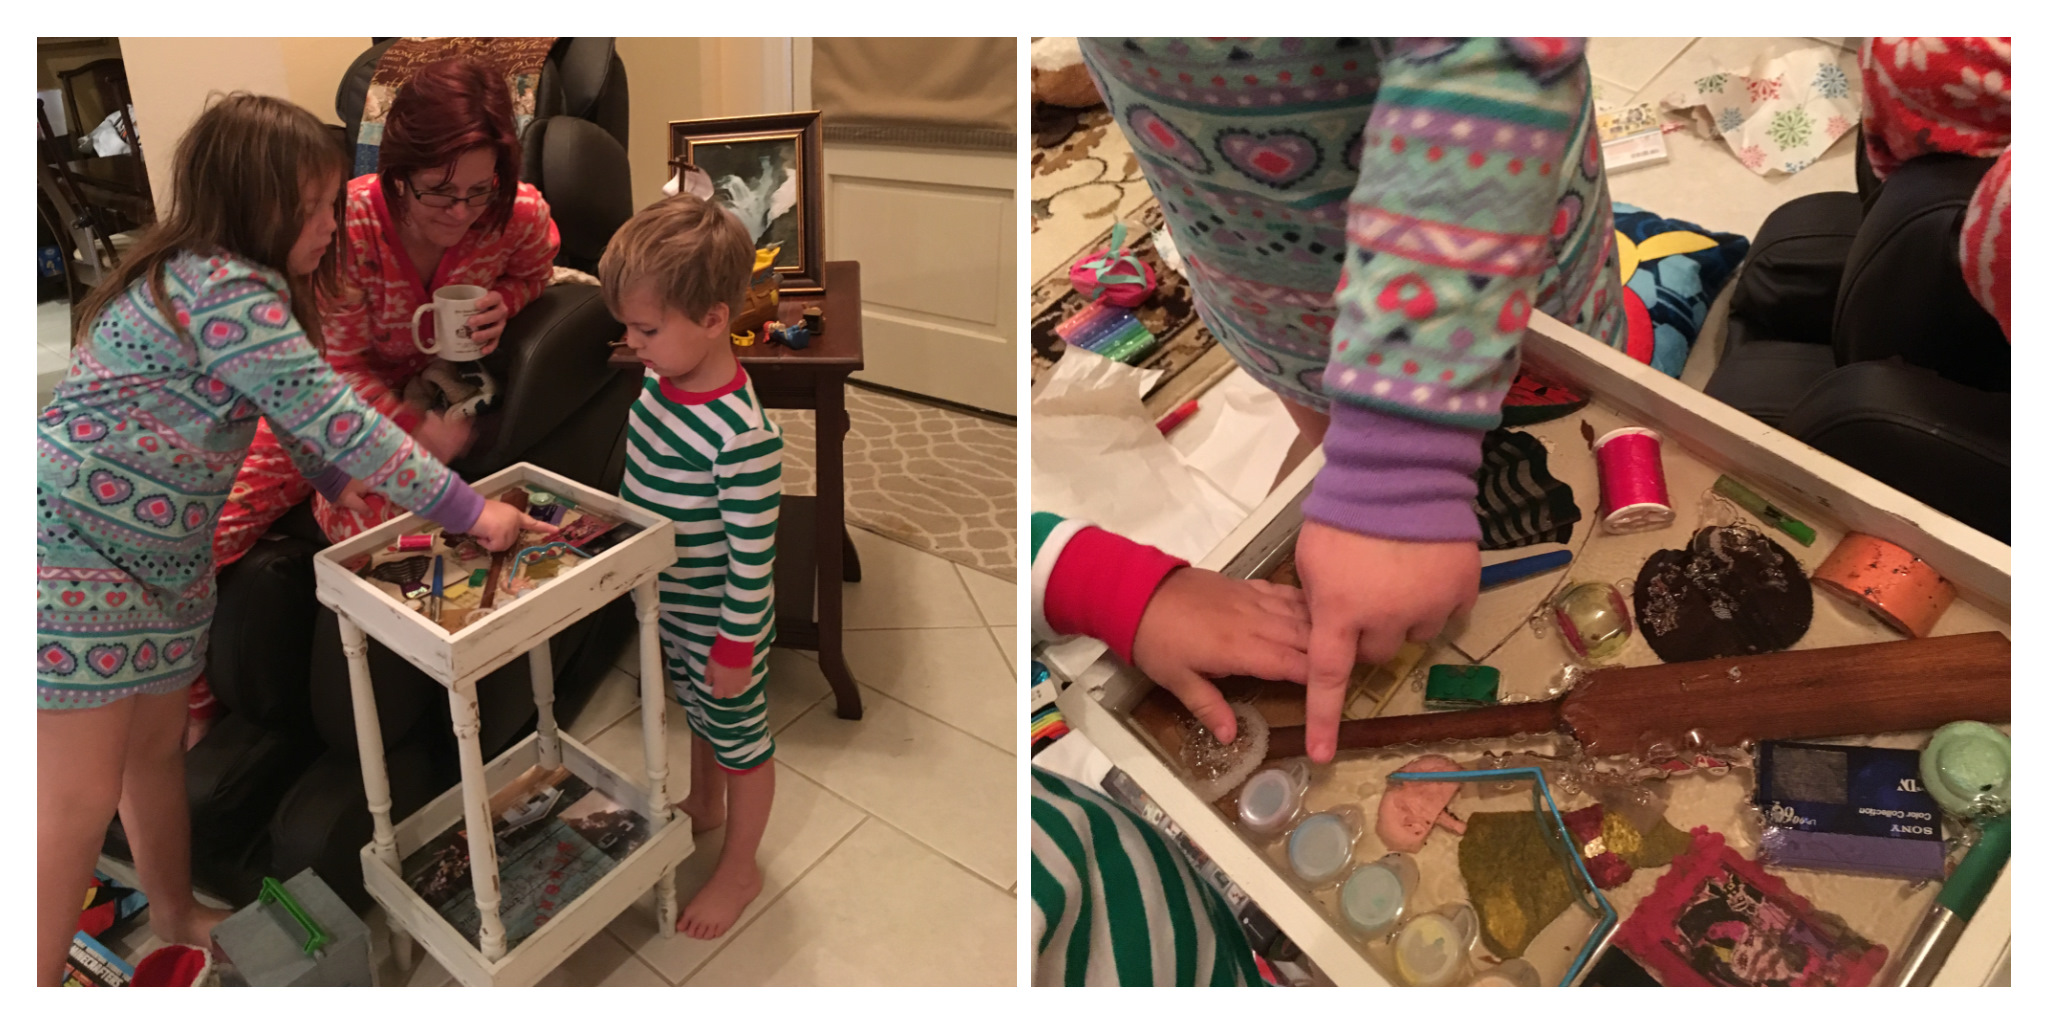
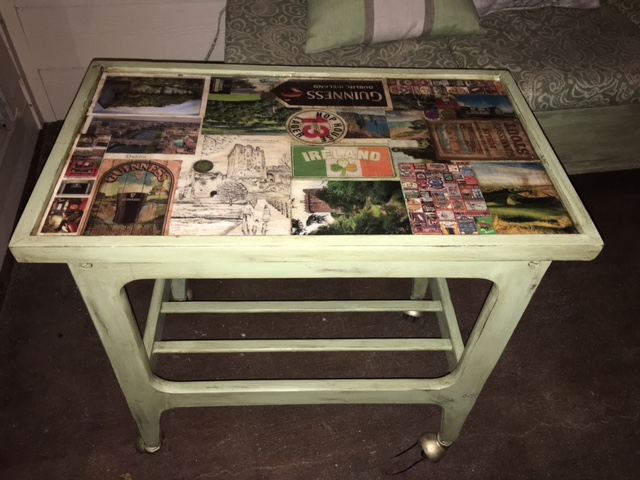
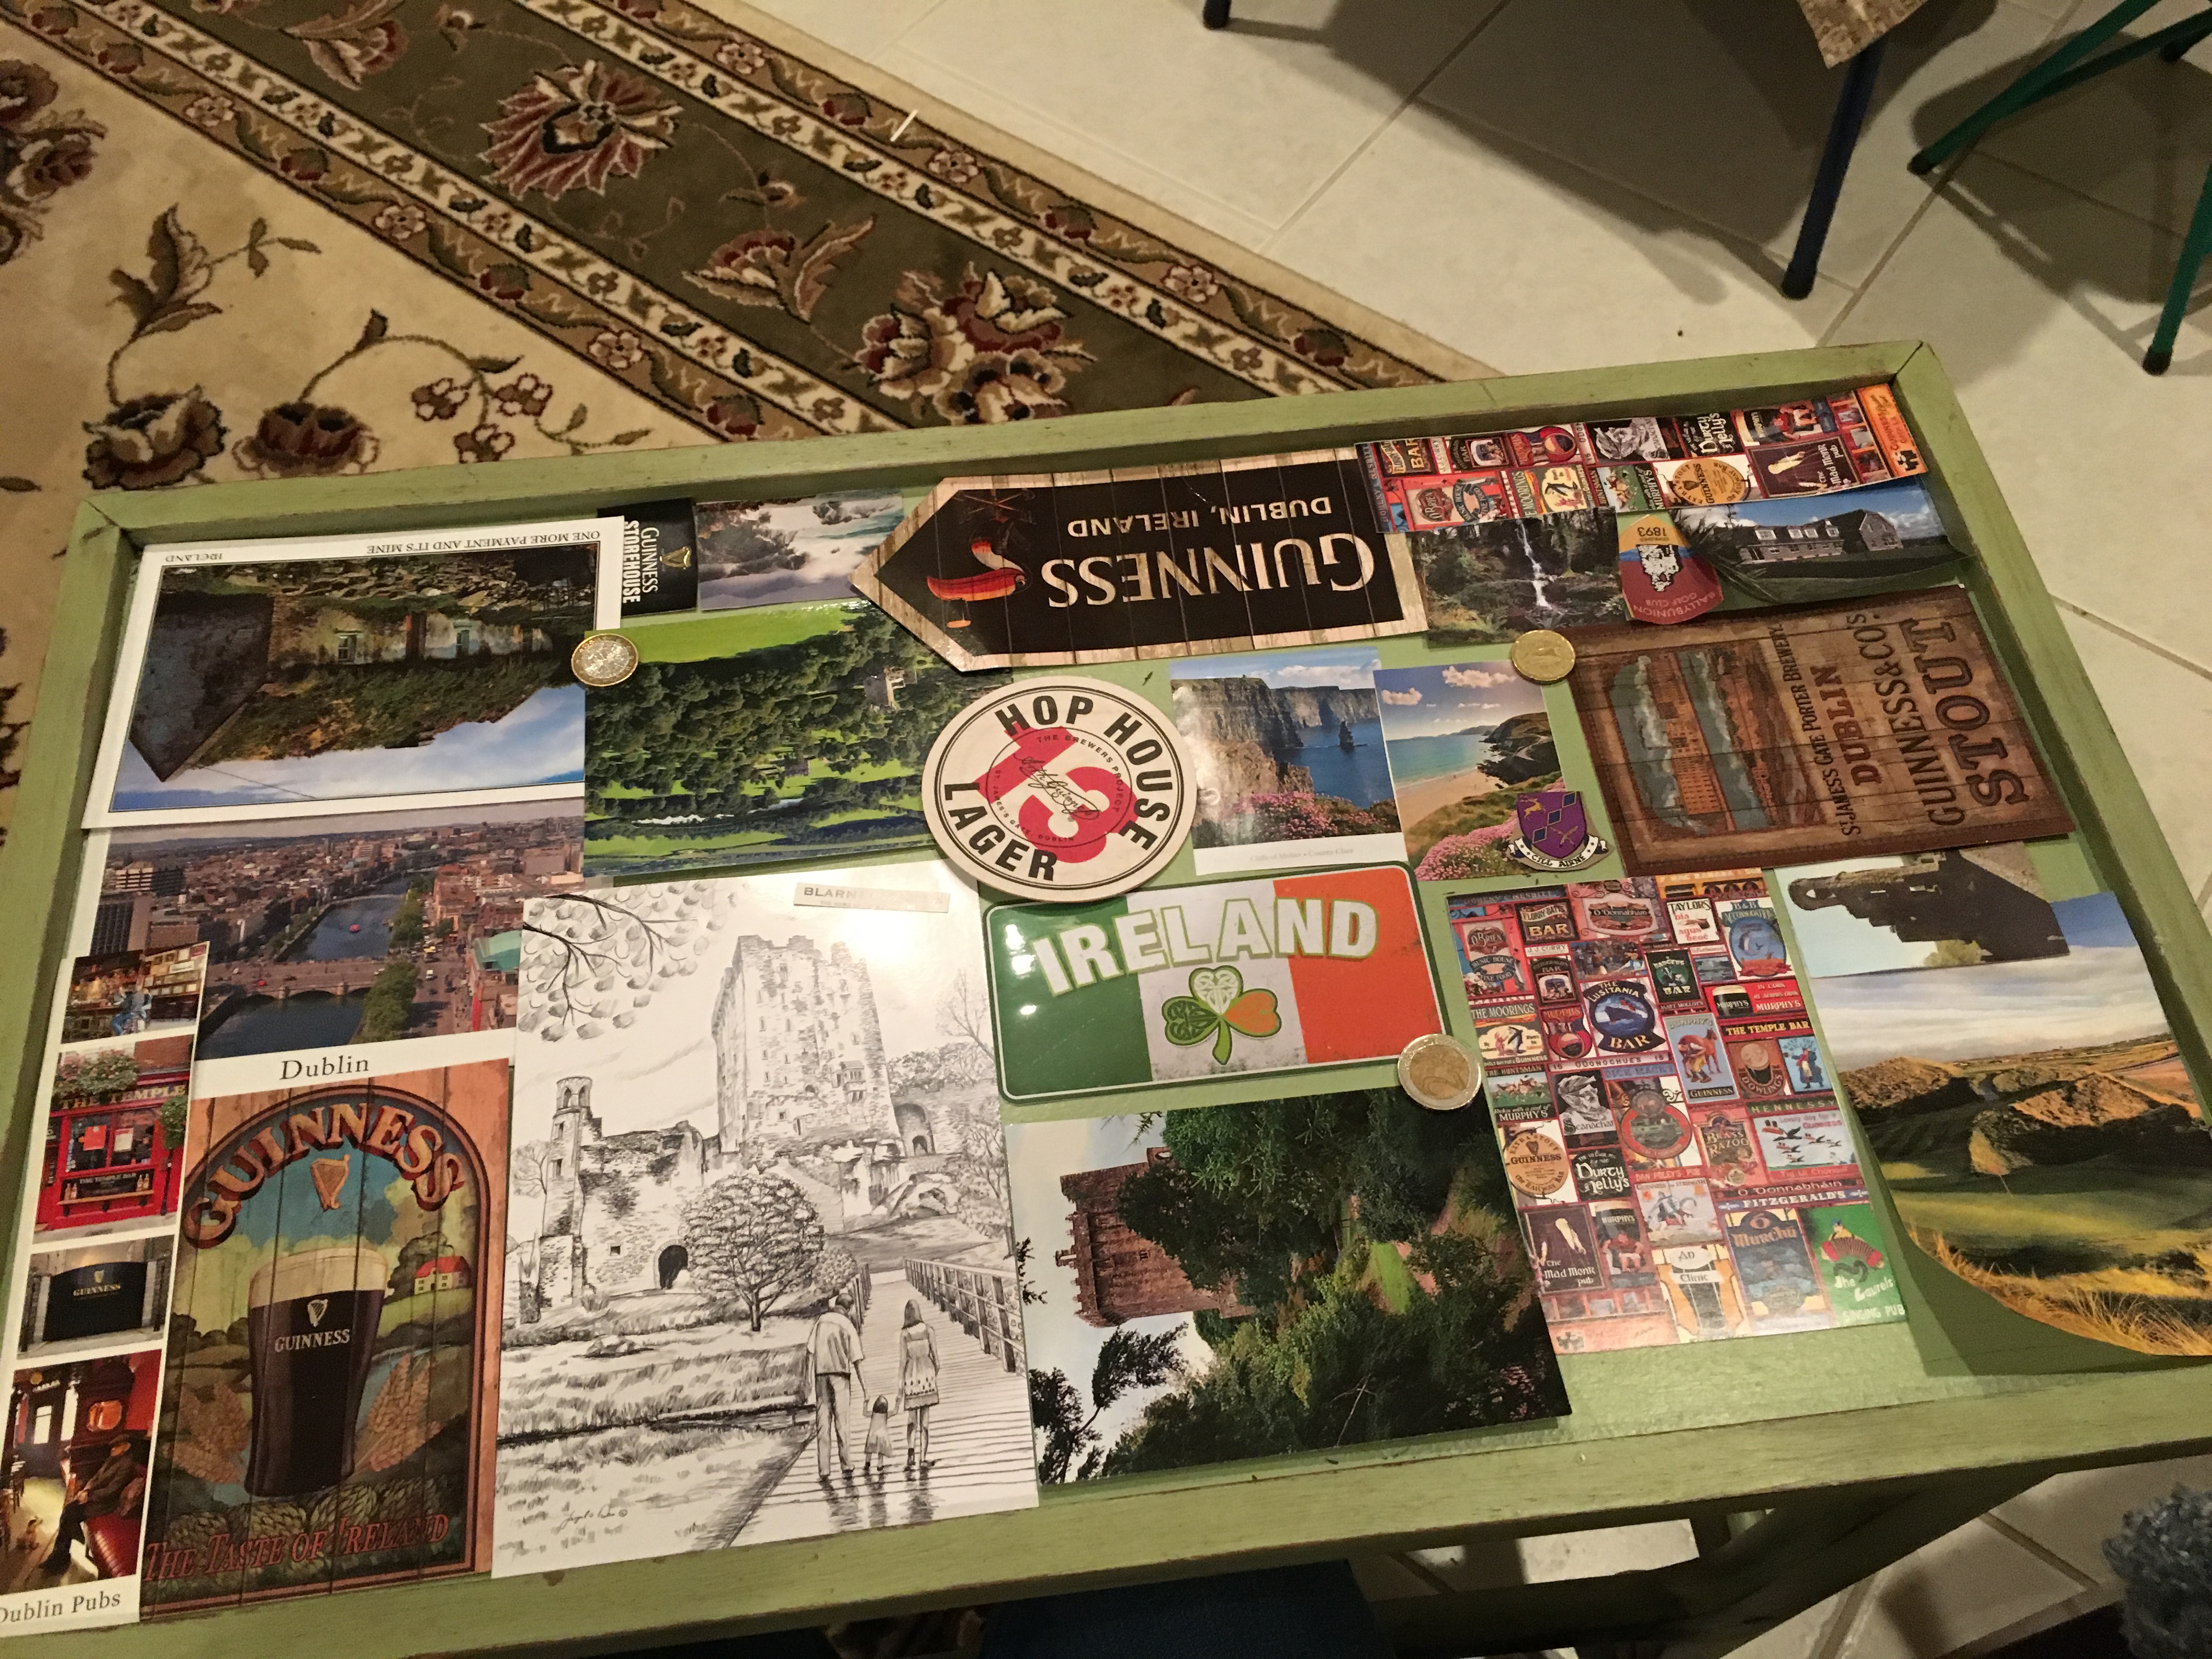
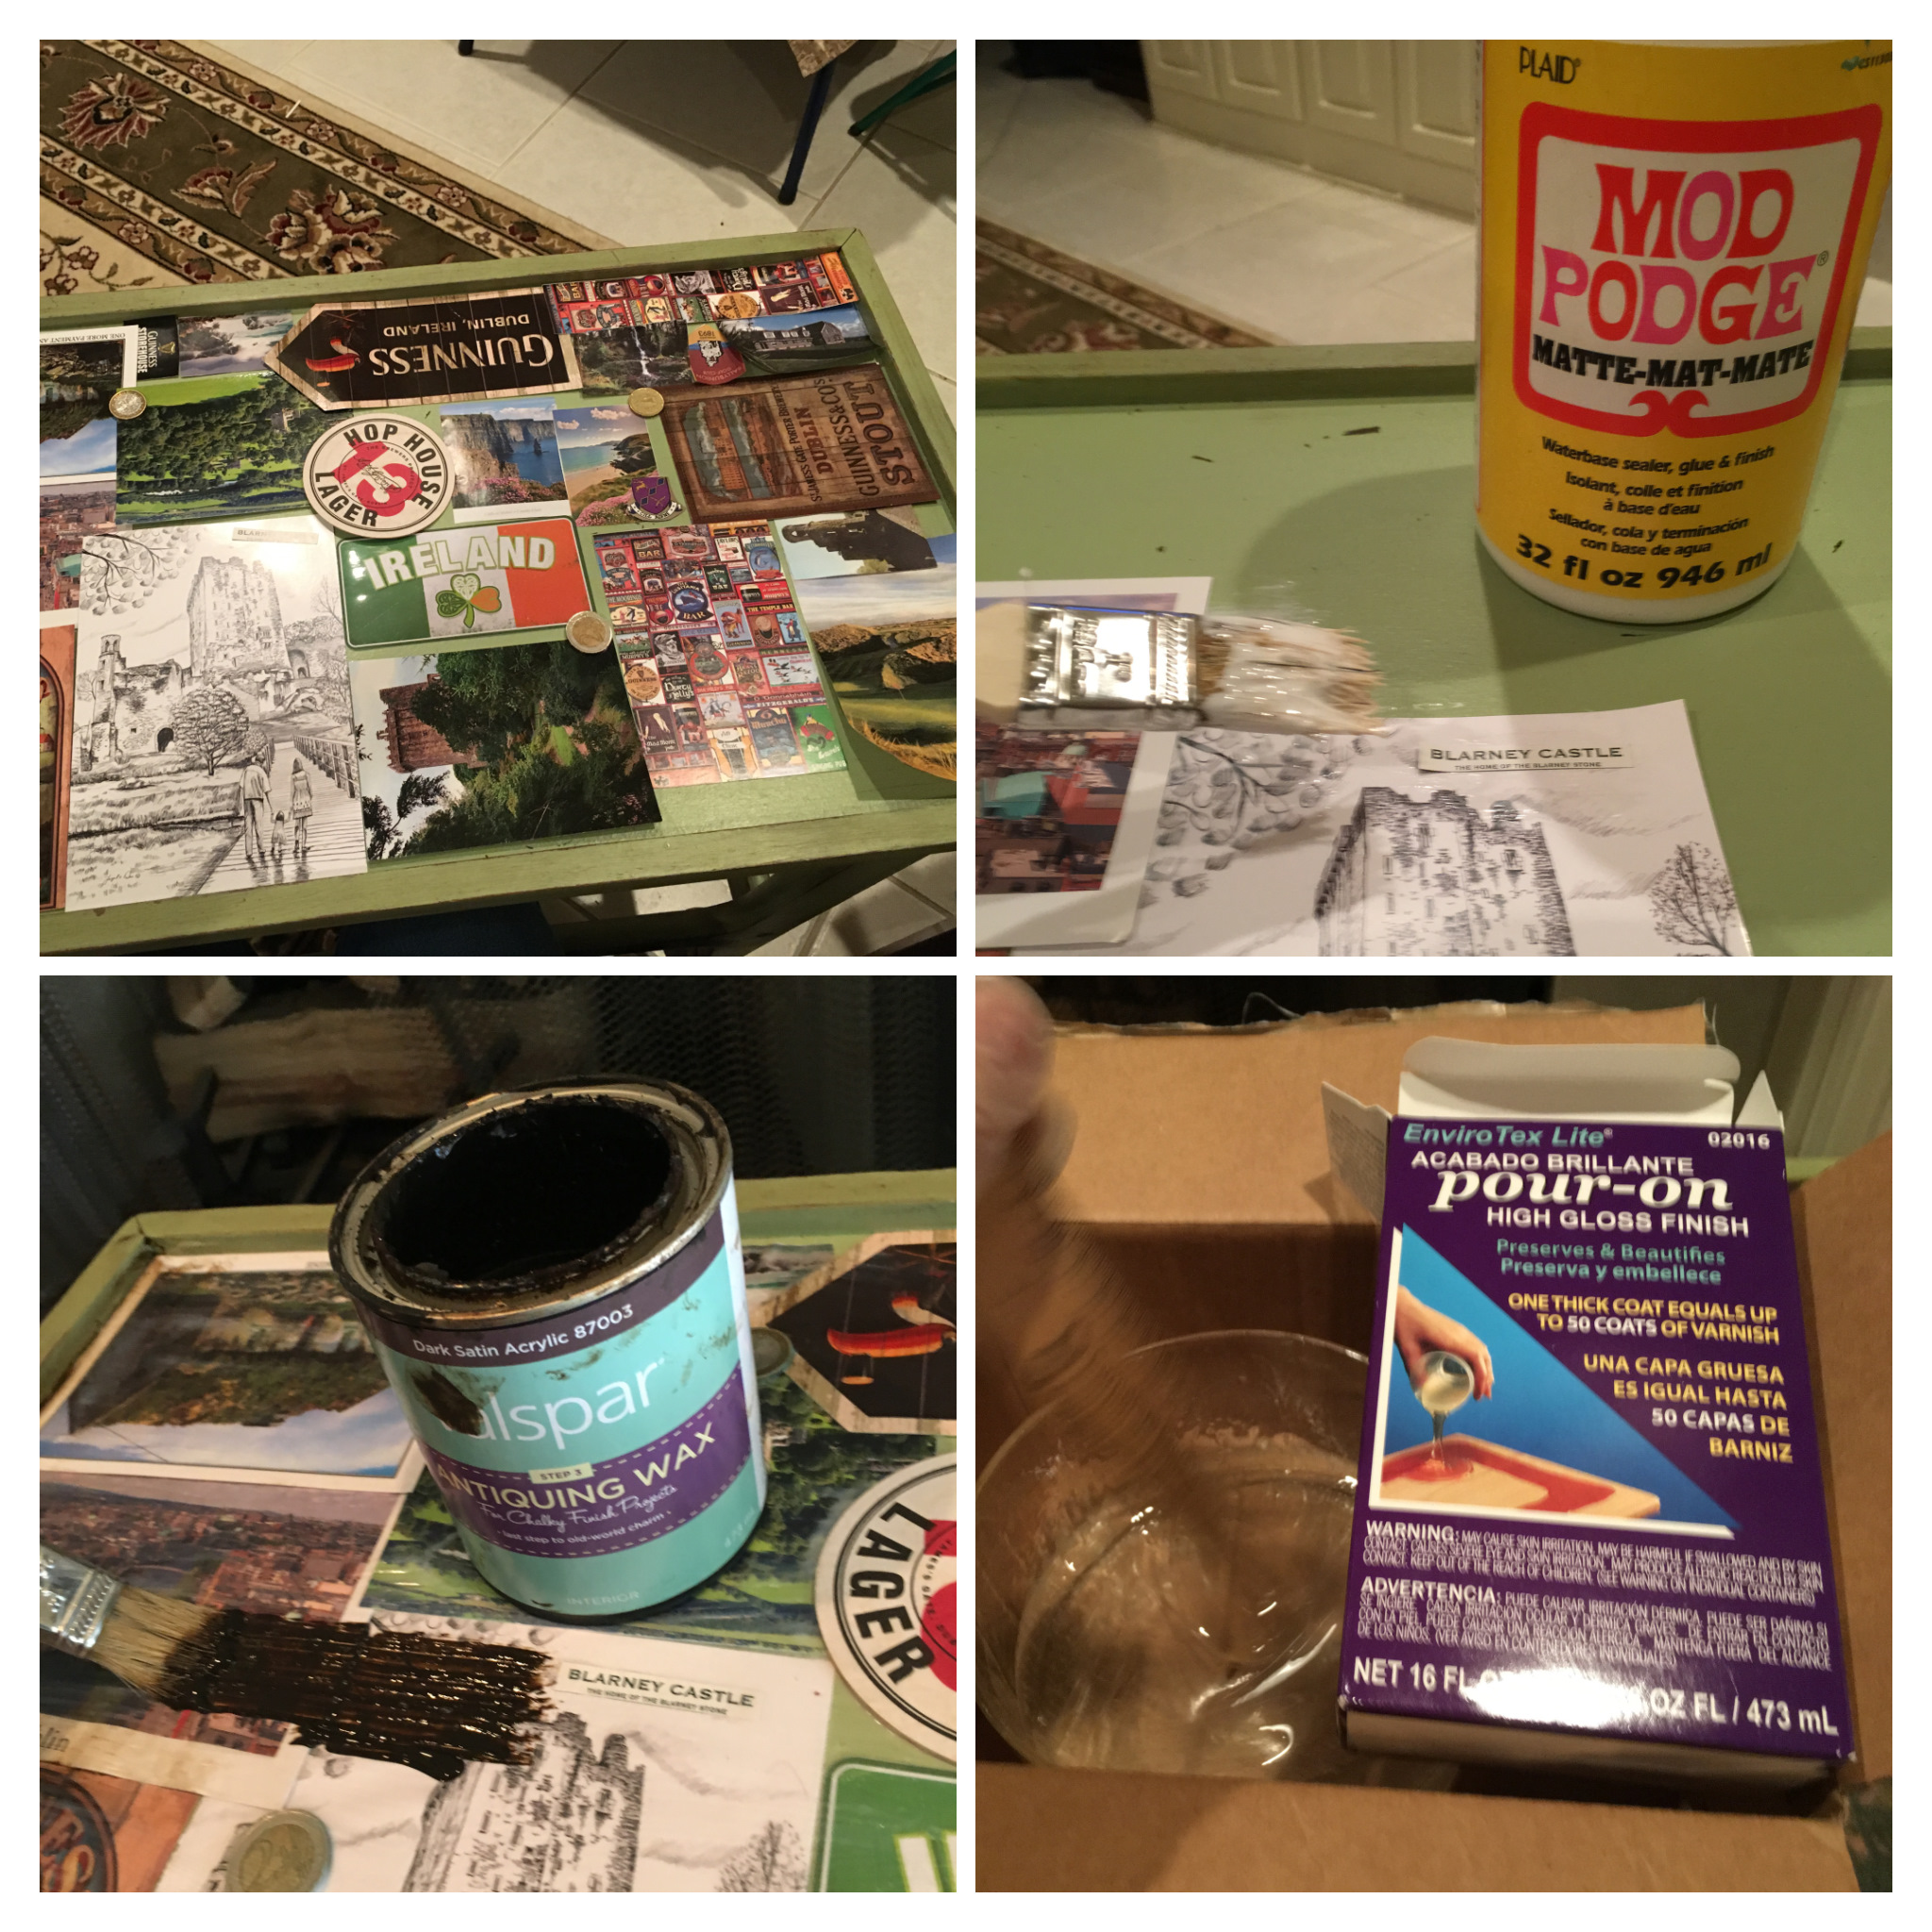
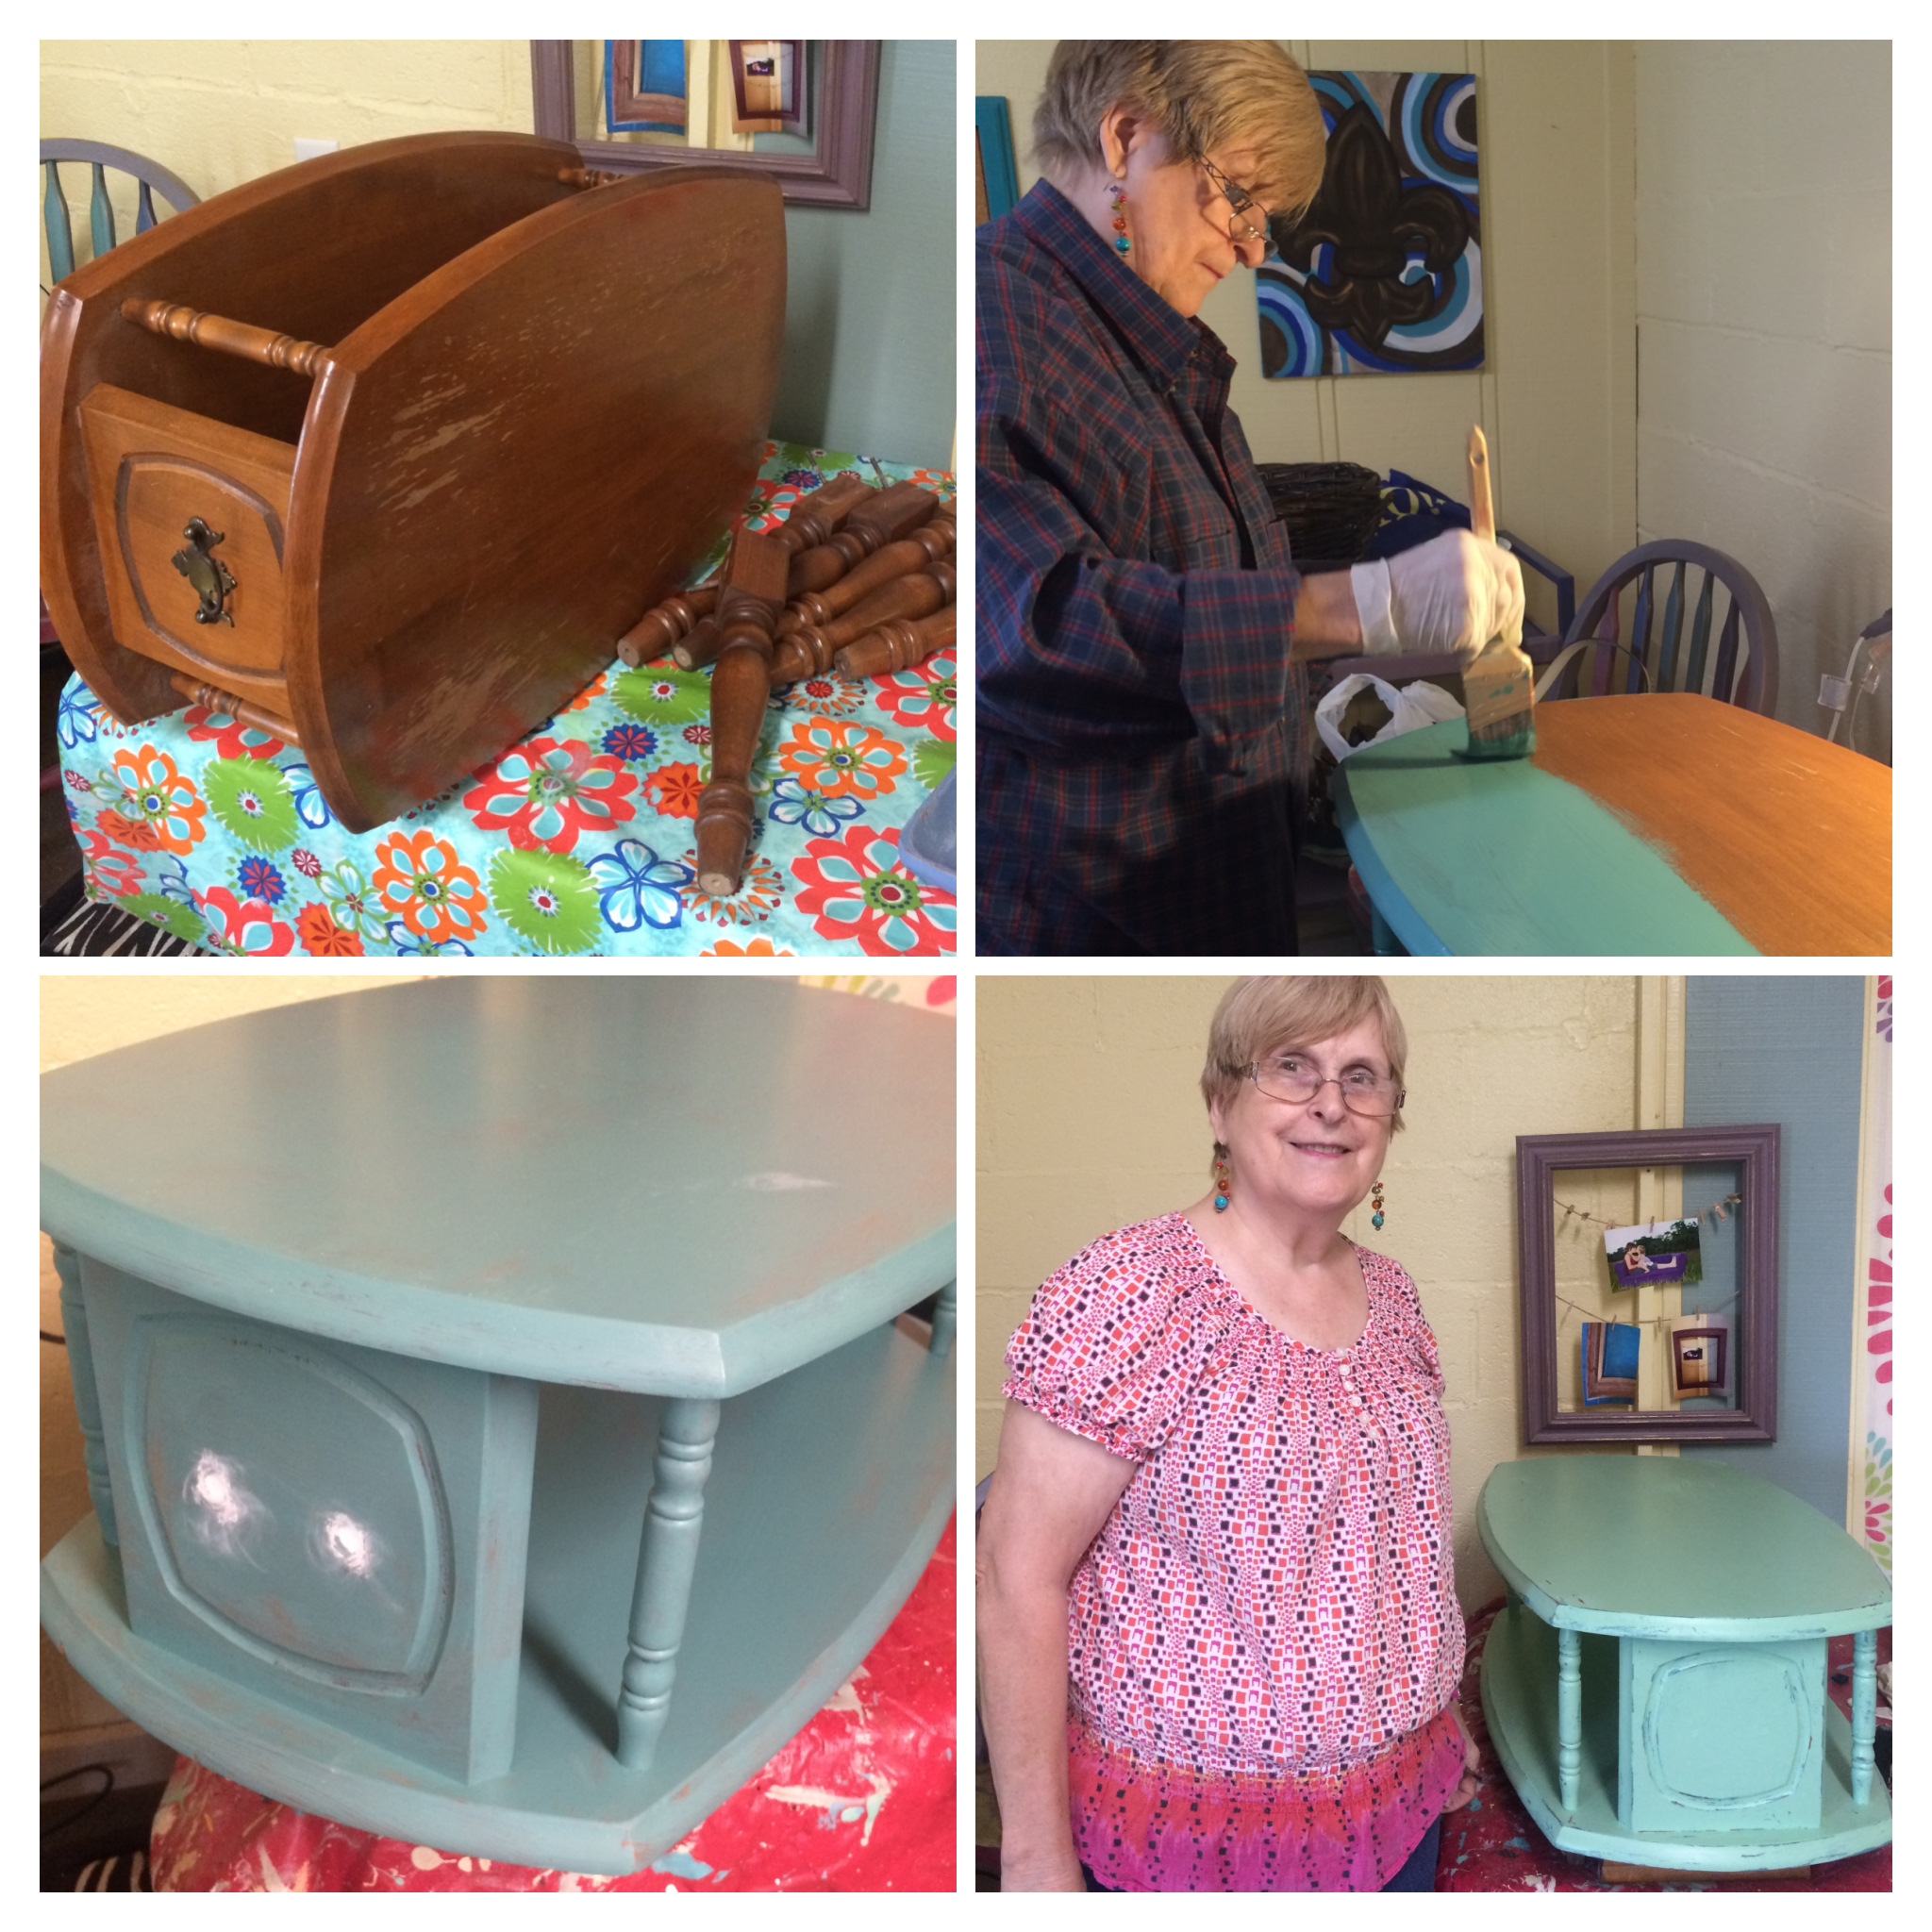
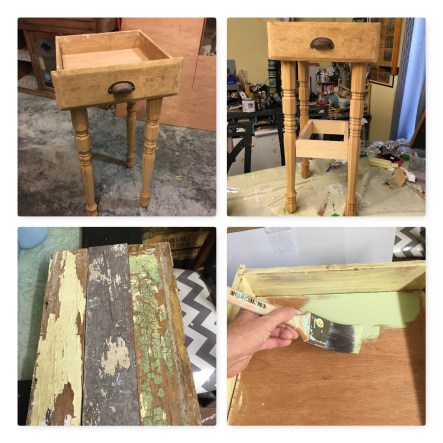
 I bought a vintage drawer about a year ago thinking I would use it for something one day. Recently I saw on Pinterest an idea for making an end table with one and showed it to my husband. He used his woodworking skills and got on it right away. We had all of the materials already available in his workshop. My friend had recently given me some furniture legs which is so great to have for projects.
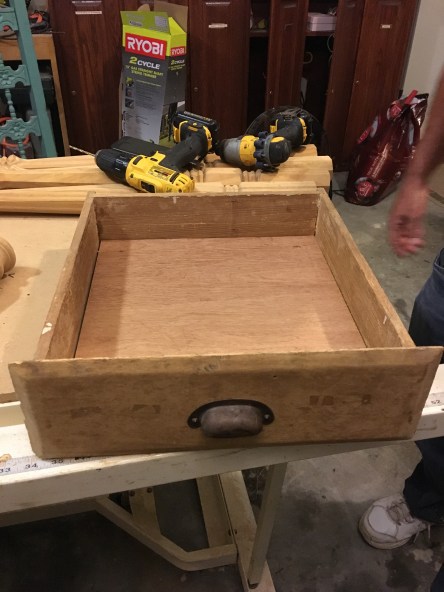


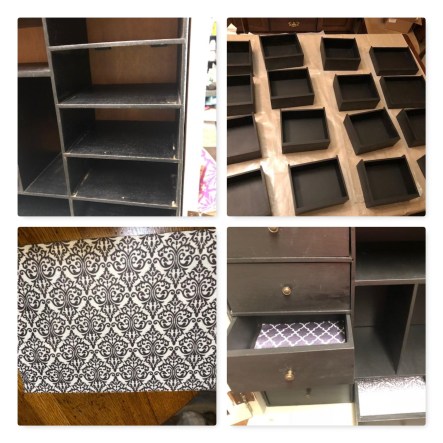
 My
My