This table (cart) on wheels caught my eye at a church garage sale and I knew right away I wanted it for my patio. I loved the rim around the top and thought it would be great for decoupaging. My family was planning a trip to Ireland so I decided while on the trip I would look for pictures and postcards to put on this table as a memory of our trip. I have done one before from my trip to Hawaii years ago.
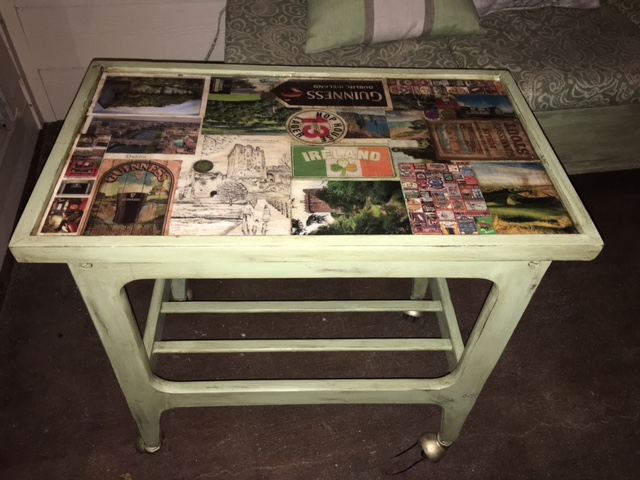
Here is the finished table on my patio.
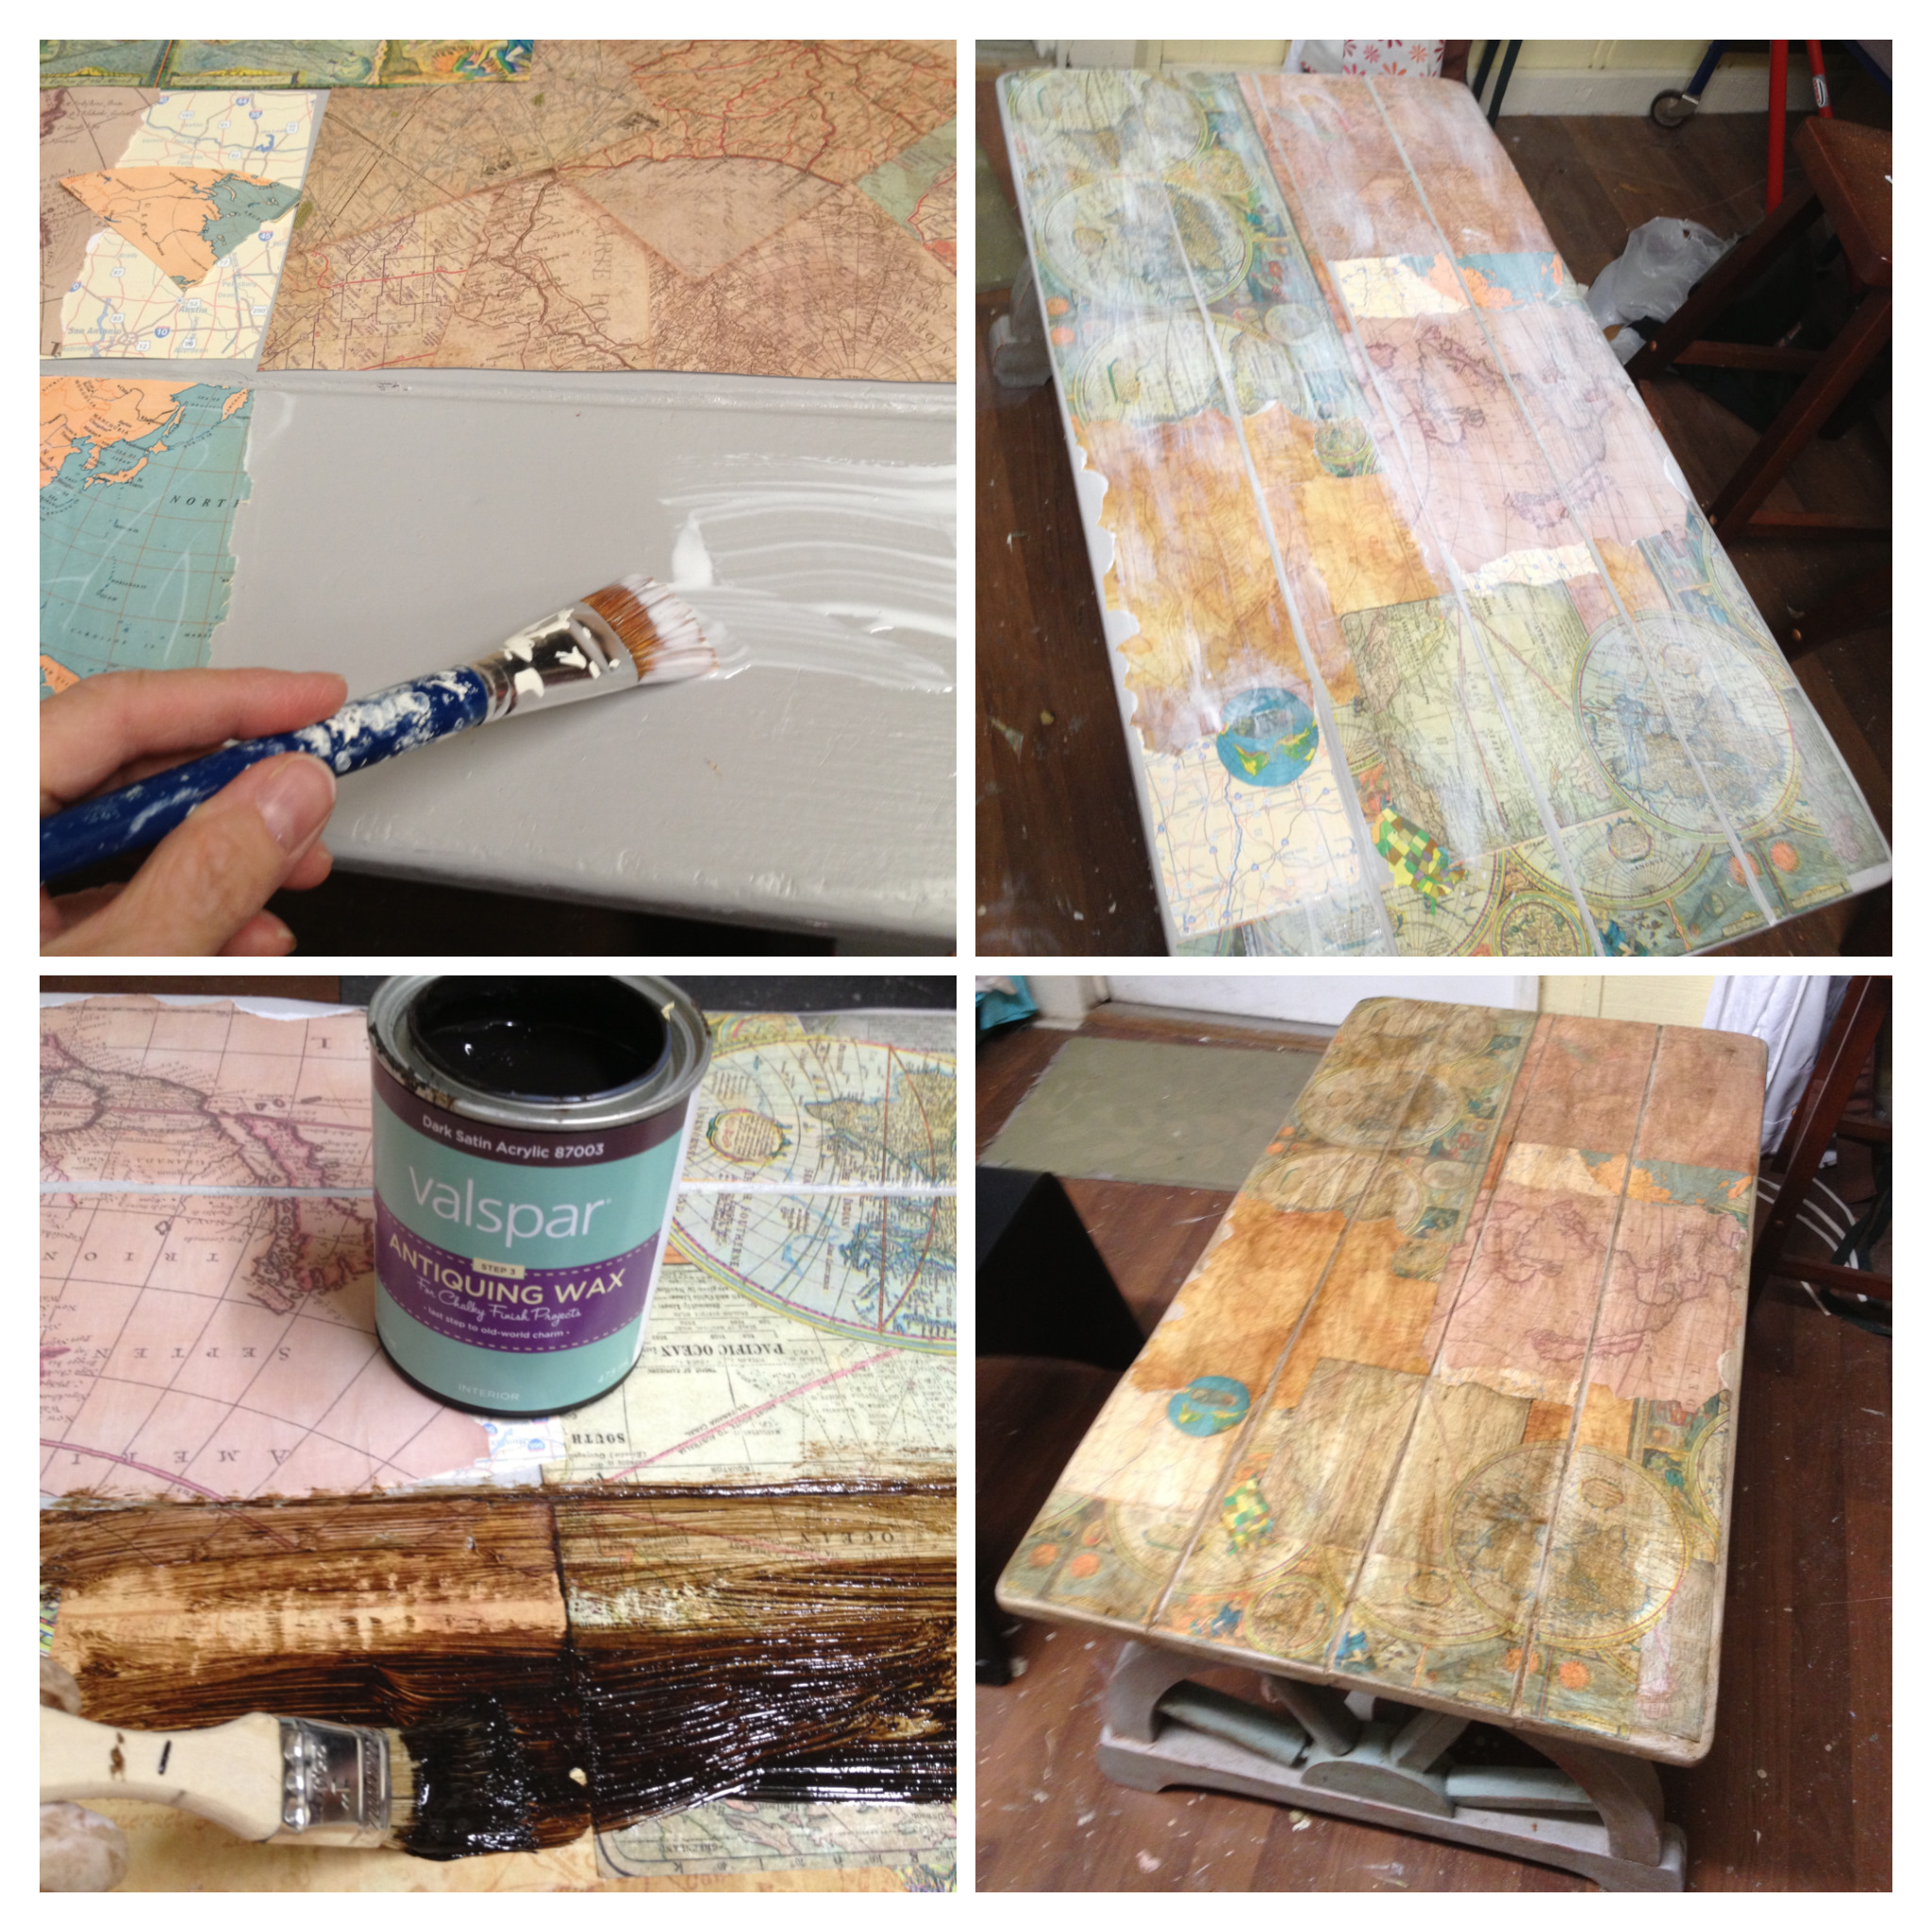
 First I painted it green to match my other furniture on my patio. Then I put a coat of clear wax (CeeCee Caldwell) and dark wax (Annie Sloan).
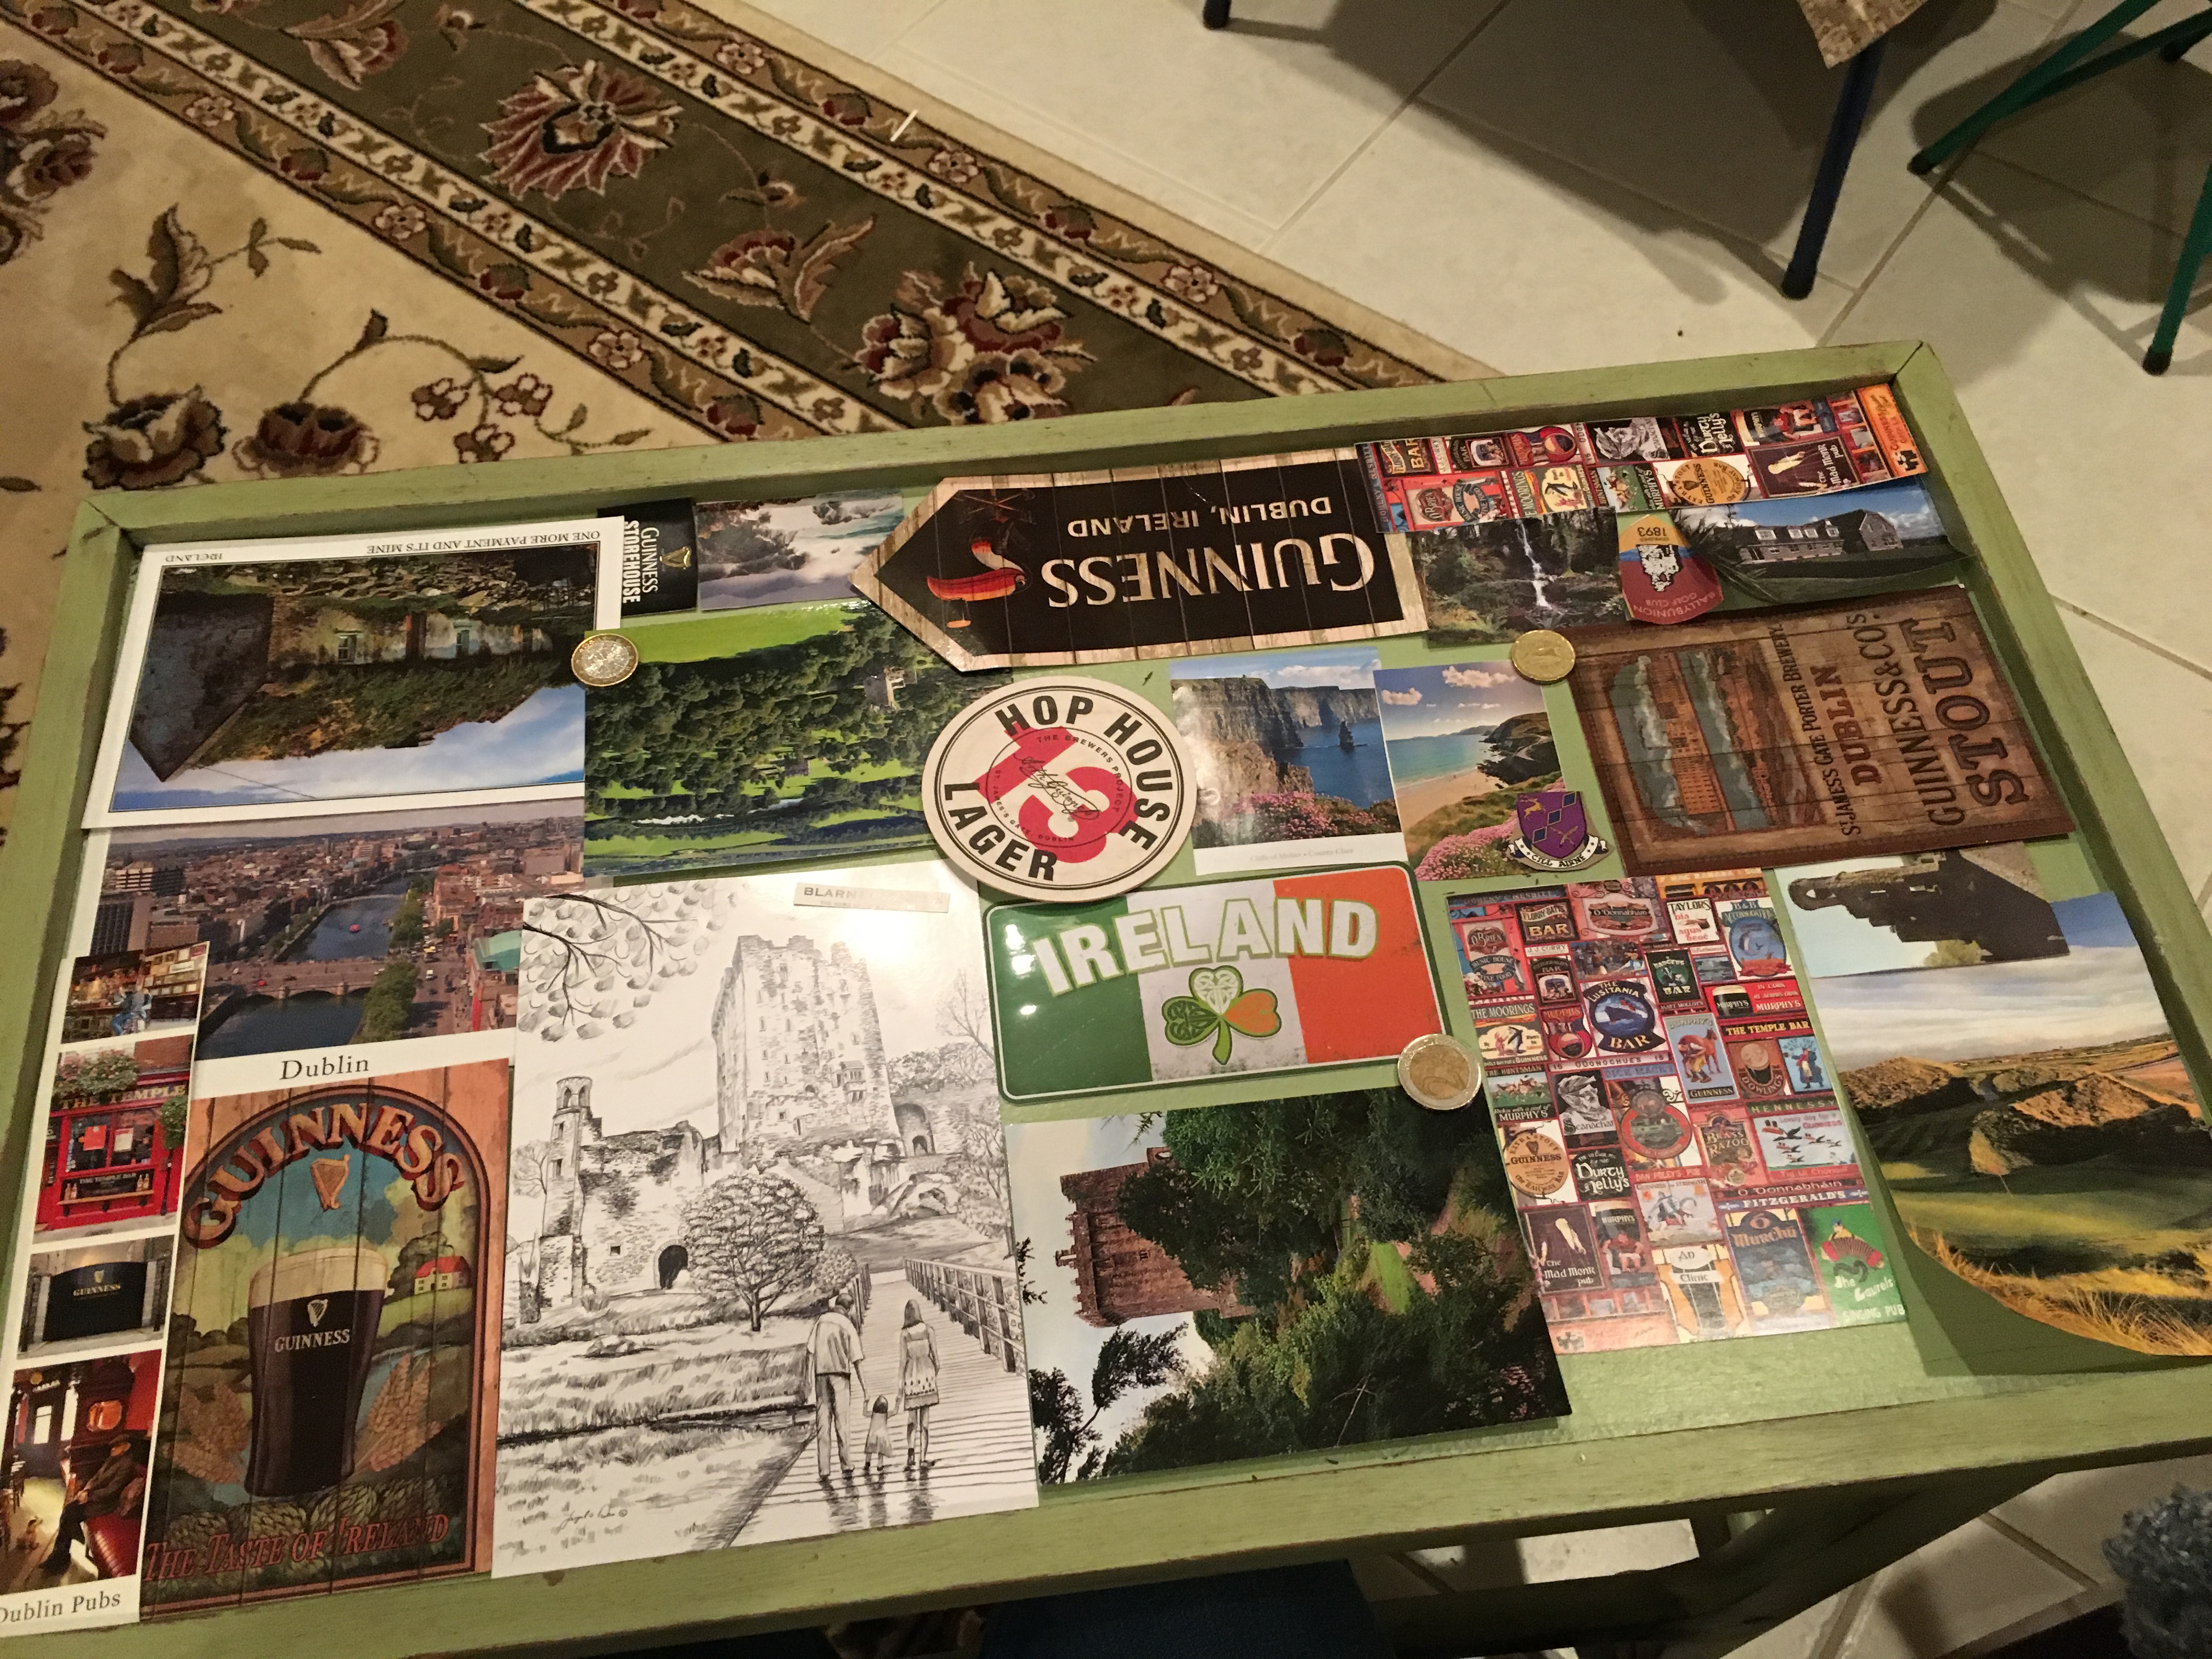
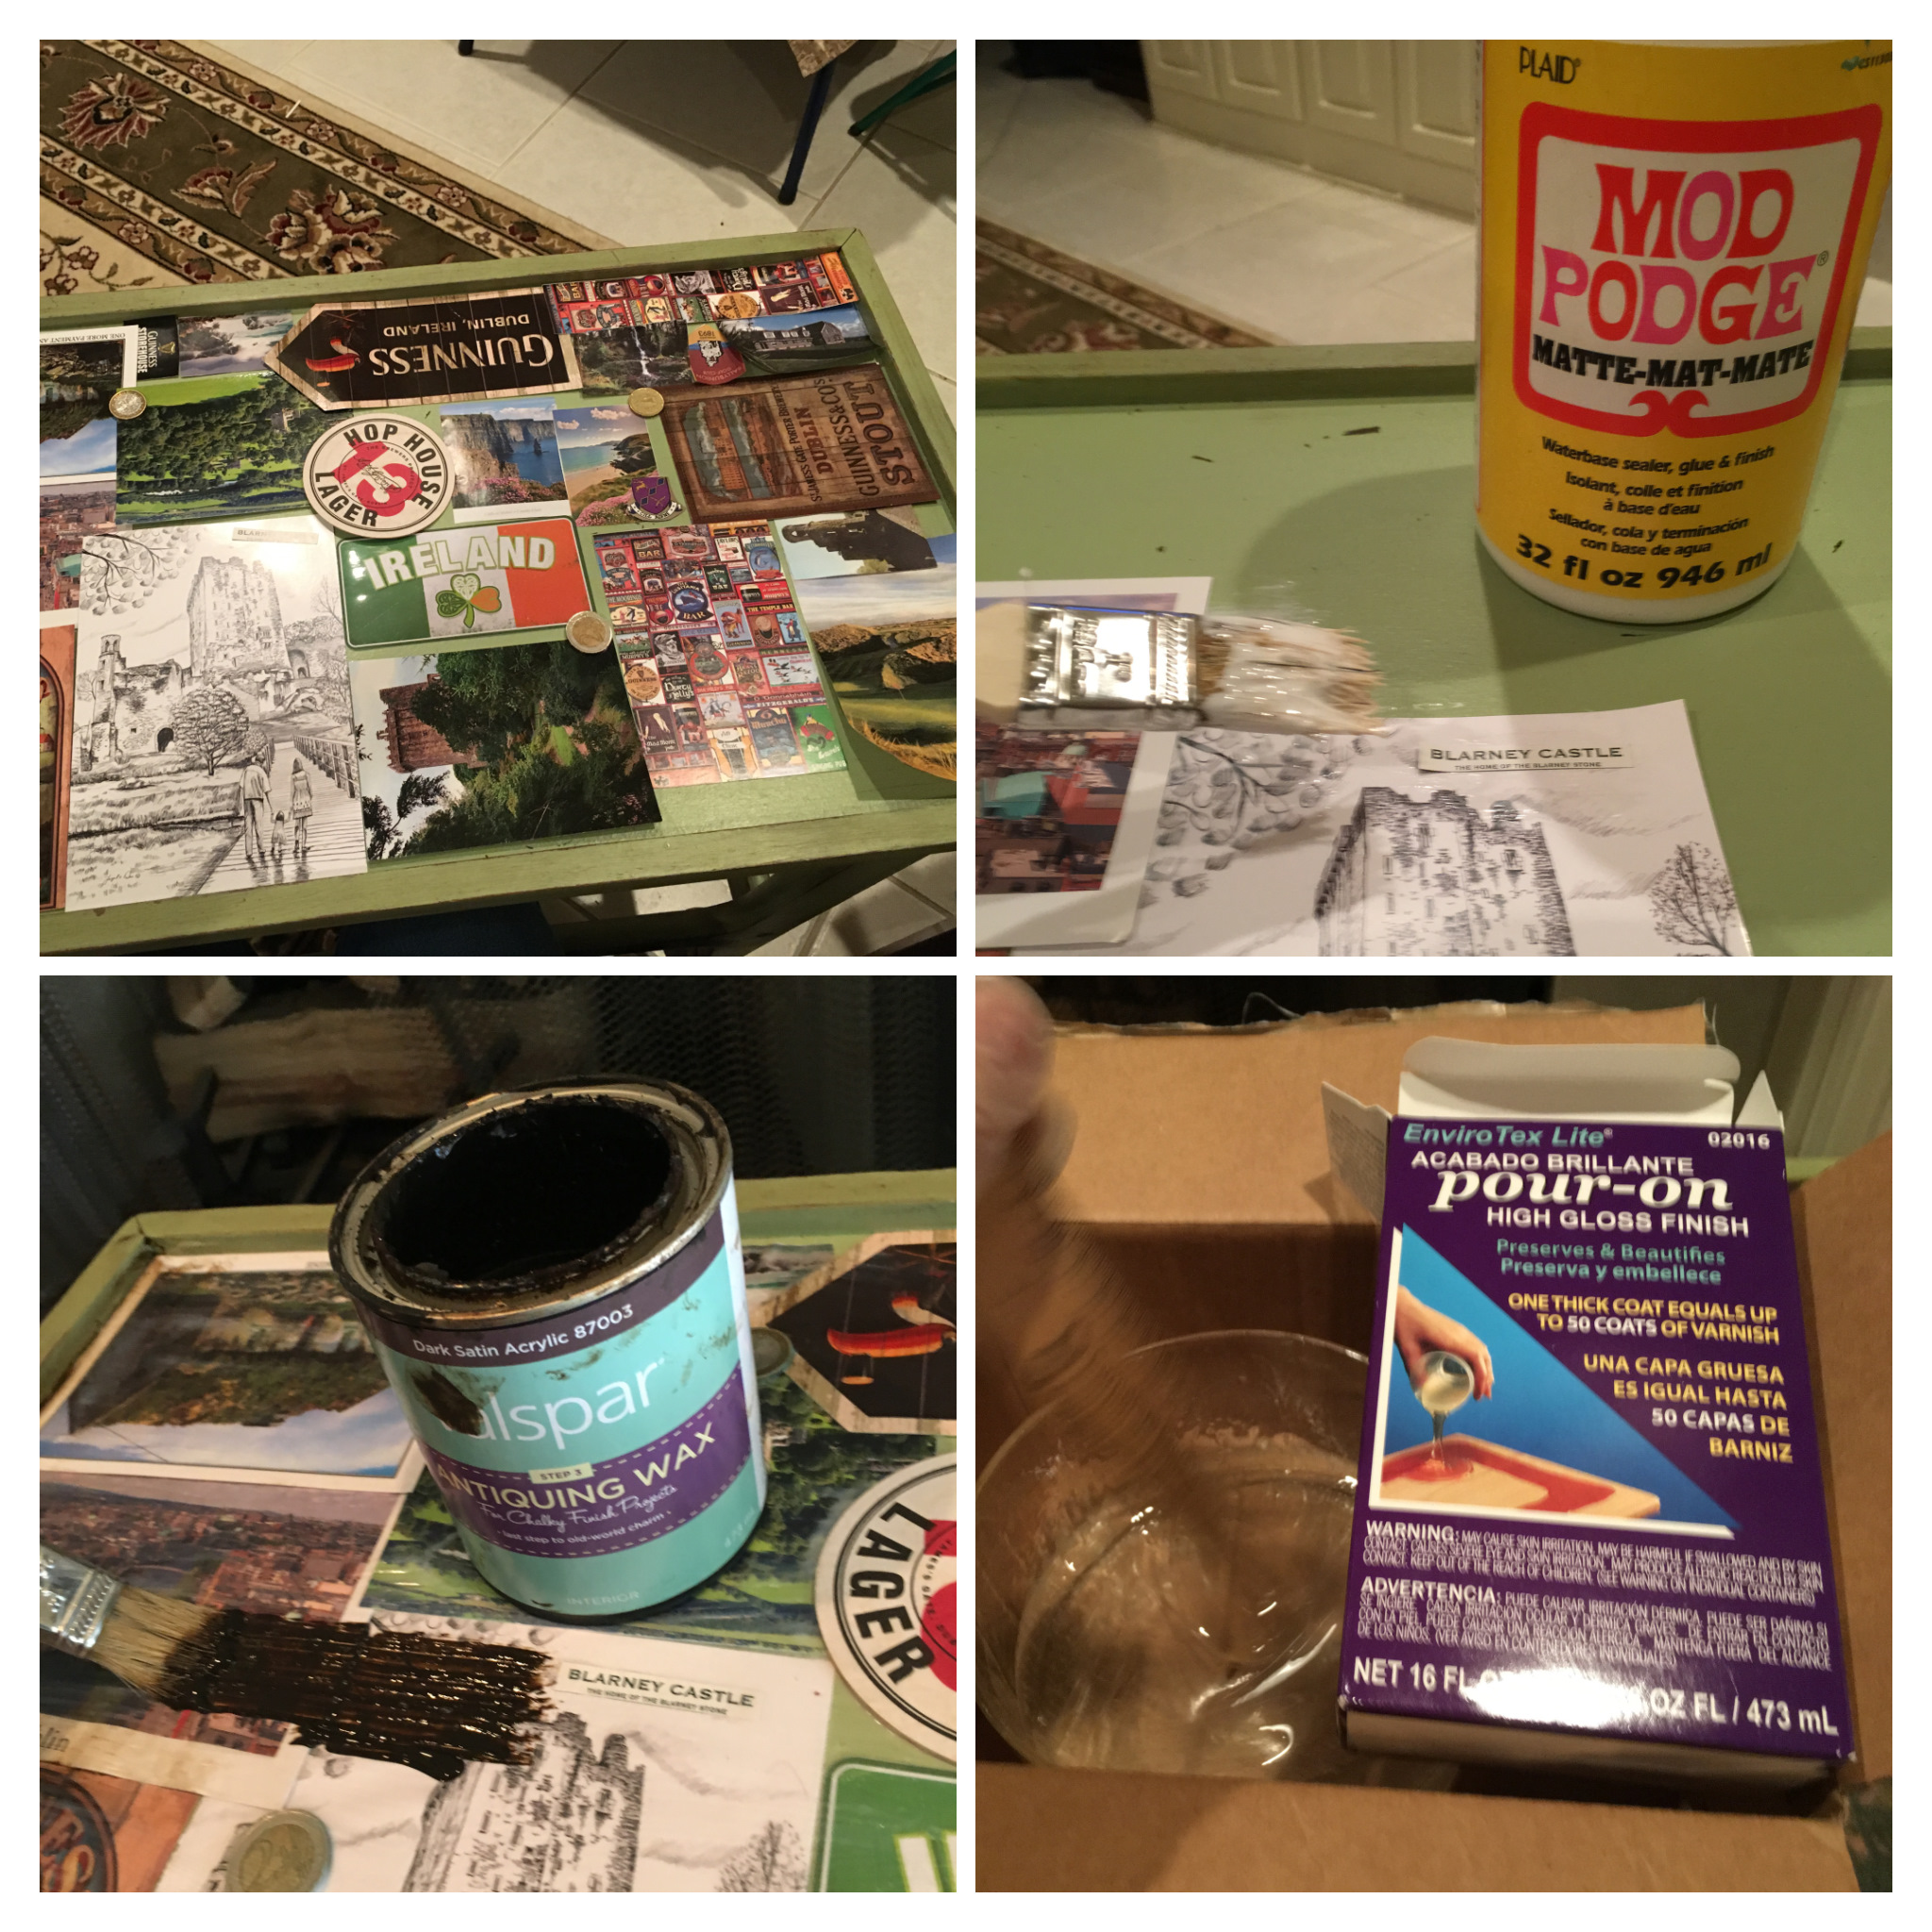 Next I laid out all the pictures, postcards and euro (coins) on the table. It always helps to take a picture of the layout so when you move them you will remember where they go. I used Mod Podge matte finish to decoupage the pictures onto the table ( a coat under and over). After drying I used Valspar Antiquing wax to make the pictures look old. You do have to wipe it off as you go with cheesecloth. A few days later I poured on the Pour-on epoxy which makes it have a thick high gloss finish and really helps to protect it. It is expensive but worth it especially if you are using the piece outside.
The table is very functional since I can move it easily around my patio. We will always treasure this table as it will remind us of our great trip to Ireland with our two daughters.

Here we are in Ireland at the Cliffs of Moher.