 This poor rocking chair needed some serious TLC. I have a friend who sells me furniture and other items. She has been in charge of an estate in North Louisiana and also picks up projects for herself to work on here and there. Months ago she unloaded a trailer full of stuff that she needed to get out of the way and didn’t have time to get to. She was trying to help her daughter who flooded also. I wasn’t there when she unloaded the stuff into my workshop otherwise this rocker probably wouldn’t have made it into my workshop. My husband said I should throw away the rocker when I asked him if he would reinforce the seat. He didn’t want to put the work into it. Well it sat in my workshop for about 5 months taking up space. I kept looking at it and I could see potential in it. I knew I couldn’t repair the ugly holes in the wicker part but I figured I could make cushions to cover the back and the seat. When you sat in the rocker it was sturdy even though it doesn’t look like it in the picture. It has many layers of the wicker.
I decided that I would redo this rocker for my oldest daughter to put on her porch when she gets to move back to her home that flooded. She loves sitting outside and drinking her coffee. She lost her two rockers in the flood. One had been given to her as a house warming gift (one of those nice Cracker Barrell rockers) and the other one was given to us as a wedding gift 37 years ago. I had used it in my classroom for many years and gave it to her when I retired to rock her babies in. She would appreciate the rocker even if it does have some issues.
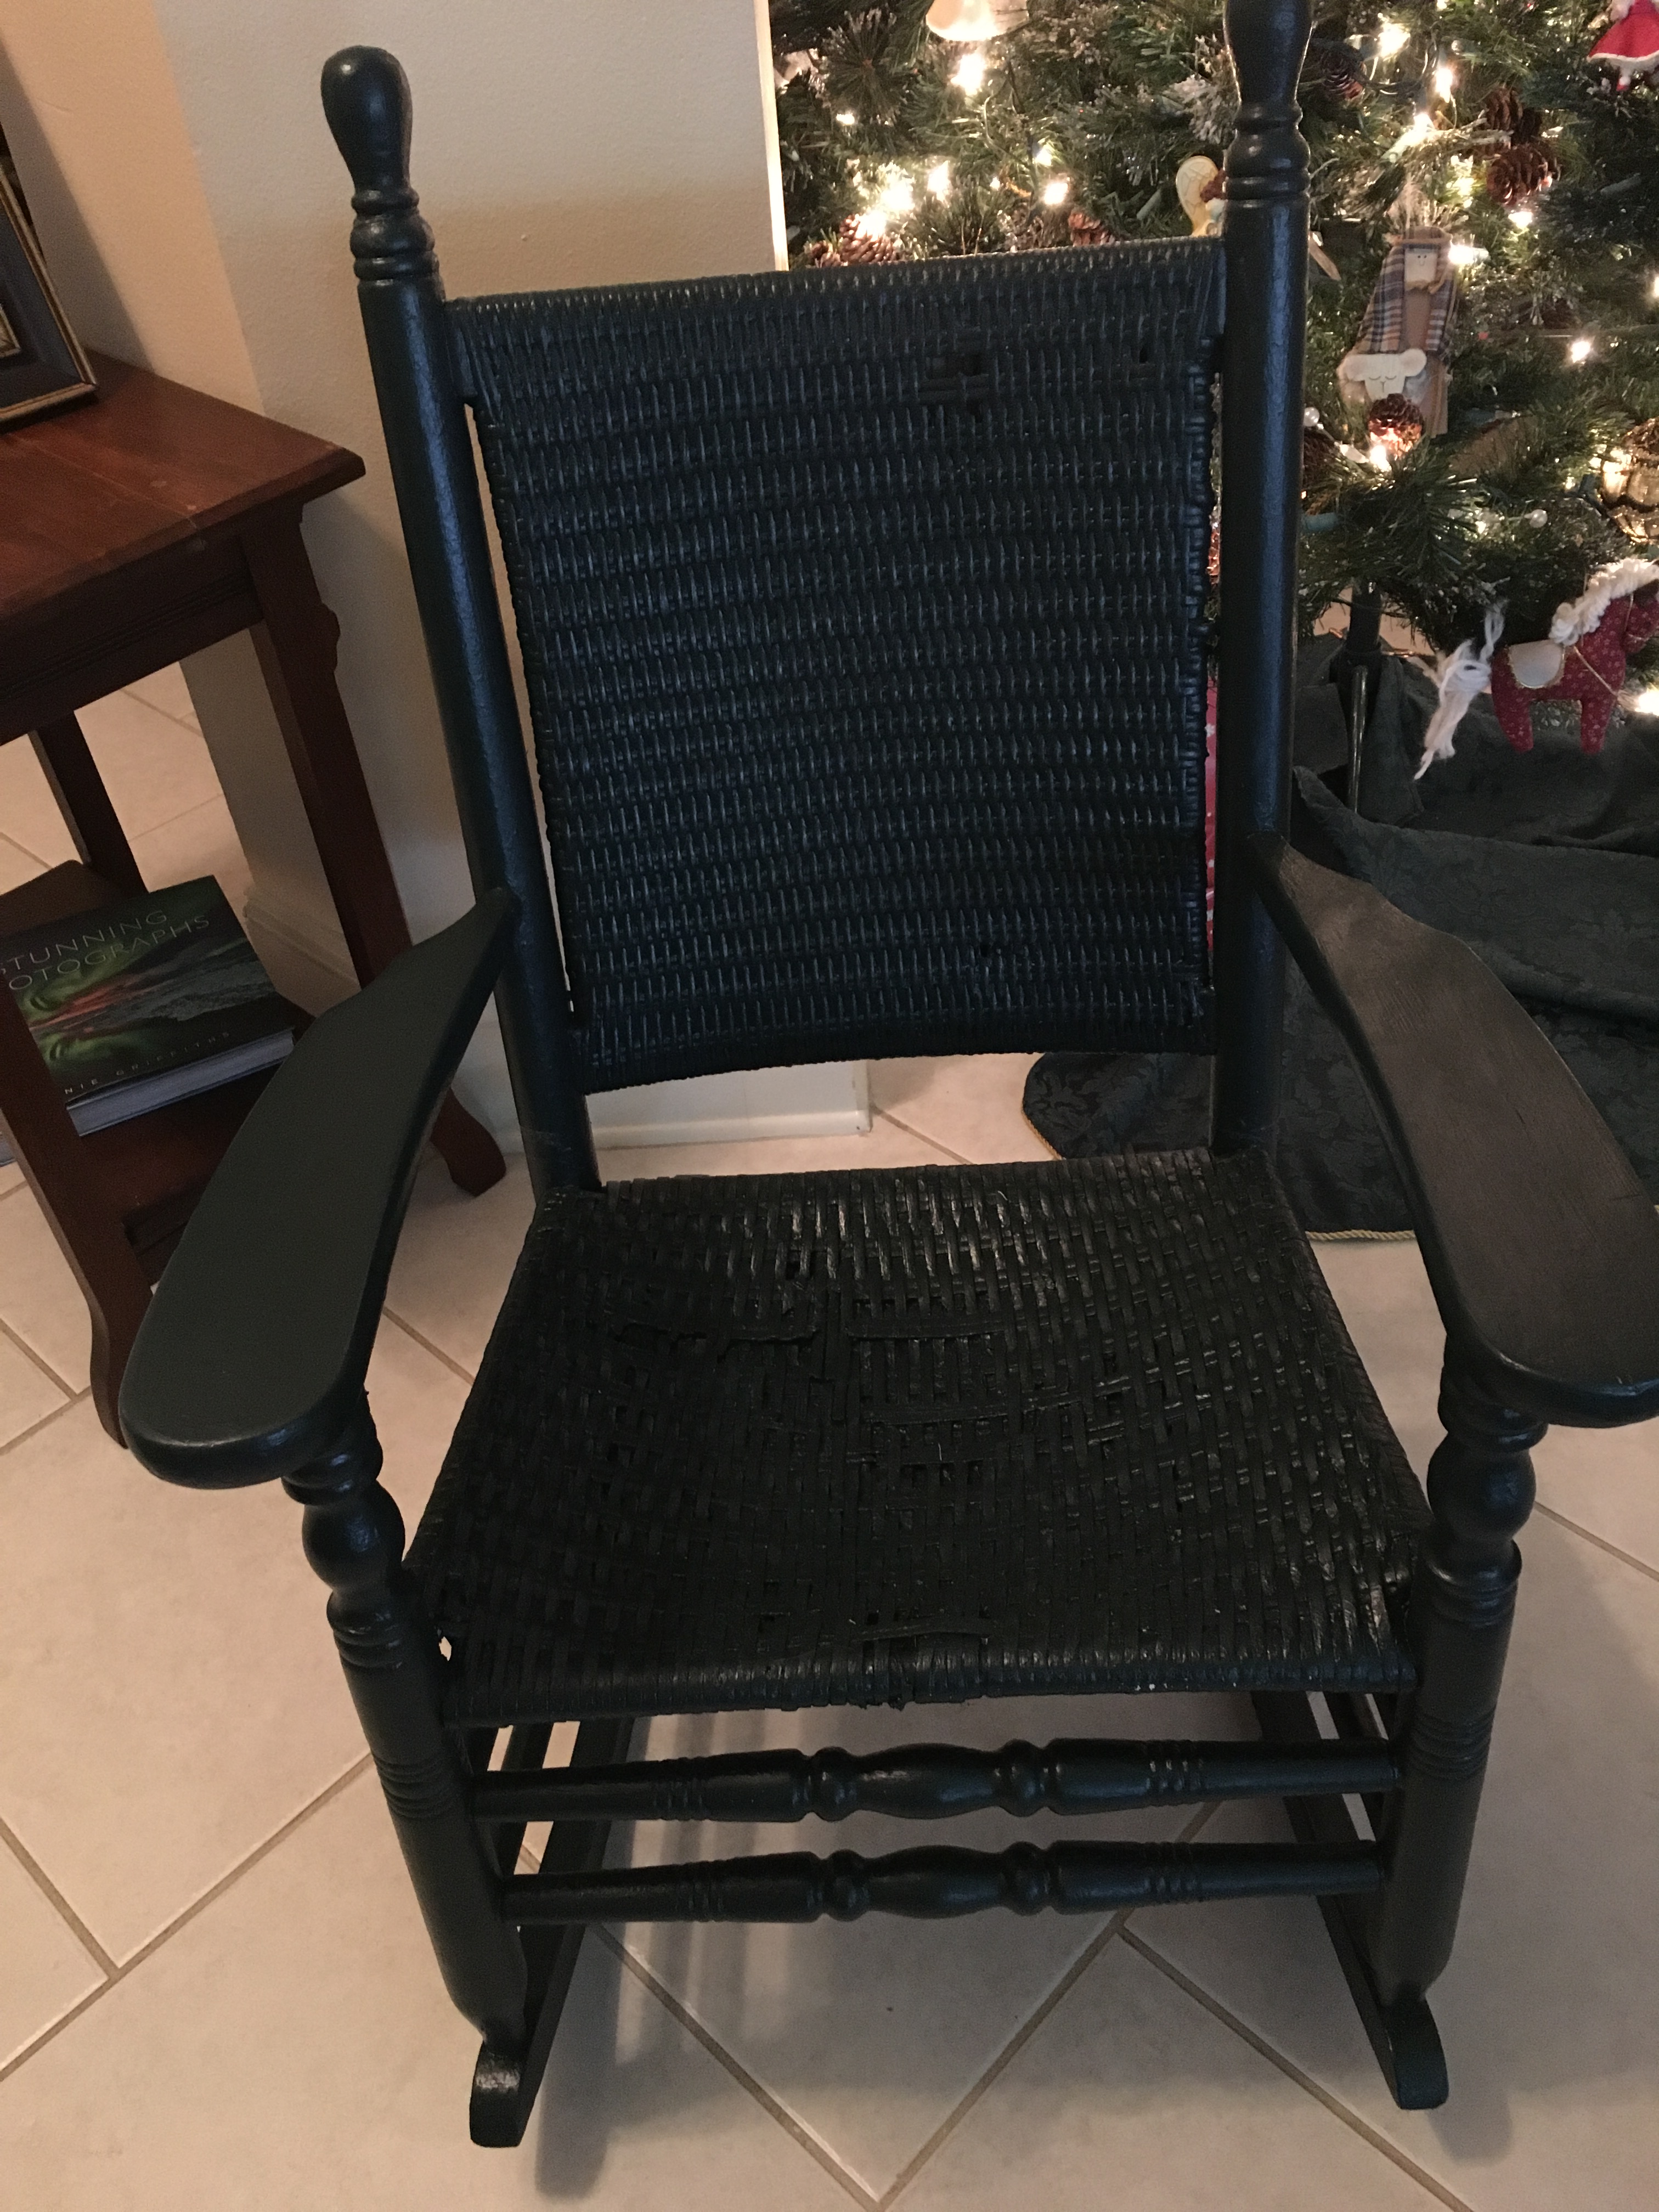
 My 1st step was to put some wood glue on some of the areas where the wicker pieces were coming loose. I painted the rocker with 2 coats of Sherwin Williams Essex Green Exterior Duration Paint. (No chalk paint this time) I already had the paint from repainting the shutters on our rent house. I knew it would be perfect for using on an outdoor rocker. As you can see the paint really made a difference not only to the looks of it but helped to make the wicker stronger.
Then I made 2 cushions for the rocker. The back piece was made from a piece of foam, covered with a piece of muslin type material that I stenciled a saying on. The seat cushion was made by covering an old cushion I had in my workshop. I made the straps to tie on the cushions to the top and the bottom. This was my first time to ever do that and I really enjoyed the sewing project. I bought a huge roll of this fabric at the thrift store where I volunteer and it is perfect for making cushions and pillows and does well with the stenciling. I’m hoping it will be durable enough to last on an outdoor project.

The finished Project saved from the garbage dump! My daughter absolutely loves it and I can’t wait to see her rocking in it on her porch when her house is repaired.
