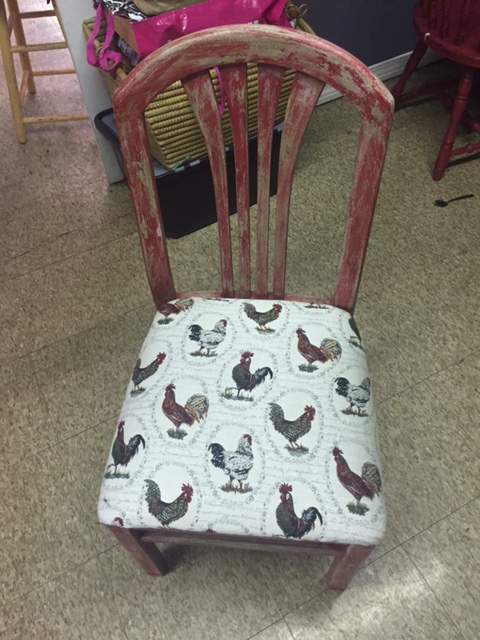
 One of my latest projects is this Red Rooster Chair. Before the makeover this chair was very plain and not very attractive and I came close to giving up on it. My husband had to work really hard to get it reinforced and sturdy again.
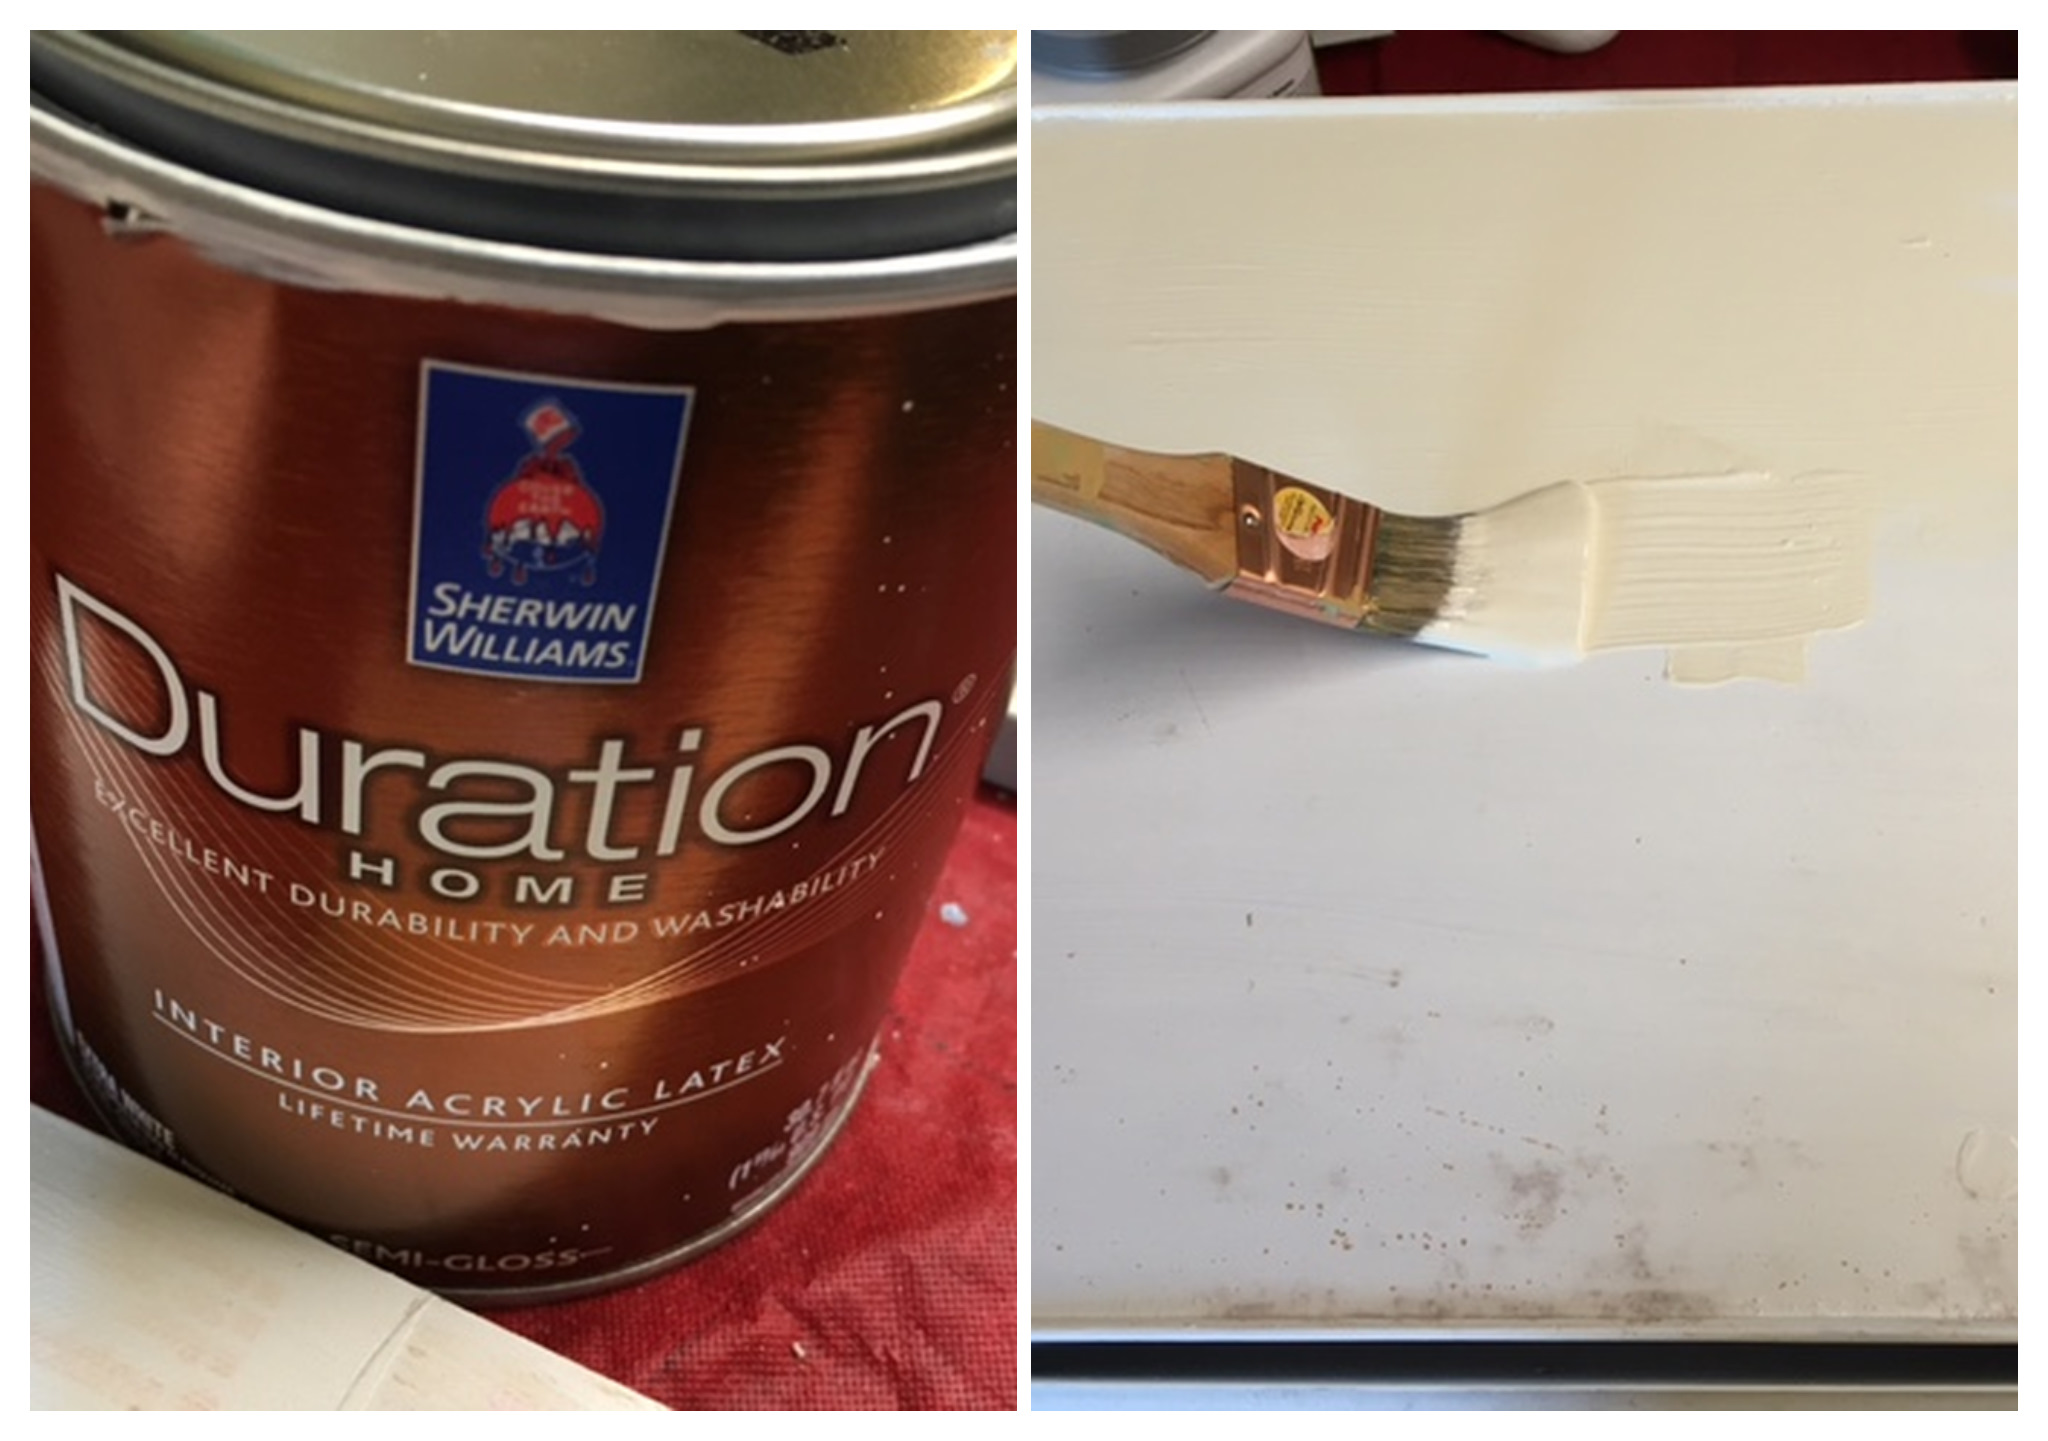
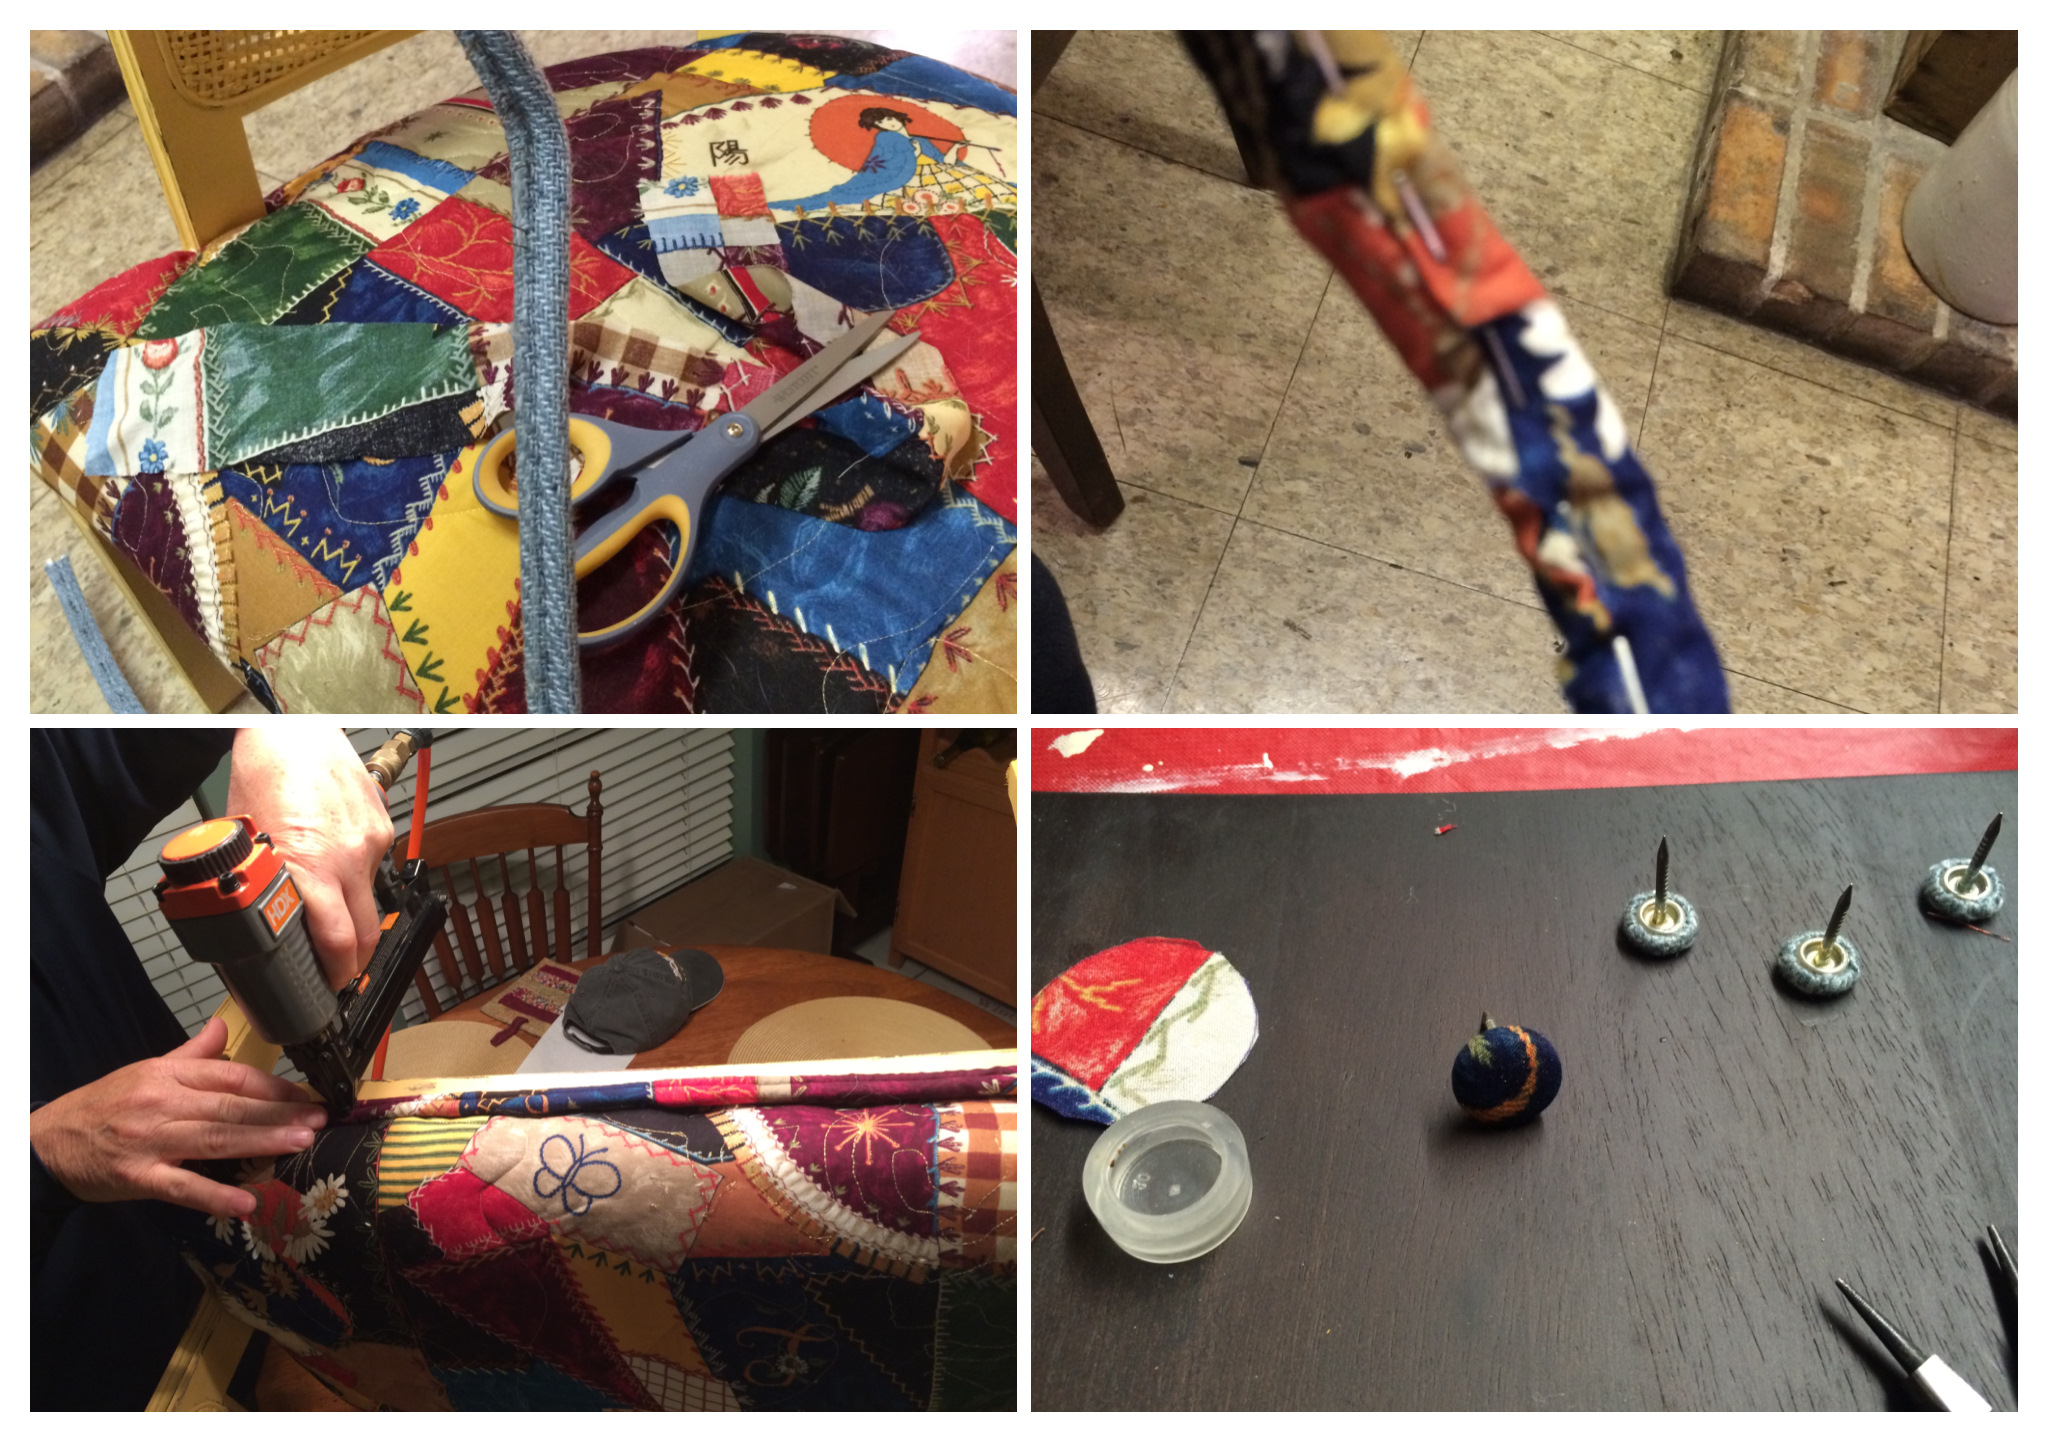
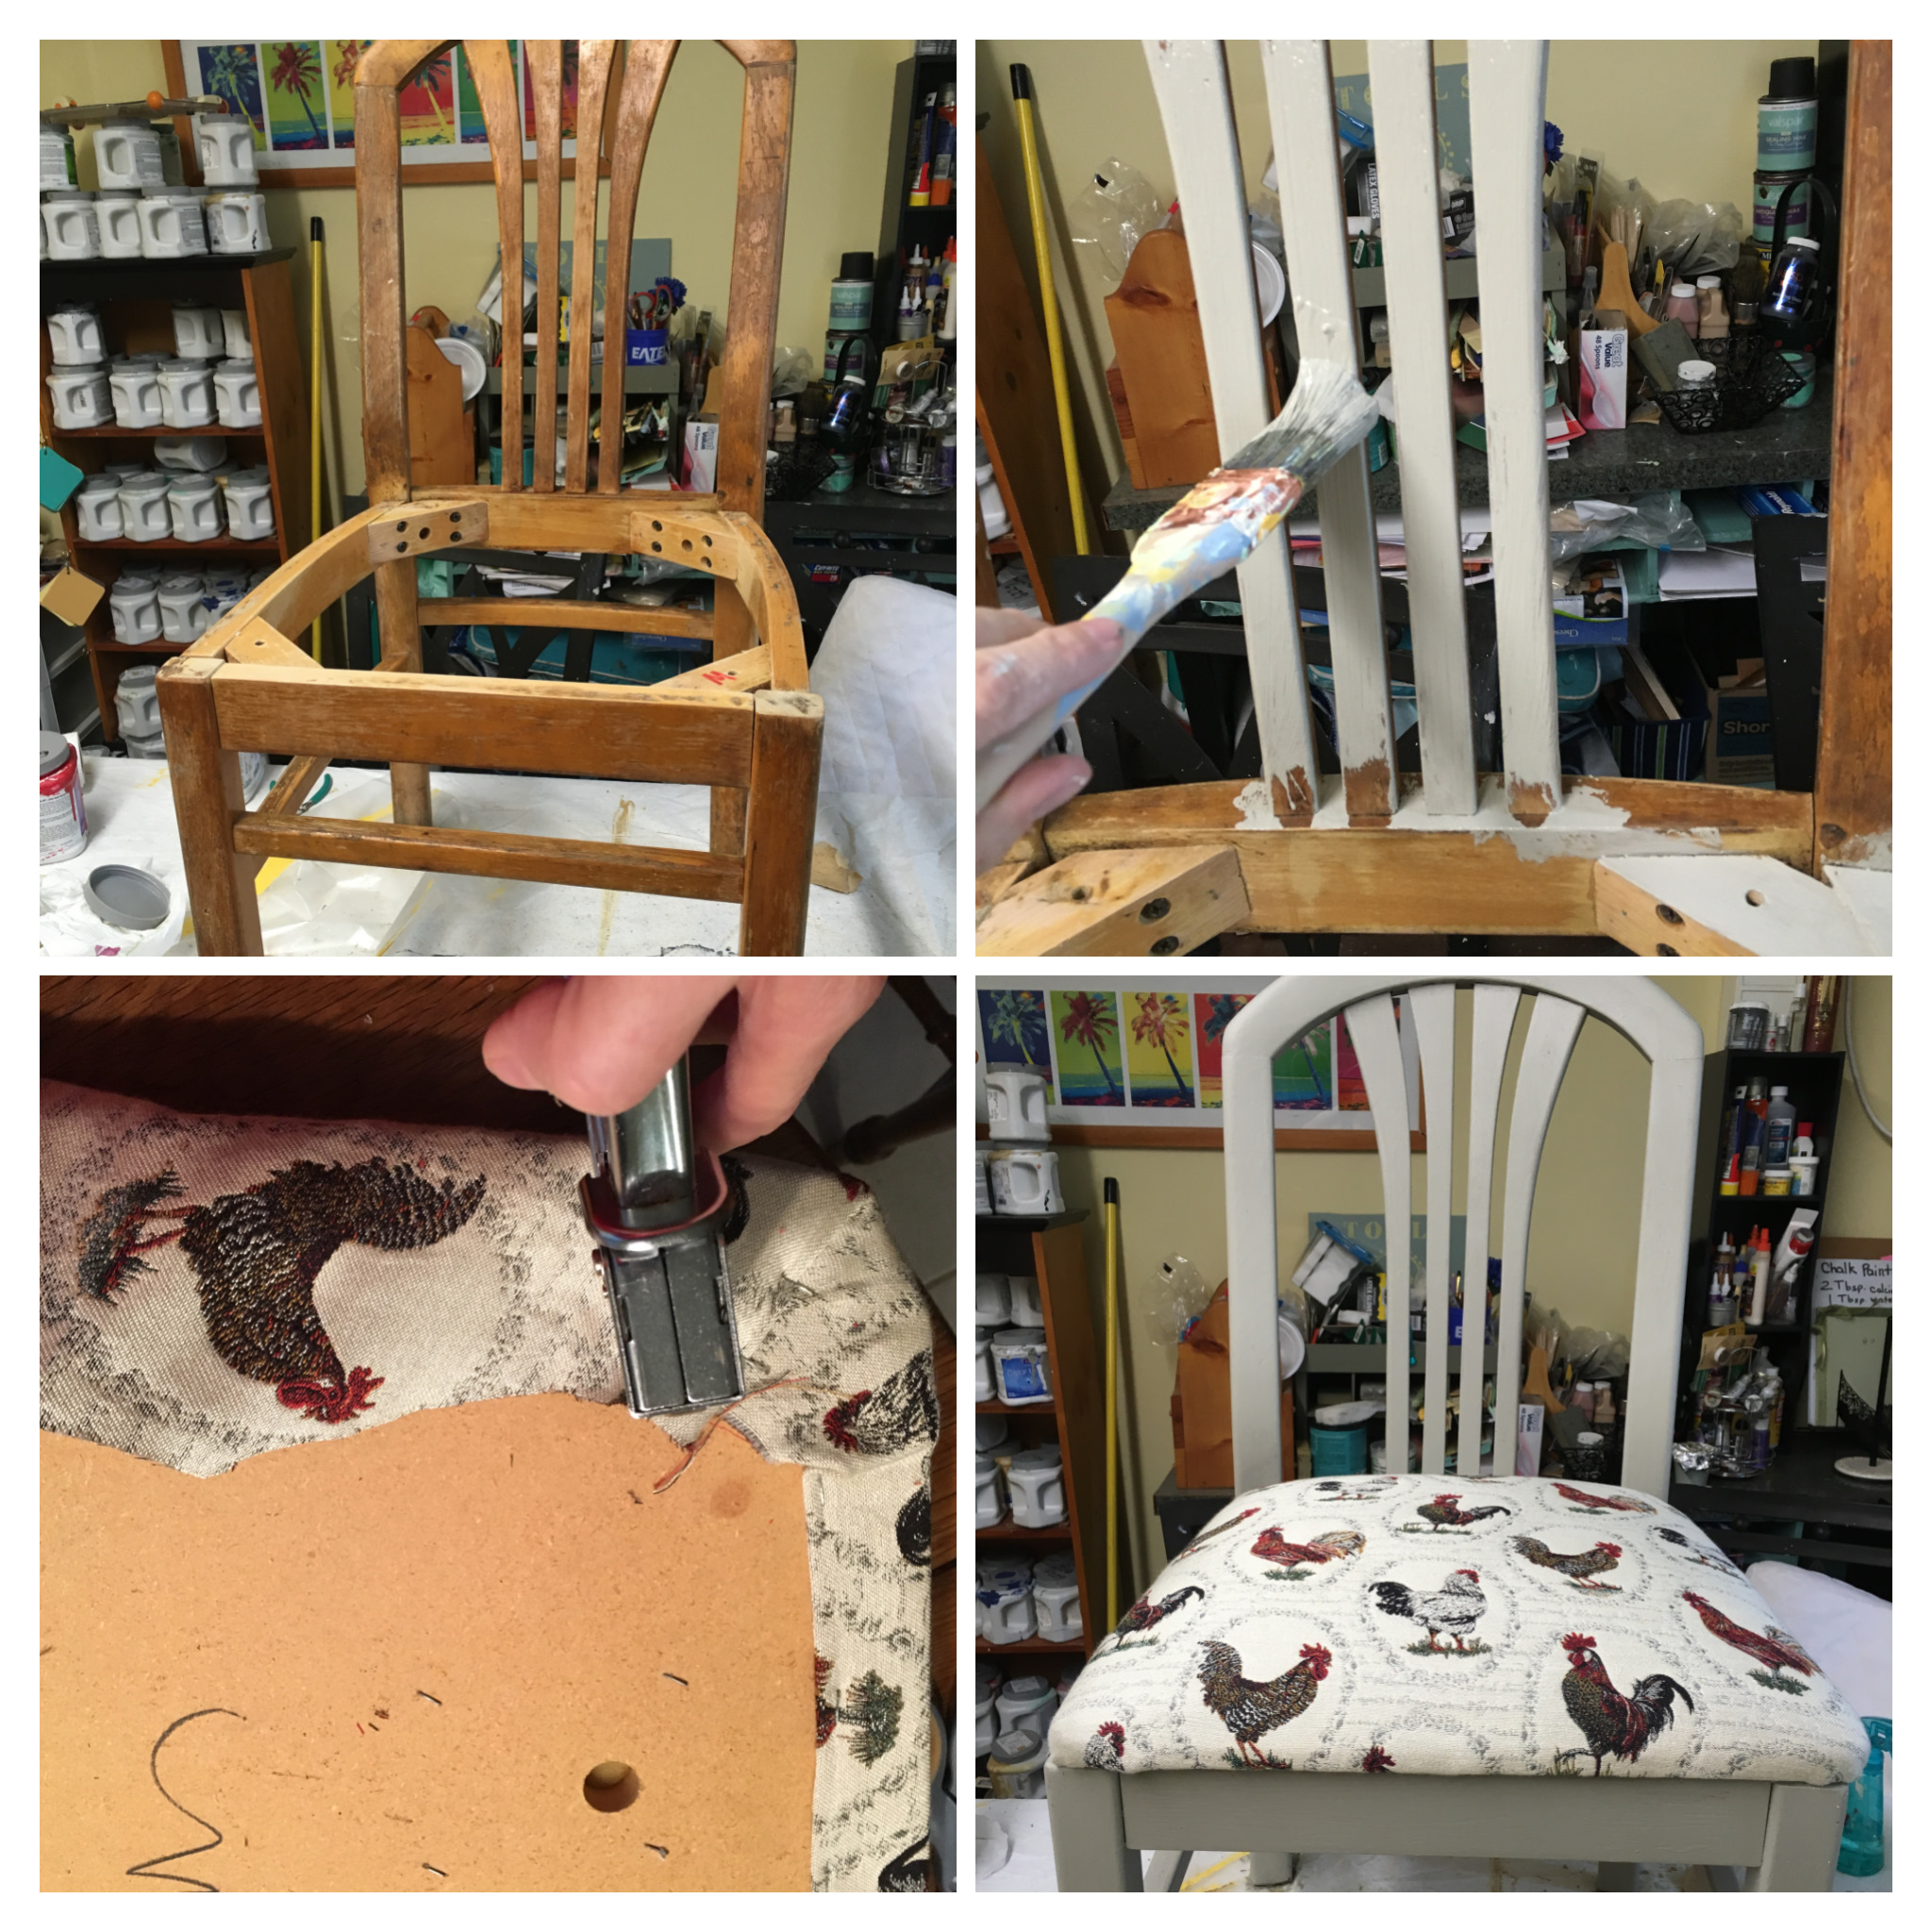 I took off the seat cushion and the next step was to go through my upholstery material to see which one would go with this chair. As soon as I put the rooster material up to it I knew this had to be it. I had just the exact amount needed leftover from a project I did years ago and I have always loved this material. I sanded it some and then painted it Sherwin Williams Intellectual gray made into chalk paint and put on a clear wax. The next day when I set the cushion on top to see what it would look like I really liked the gray but I decided to go forth with my original plan of painting red on top of the gray to give it a two tone effect. I painted a thin coat of Sherwin Williams Antique Red made into chalk paint and sanded in some places right away because I wanted it to be heavily distressed. The wax I did the day before also helped the effect of it looking very distressed without having to do a lot of sanding.

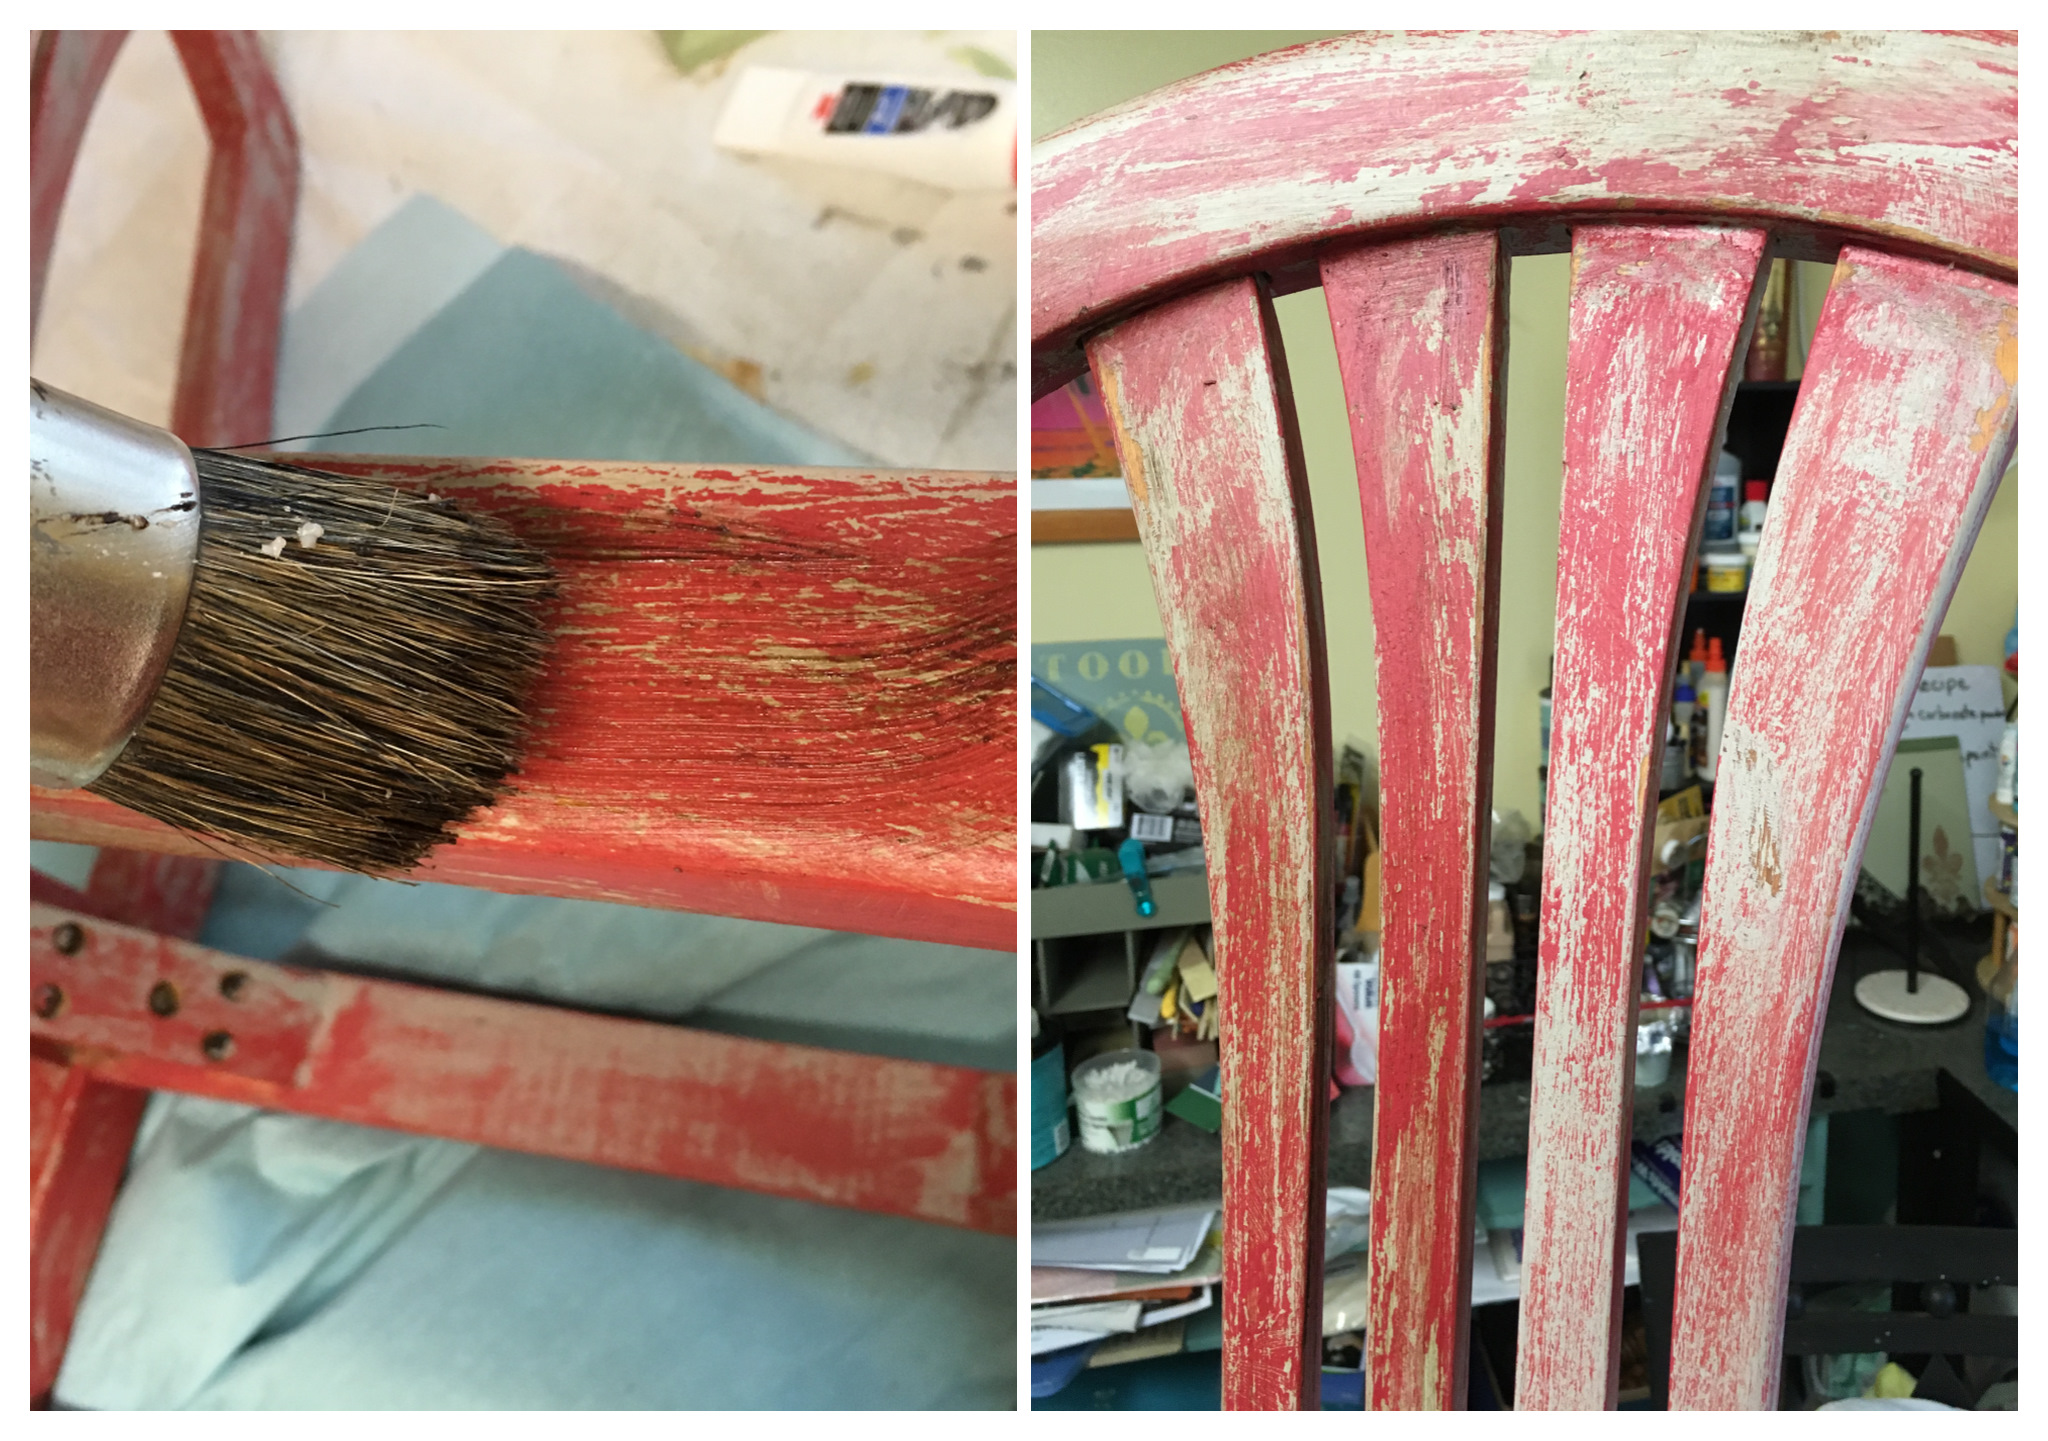 I clear waxed the chair, let it seep into the wood for a day and then dark waxed it the next day. You can see on the close-up picture of the back slats of the chair the difference it made with the dark wax. The 1st two slats have the dark wax. I love doing simple projects like this and seeing the results right away. Sometimes people come into the shop just wanting a single chair for a kitchen area or a desk. This one is available at “Ginger’s Attic” for $48.
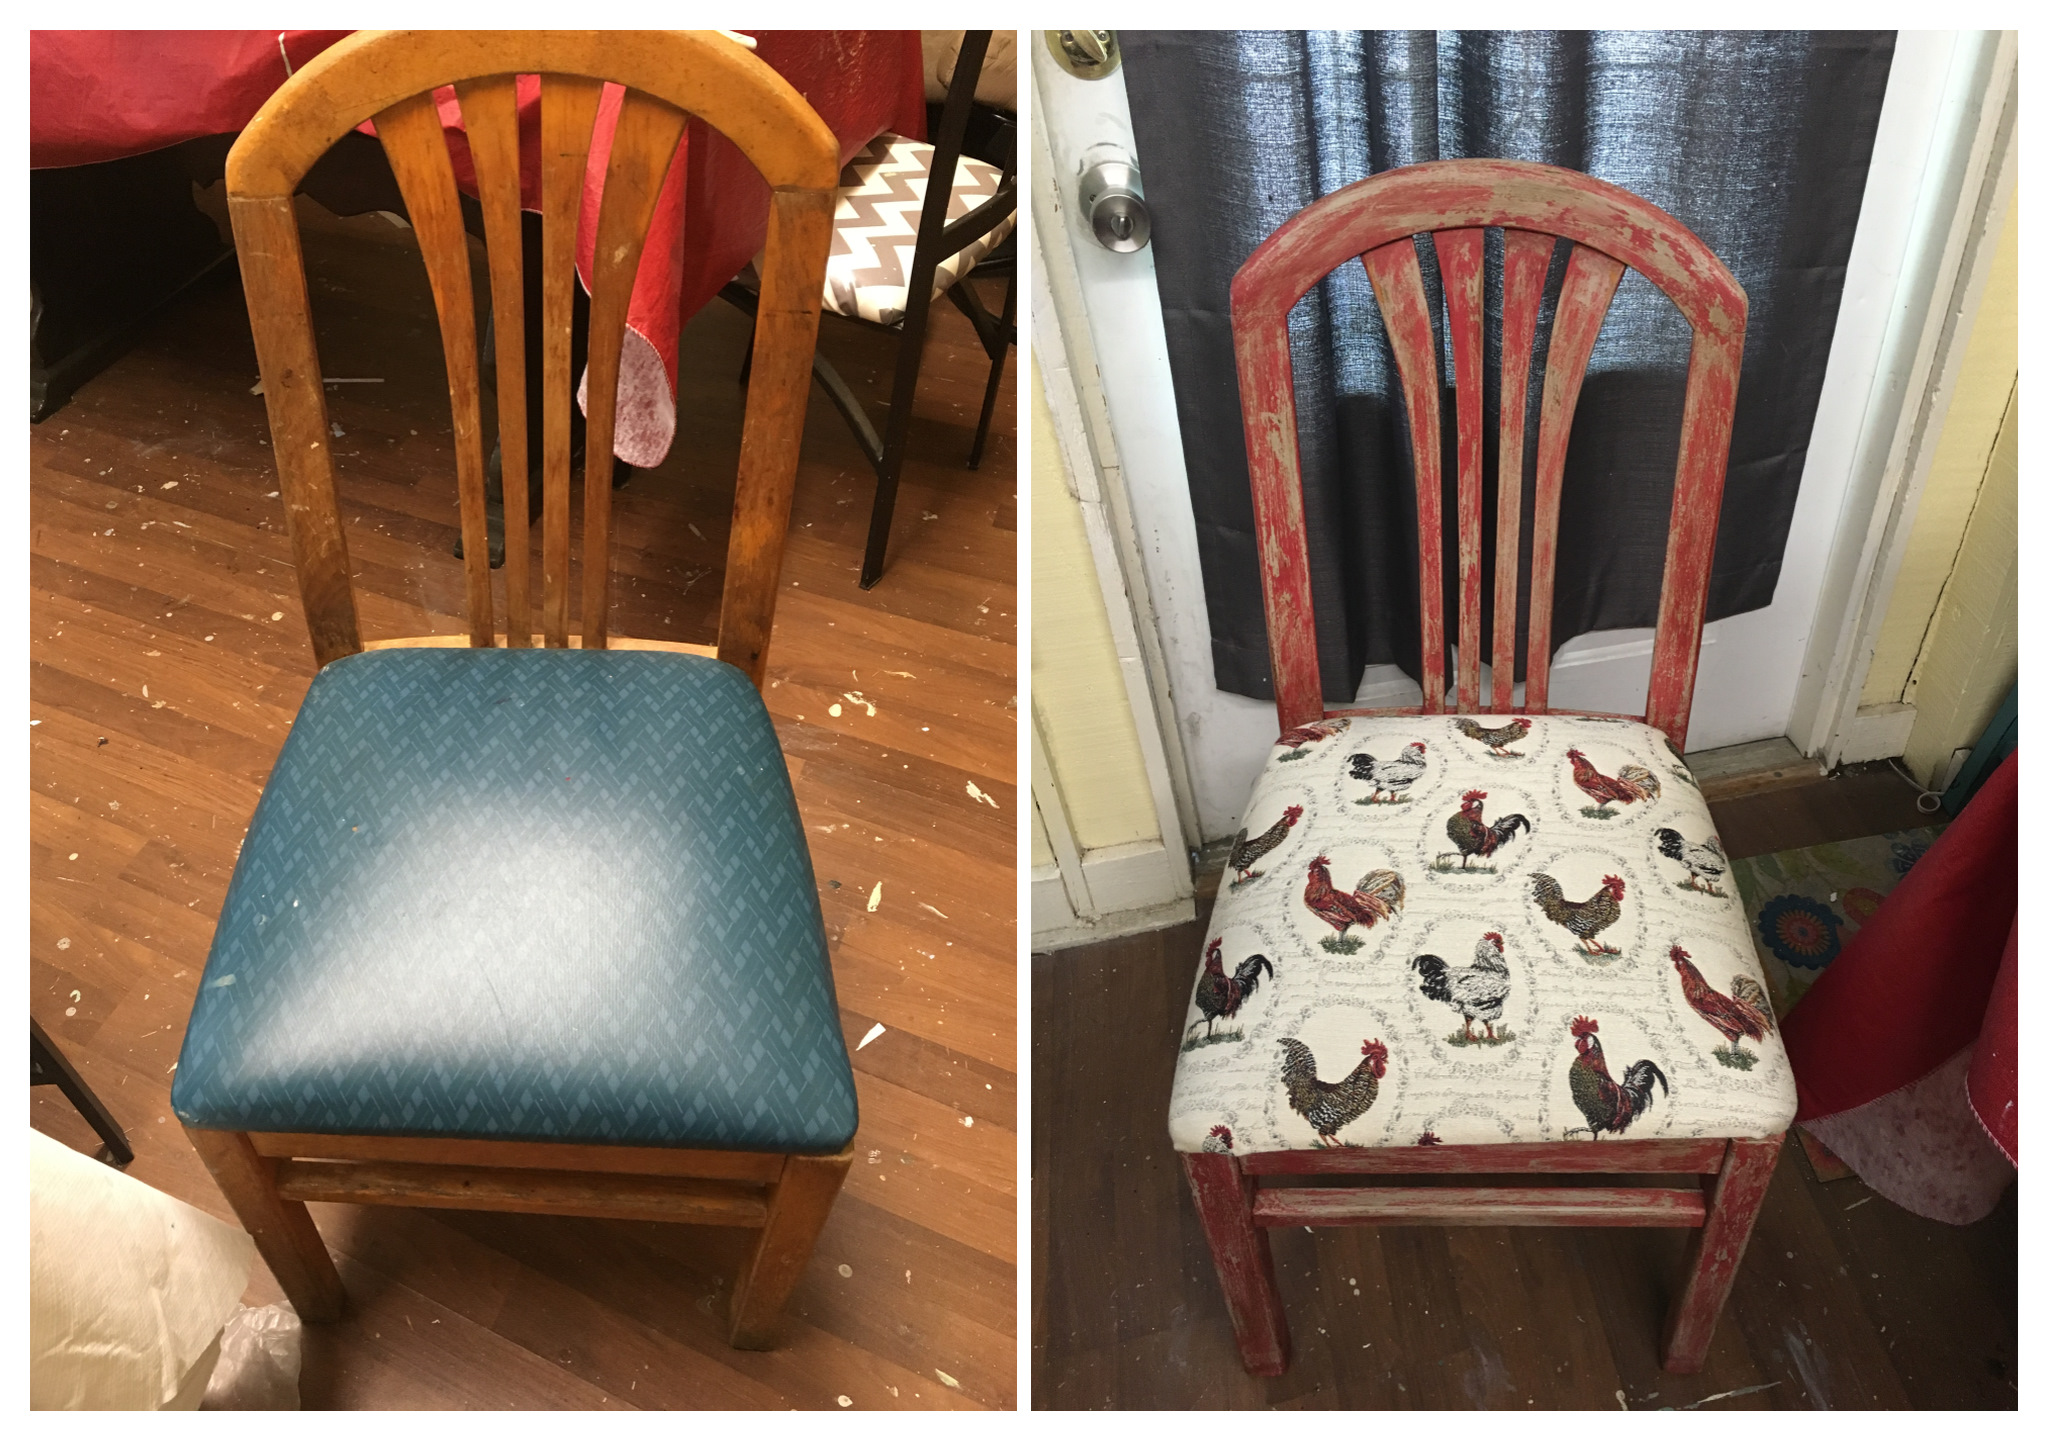
This shows the before and after of the chair.