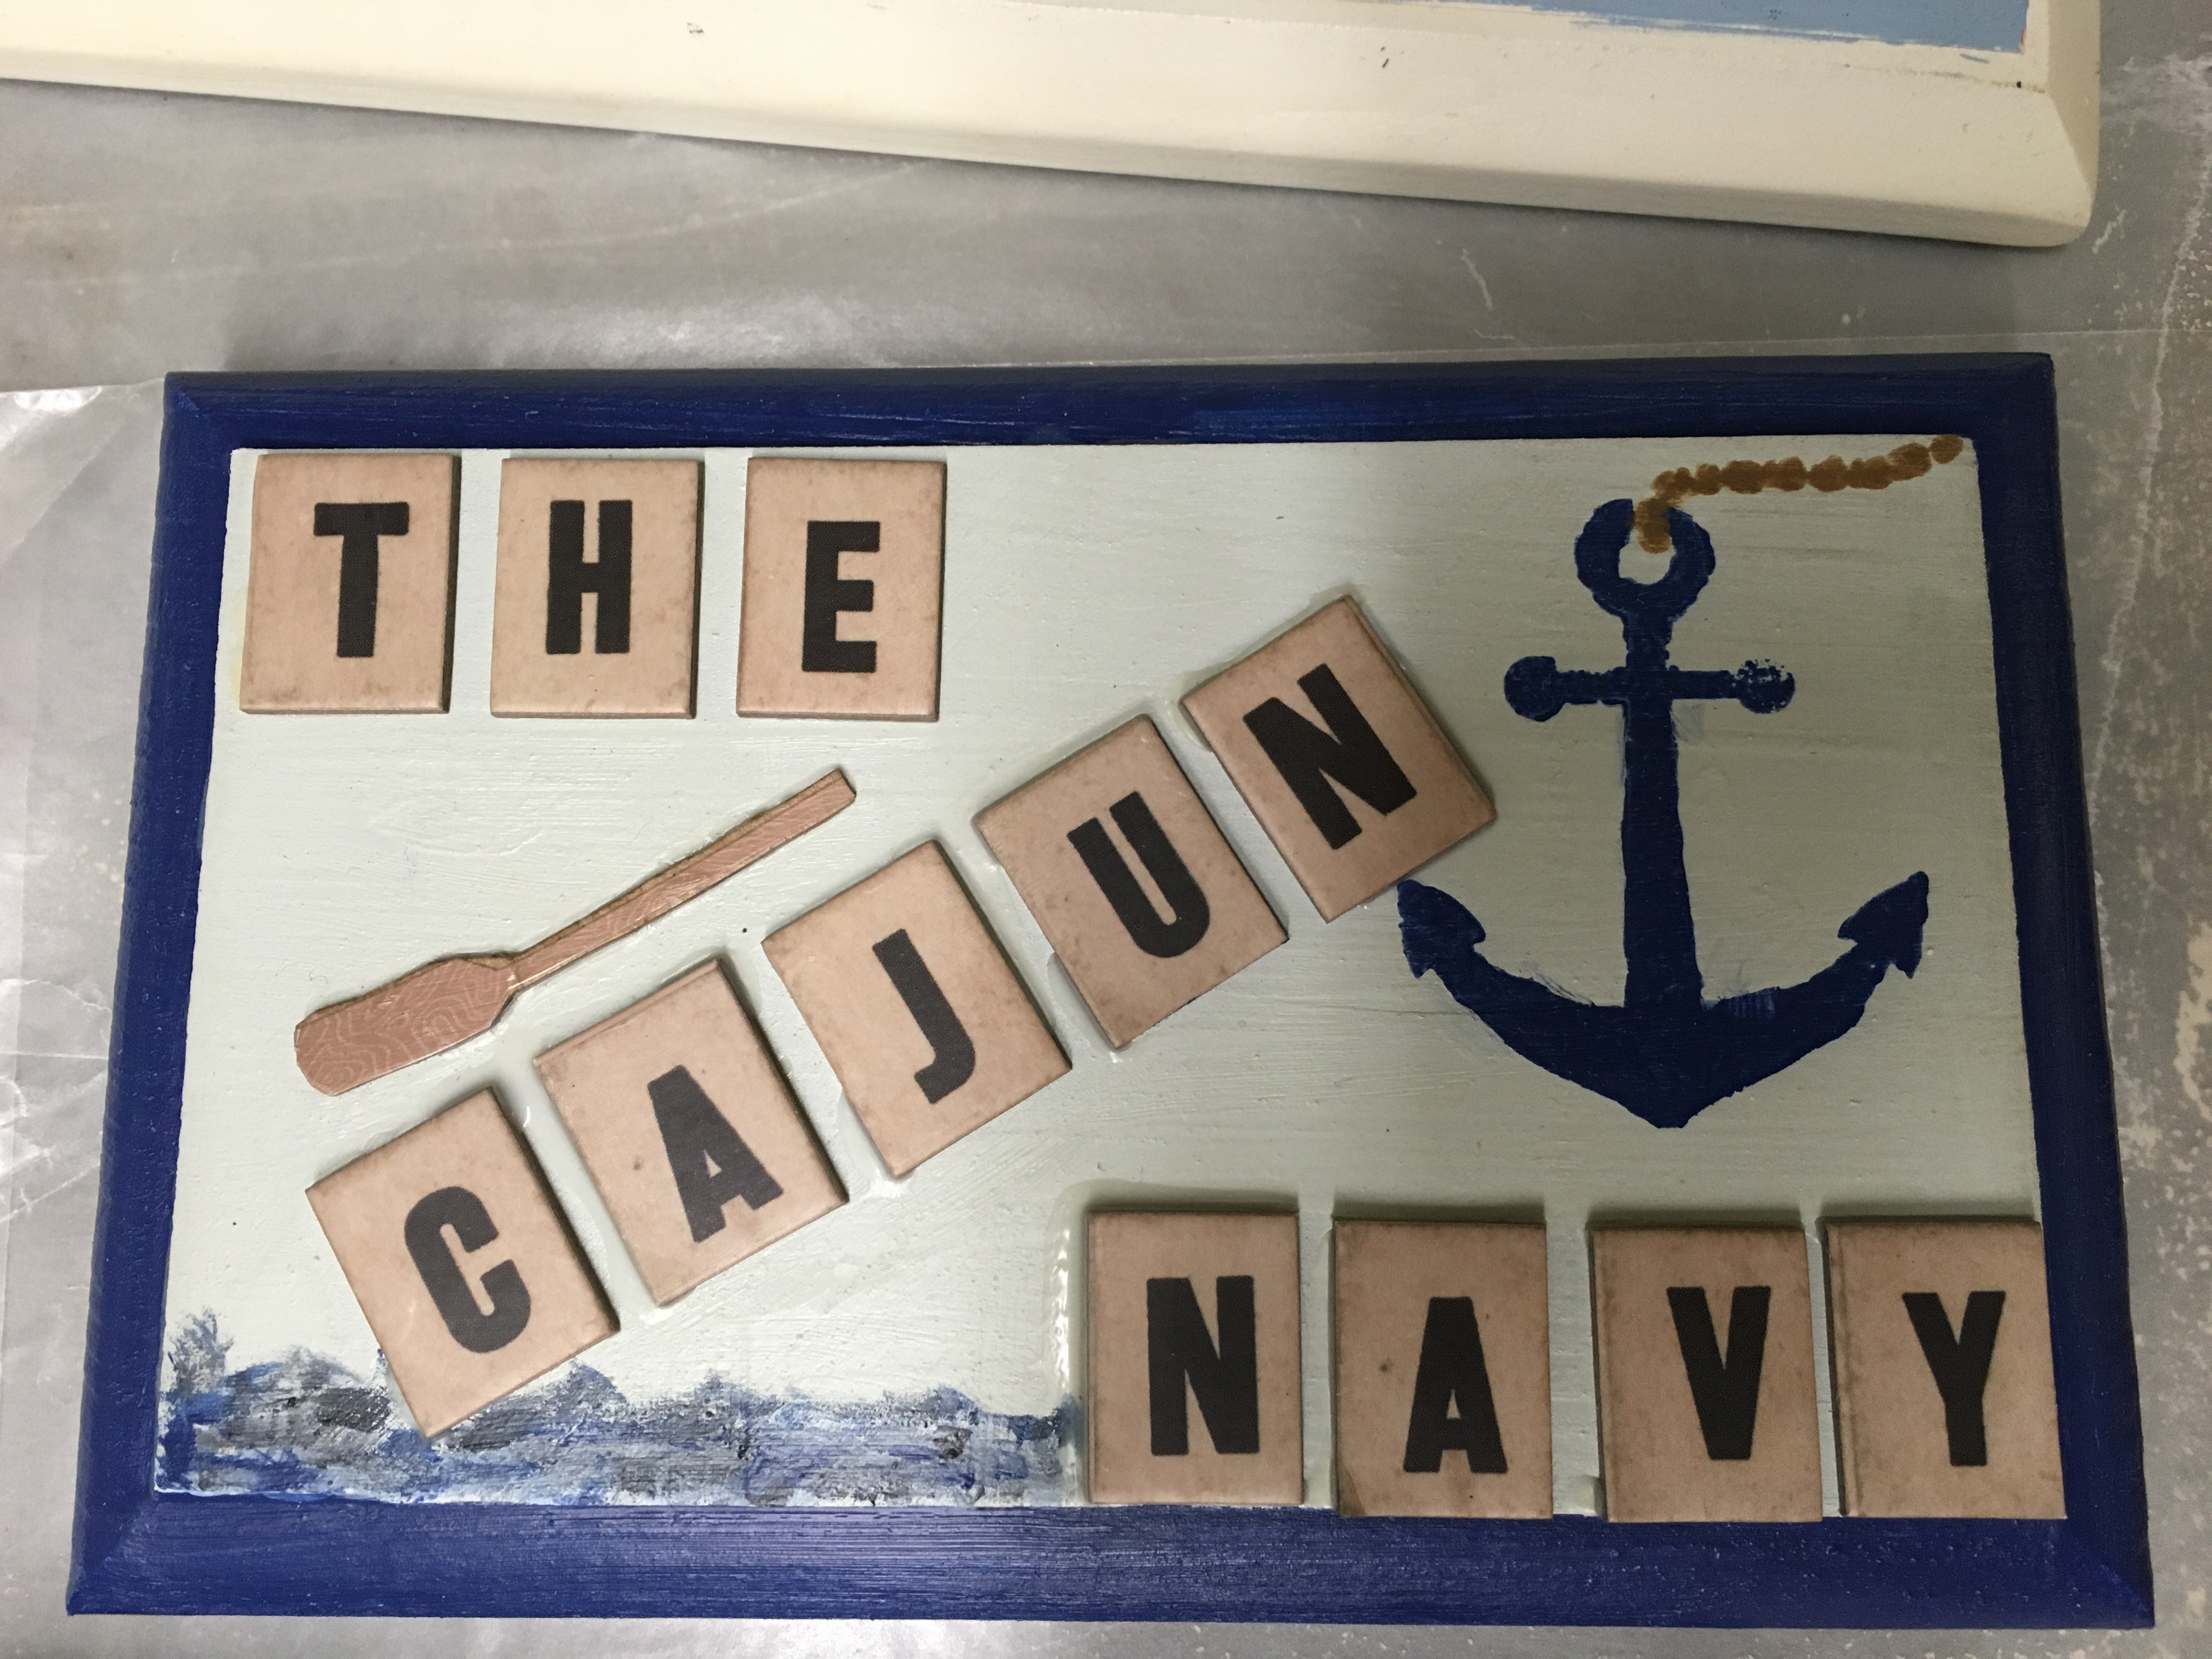
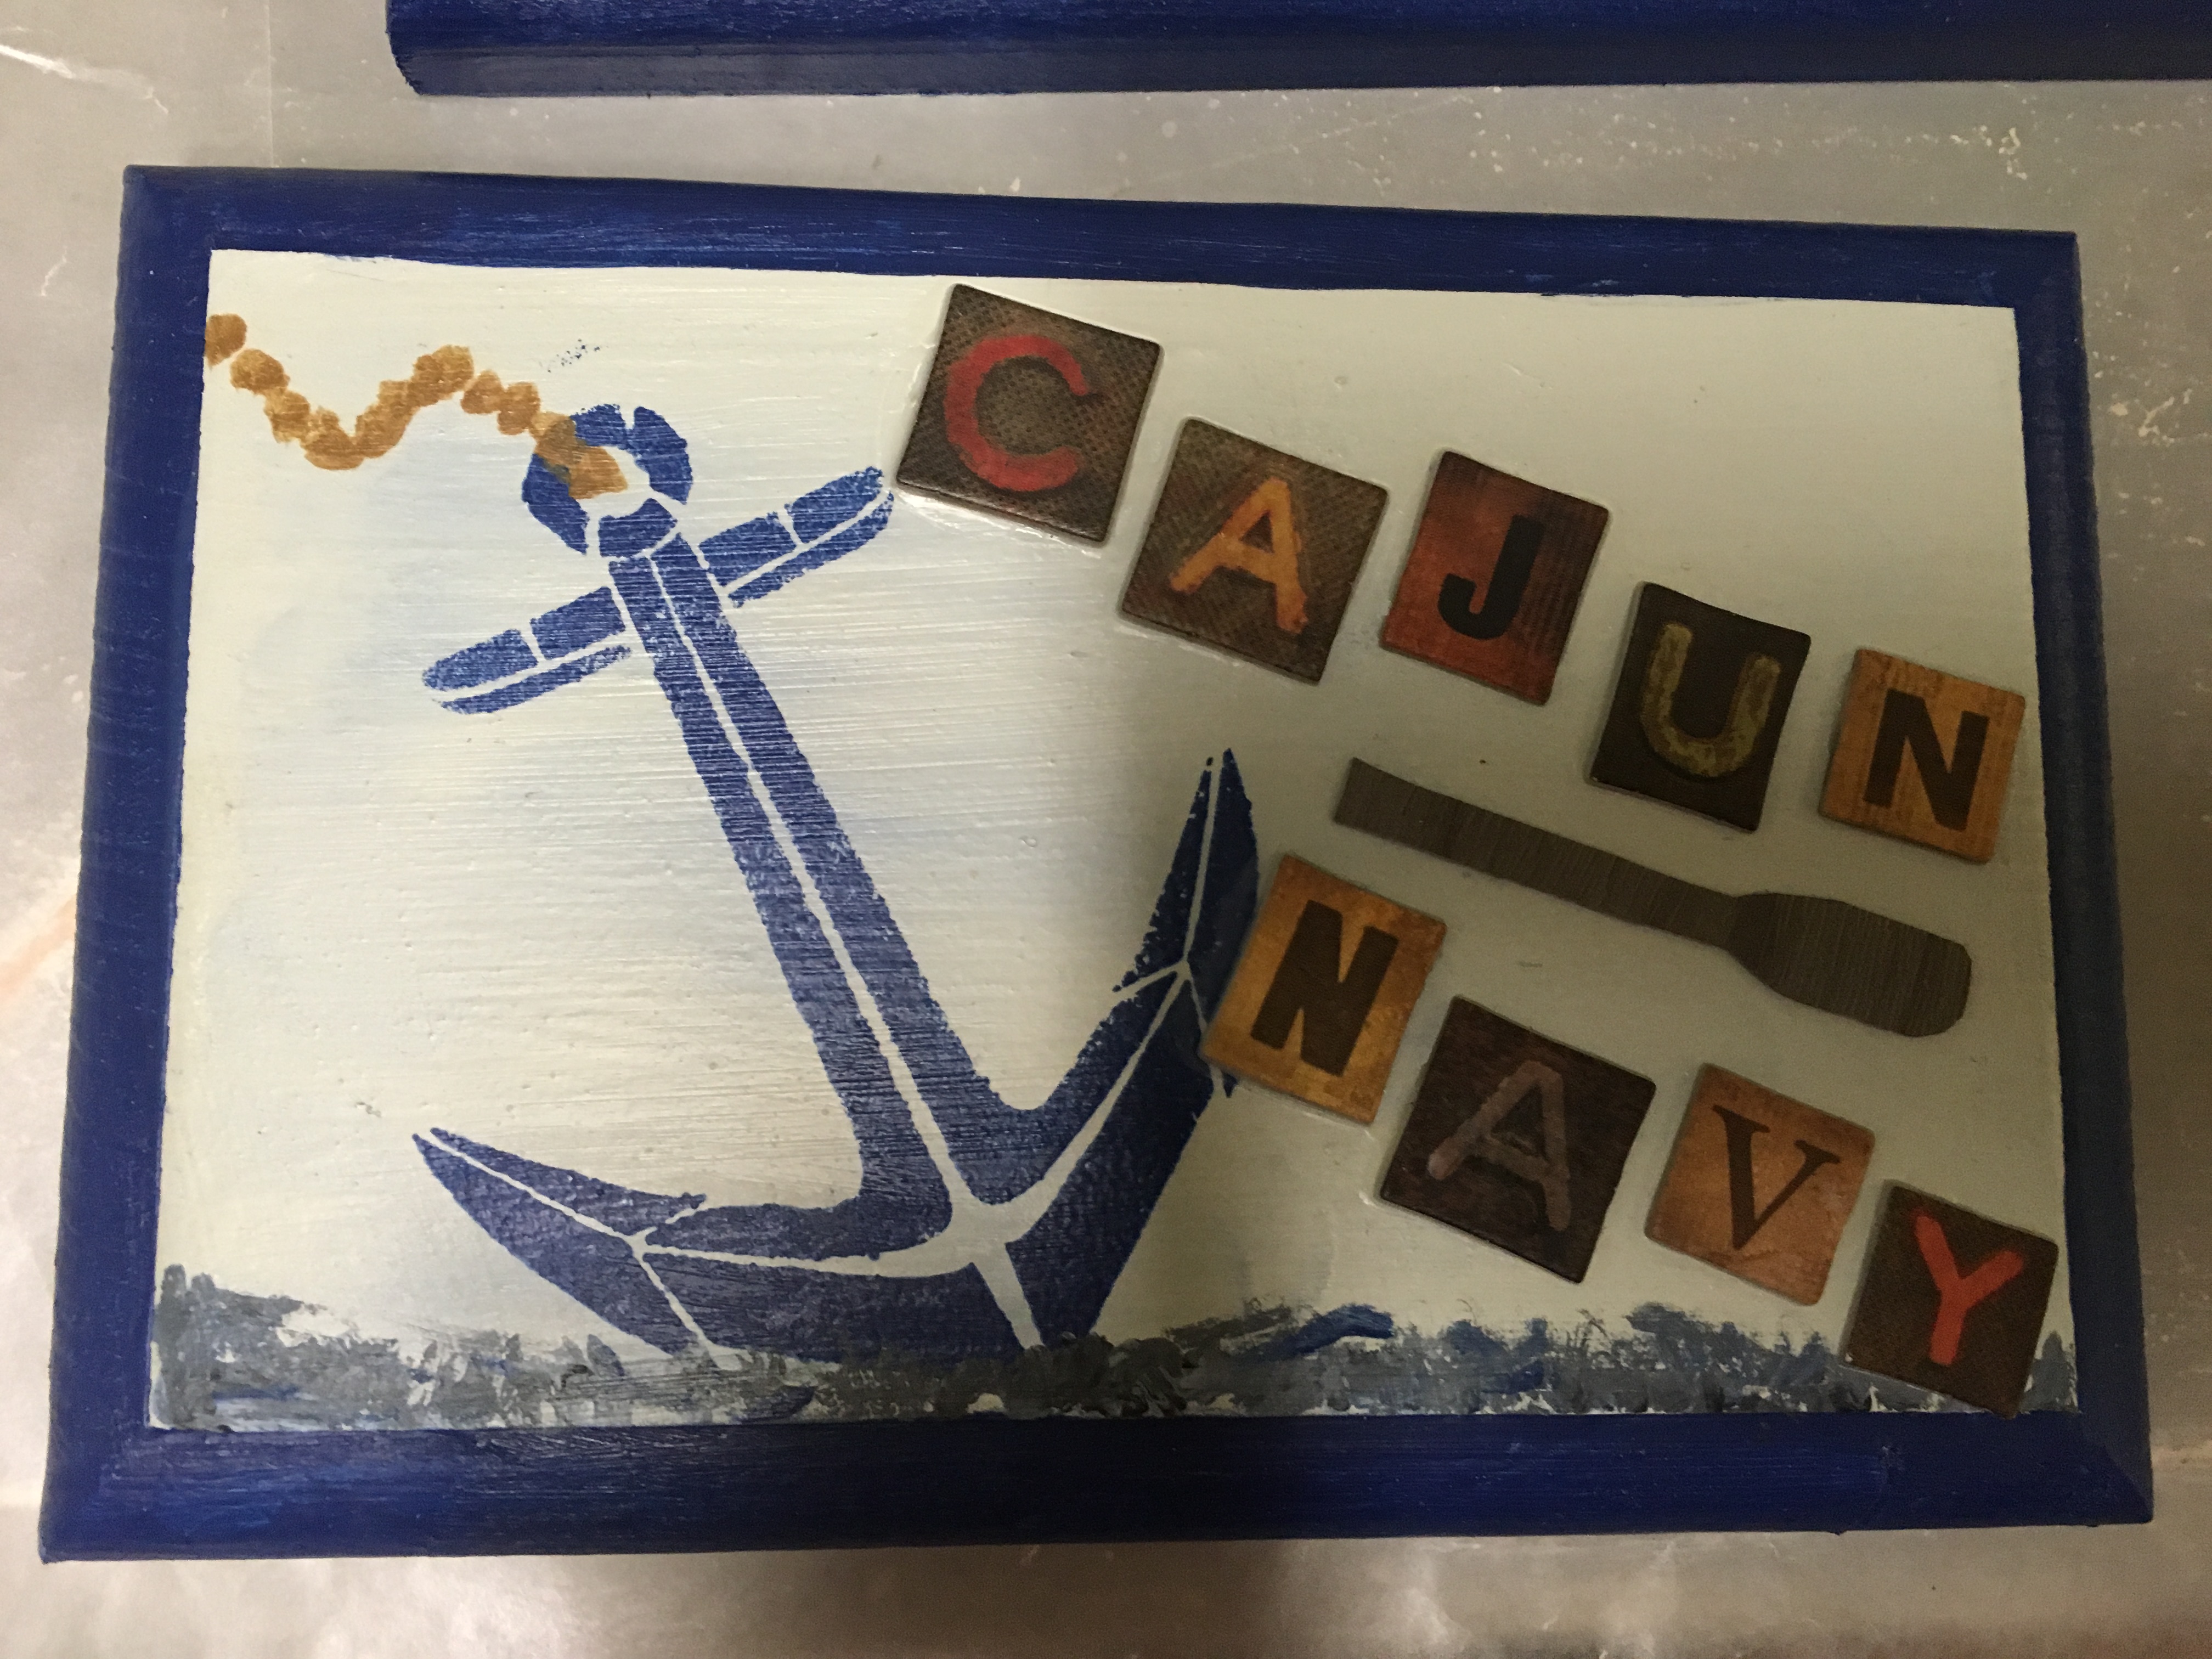
It’s been a long time since I posted a blog on my website because here in Louisiana we experienced a devastating flood in August called “The Great Flood of 2016”. It has affected everyone in our area whether their house flooded or not. Two-thirds of our parish’s population ( 30,000 to 40,000 homes ) were impacted by historic floodwater. Nearly 800 businesses were affected. Thank God, our businesses – “Country Kitchen” and “Ginger’s Attic” were not flooded. It was very close; the water was up to the top of the “New River” that runs in front of our business by the railroad tracks and some houses two blocks away on each side got water. We are very blessed! We were able to open on most of the days even when the flooding was happening around our area so that we could get food out to people. Some meals were delivered and some of the area workers and rescue workers such as “The Cajun Navy” came out and we gave out many free meals that first week. We have also been giving out free meal coupons to those affected by the flood to come get a good home style cooked meal. Sometimes people need a boost and comfort food will help. When people check out at our restaurant we hear stories of the problems people are facing. It is heartbreaking! Since this flood was unexpected and historical many people who flooded were not in flood zones and didn’t have flood insurance. People have had to throw out all or part of their belongings onto the street and then watch trucks come by and pick up things they have accumulated during their lifetime. Many are having to have their home bulldozed. It is especially hard on the elderly. How do they start over at this time in their lives? Our family was personally affected by this event with our two daughter’s houses flooding and our rent house where my sister and brother-in-law live. It has been a whirlwind of packing, gutting, cleaning, insurance and FEMA issues, and hard, hard decisions that have to be made, especially with my daughters. We had family living with us and they brought along an animal family of 10 guinea pigs, 3 dogs, and a cat! I personally feel like I have moved 3 times in the last month with all the packing sorting, discarding, and storing of 3 households of stuff. I didn’t do much gutting in houses – we had help doing that. We are so blessed with many people that have come forward to help – friends, family members, church members, golf buddies, groups from other areas, donations from people – even strangers! Louisiana is very proud of the way we have come together to get through this strategy and we are relying on God to continue to guide us and get us through it.
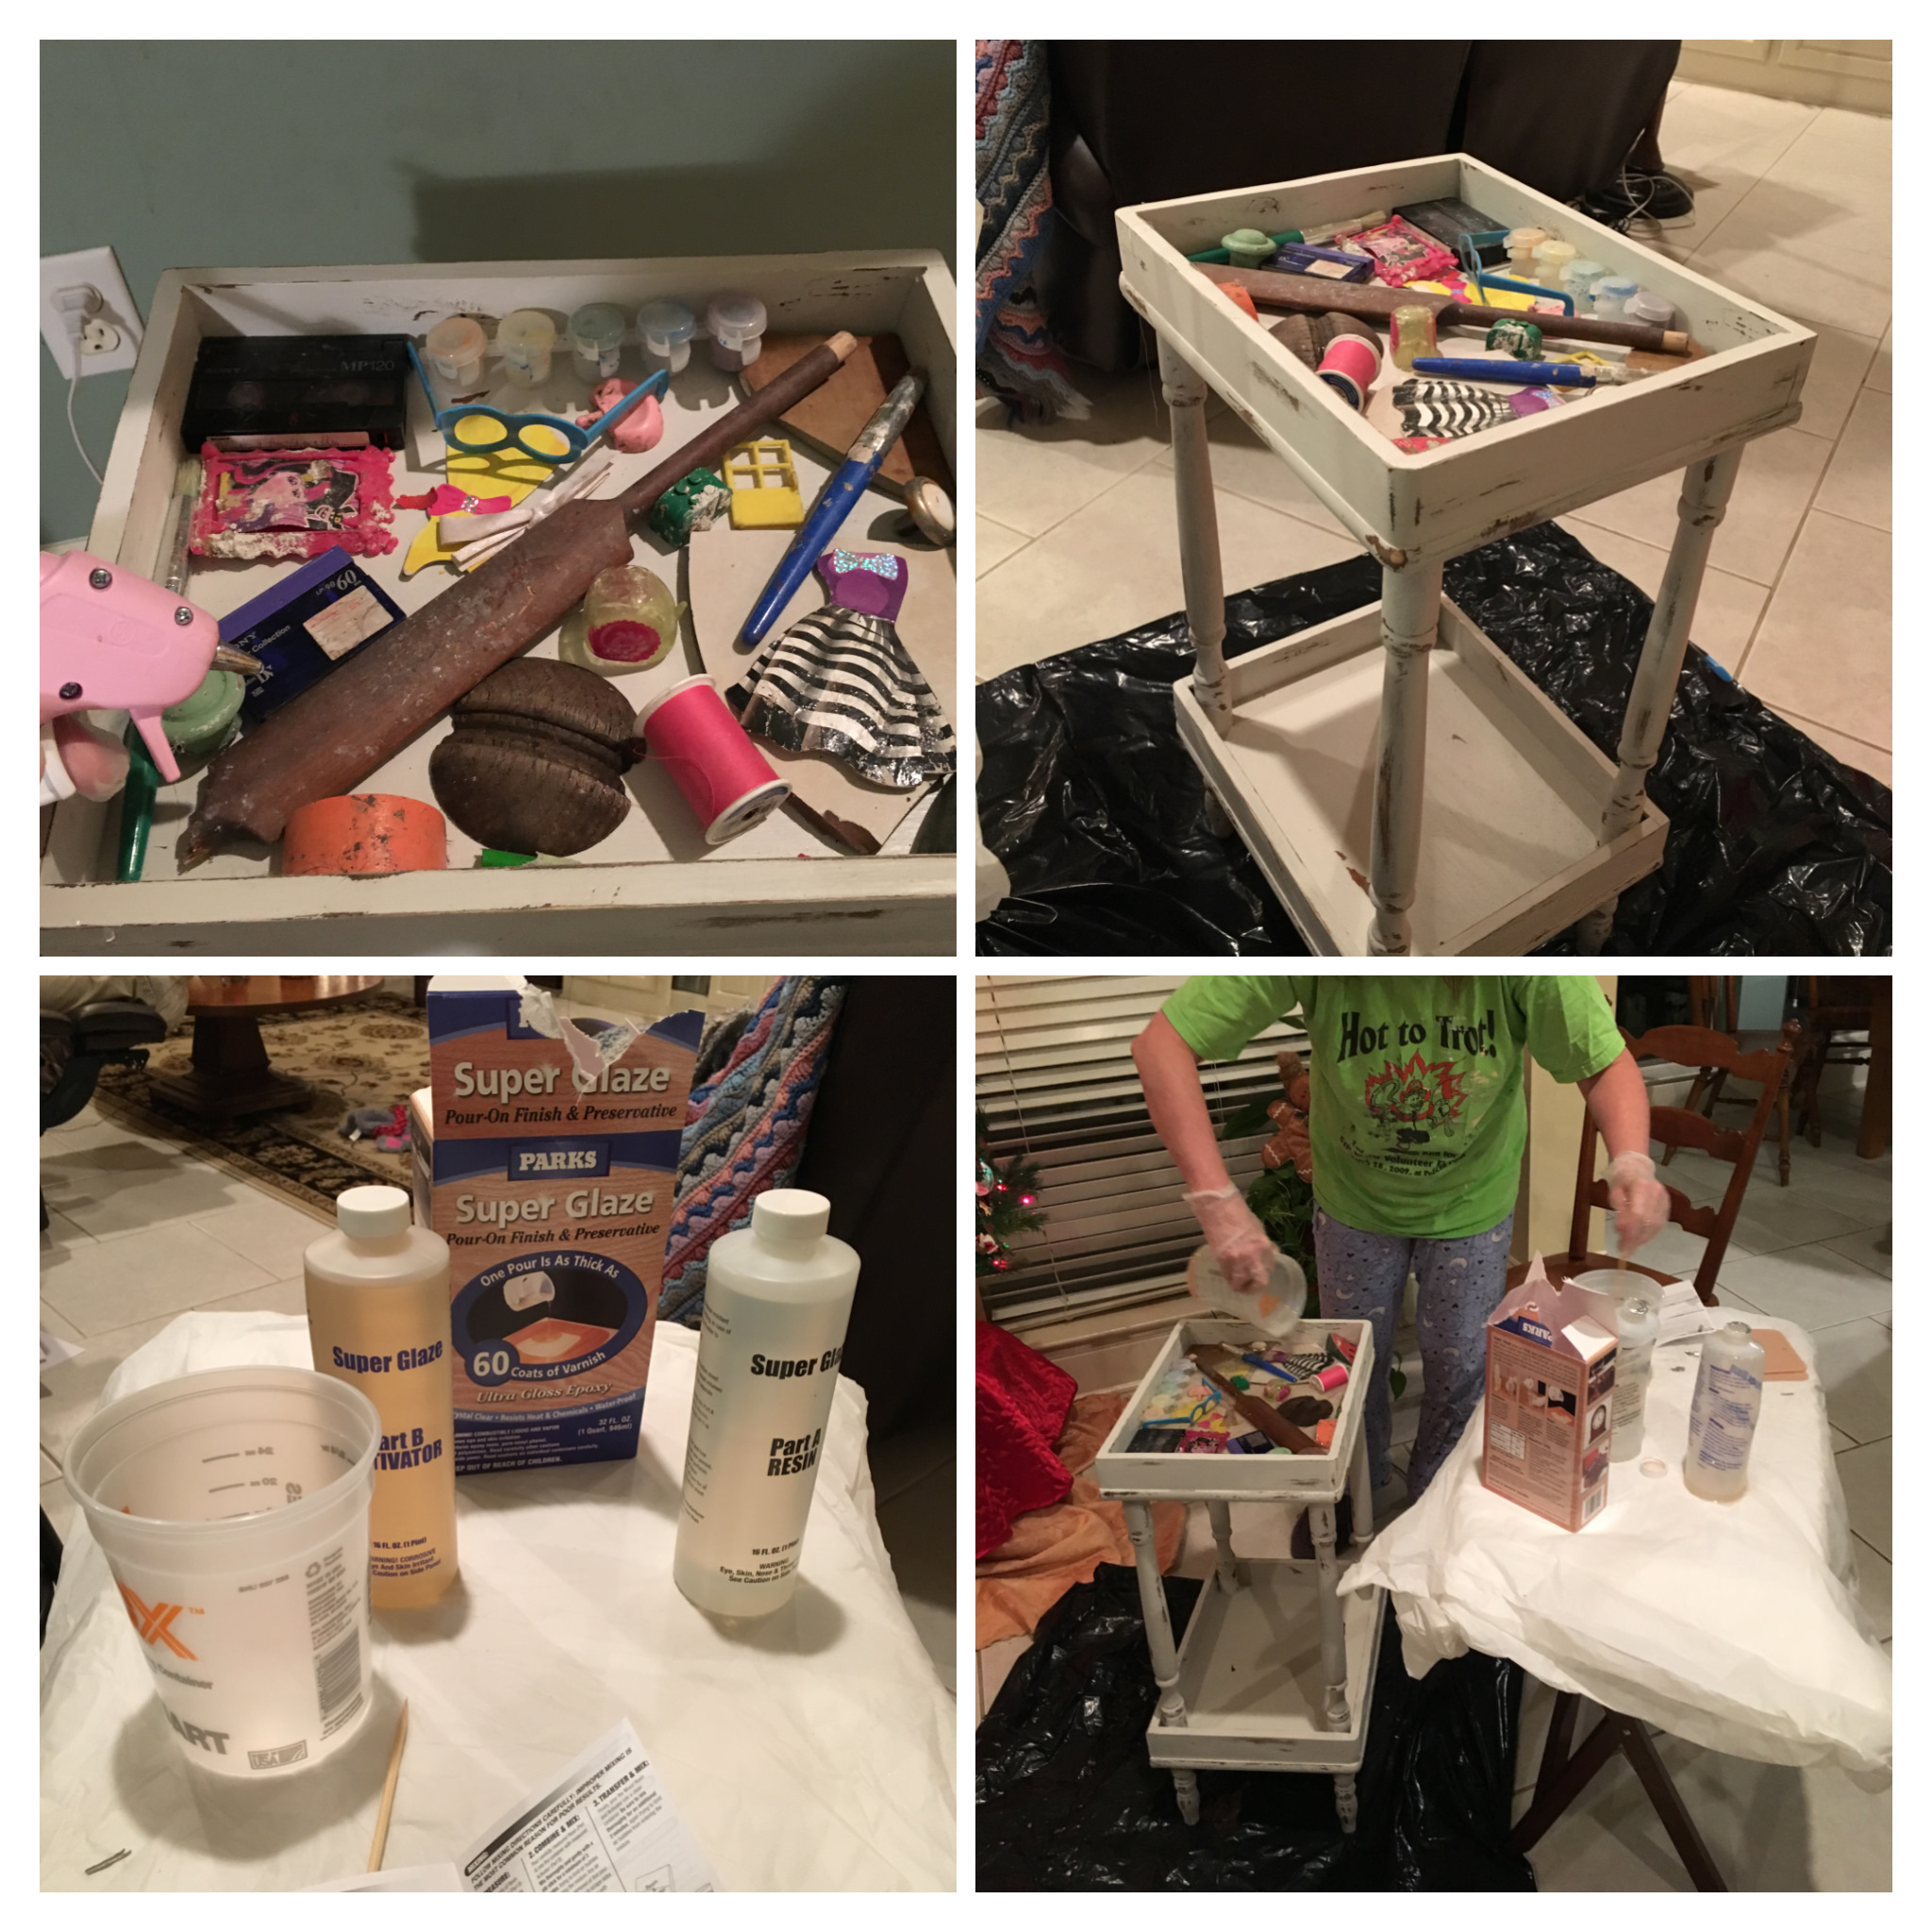
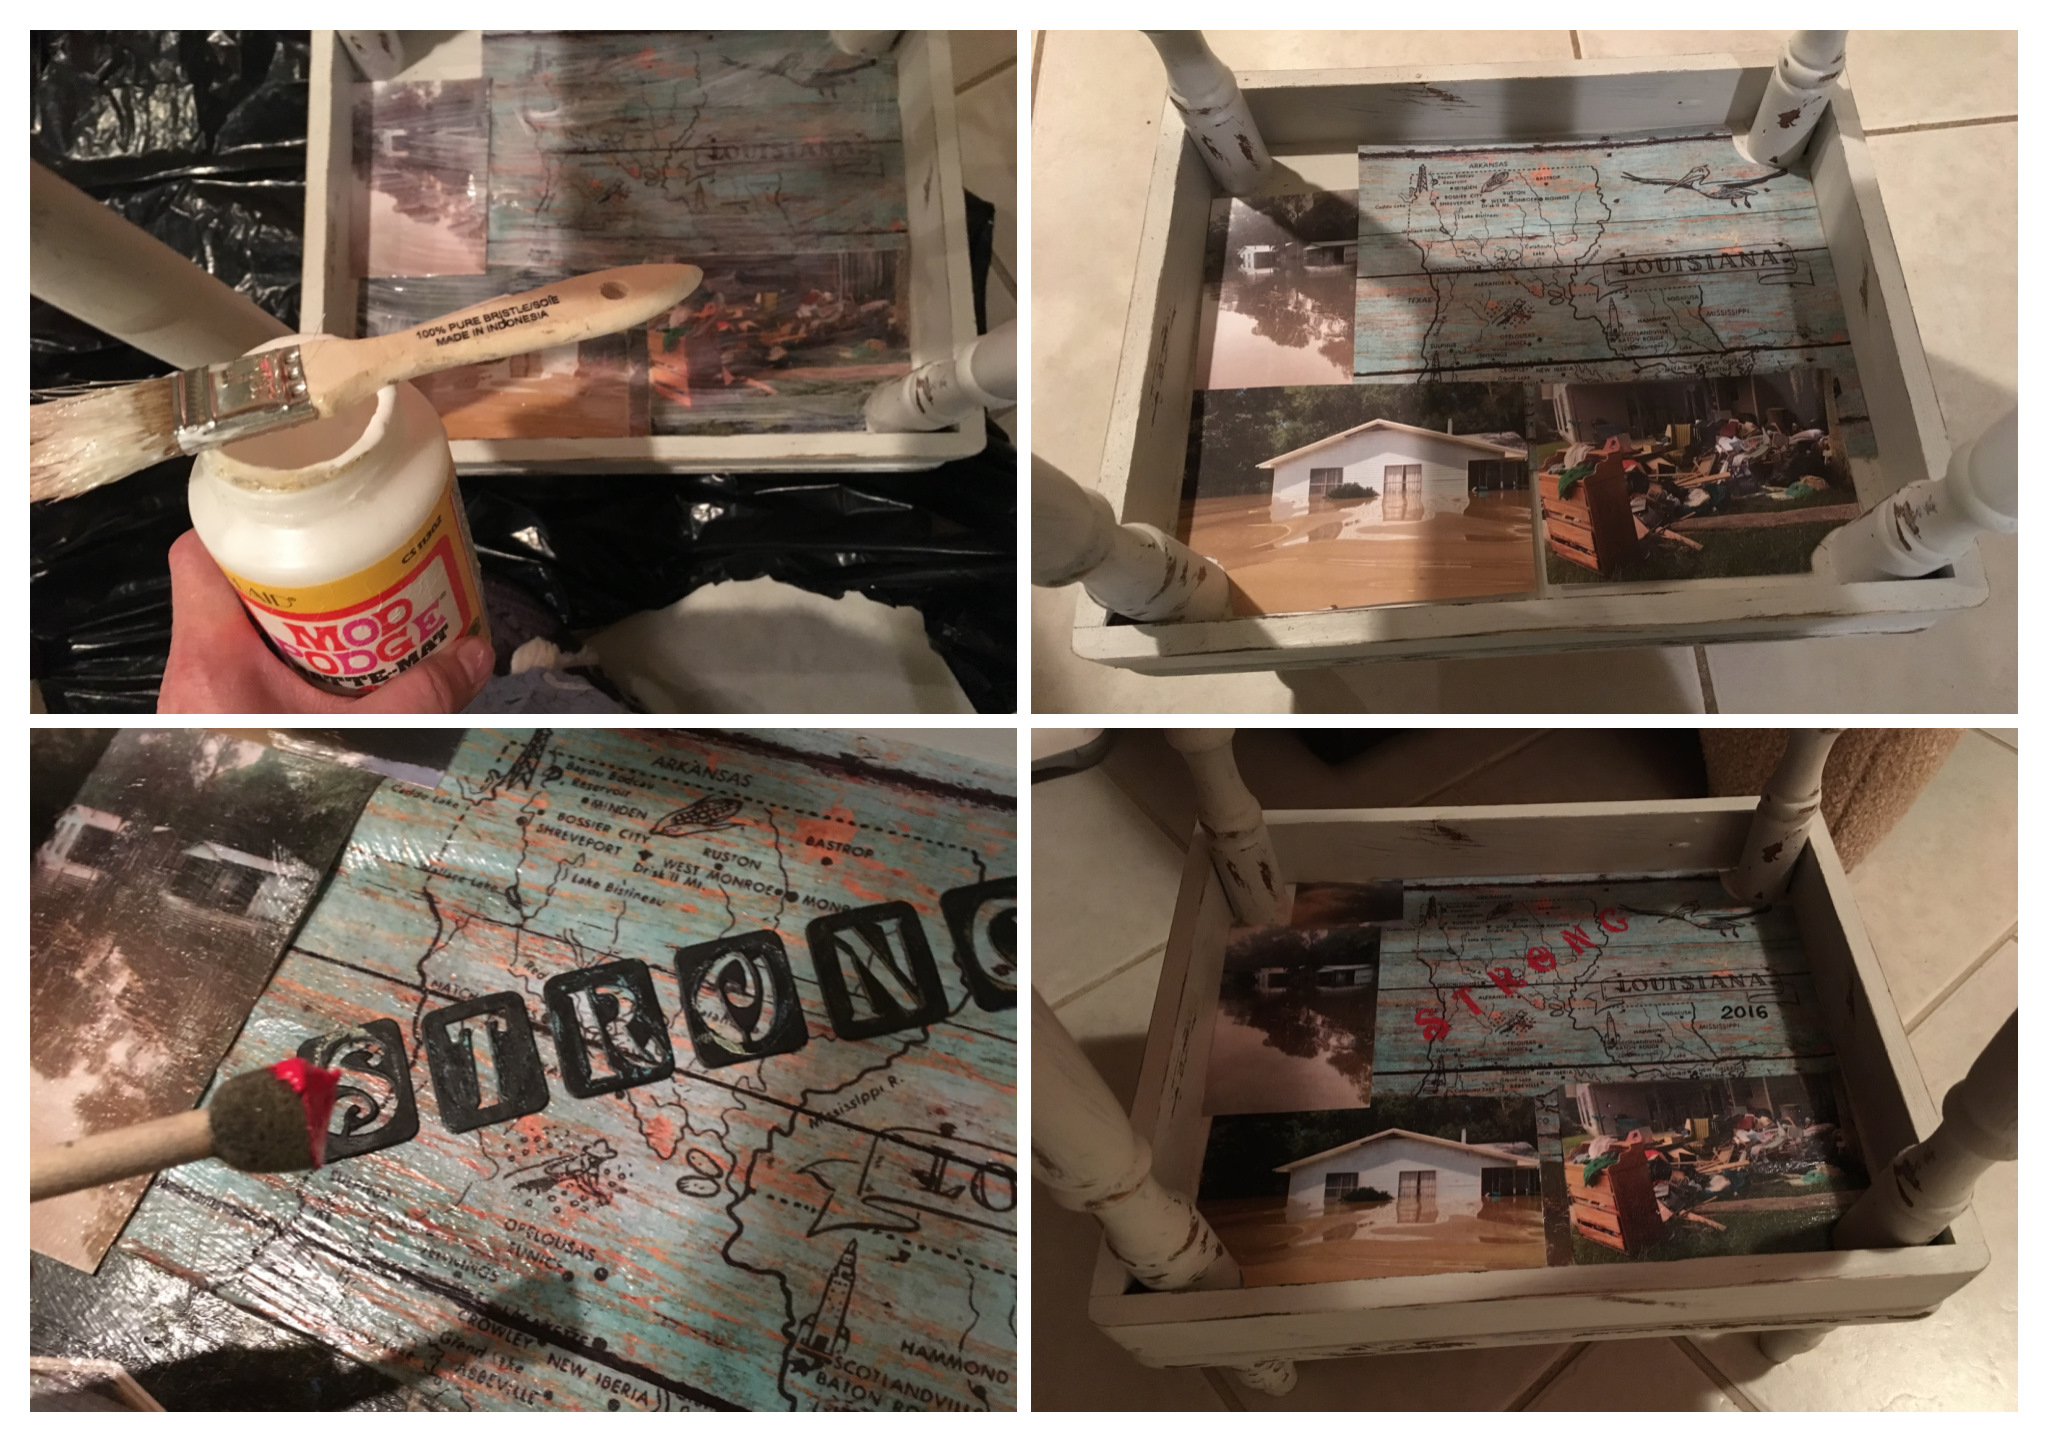
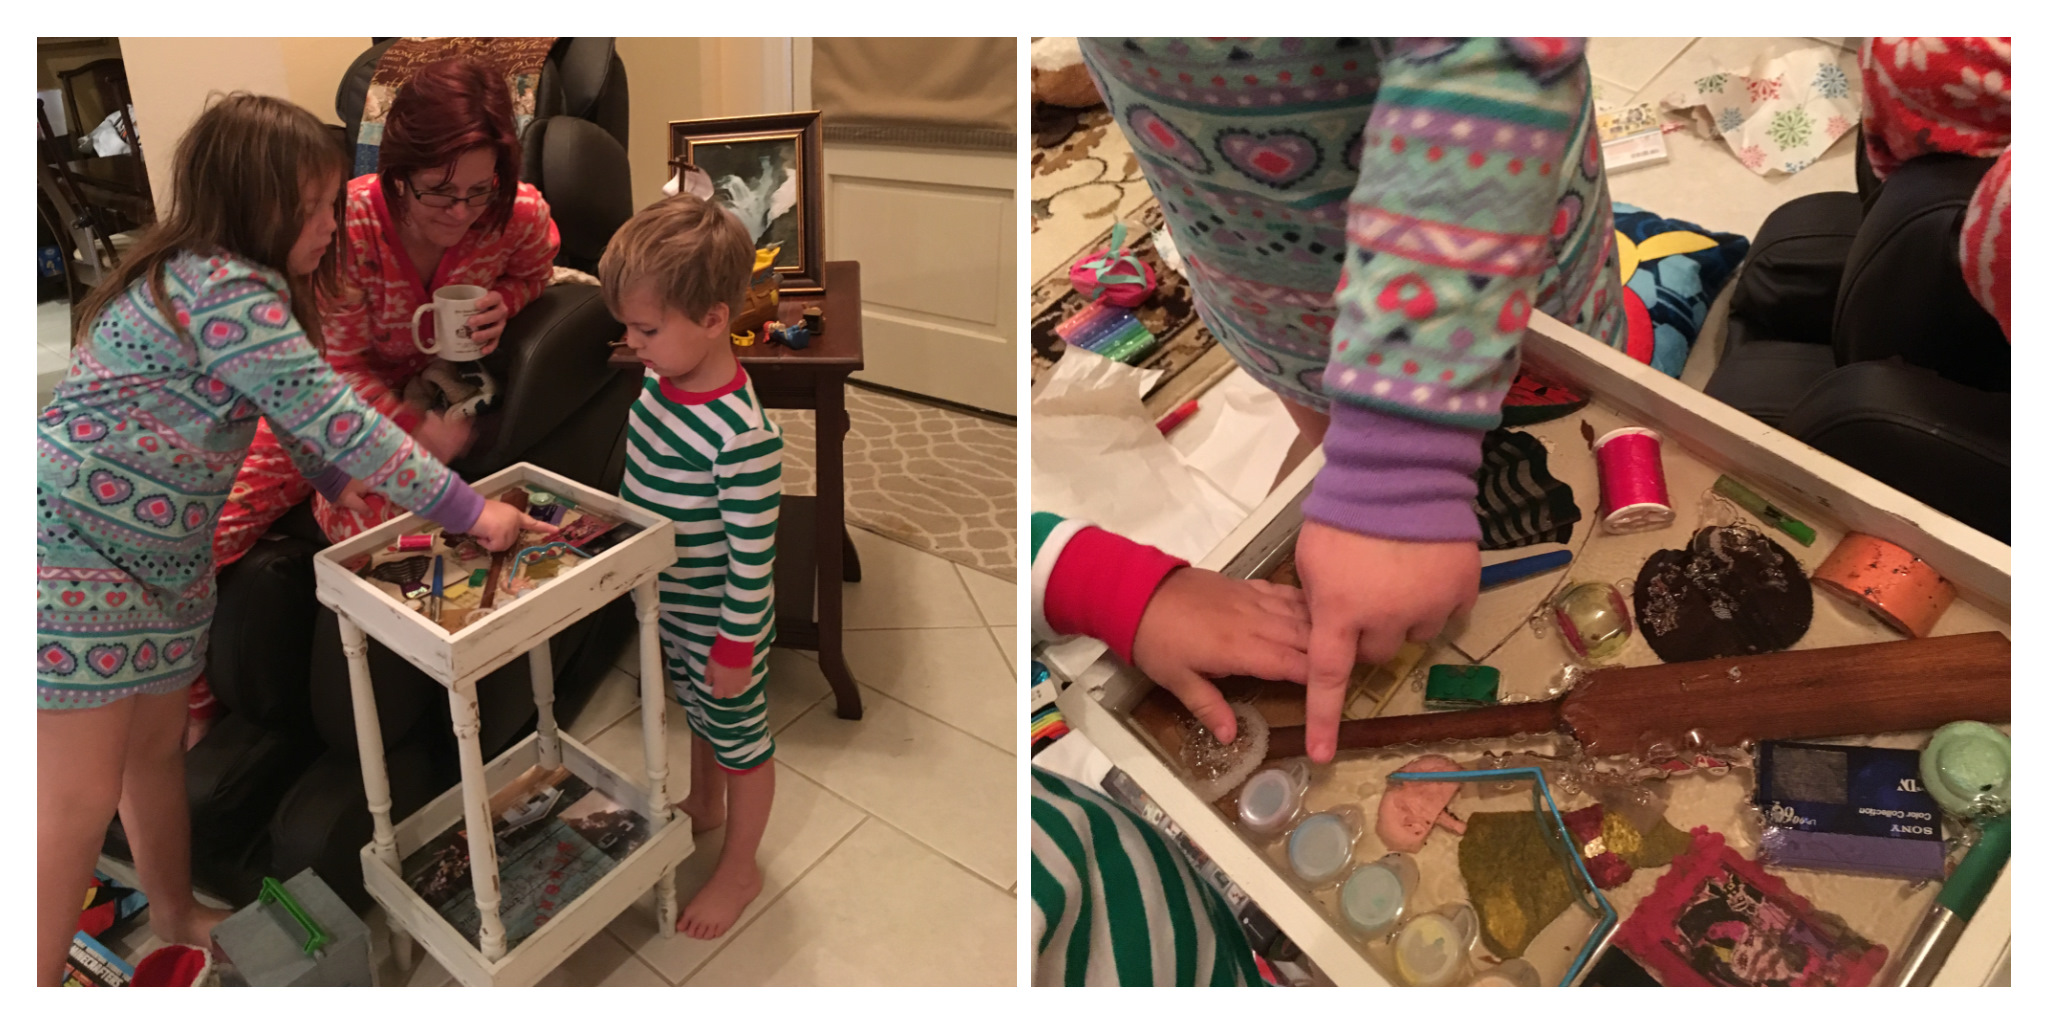
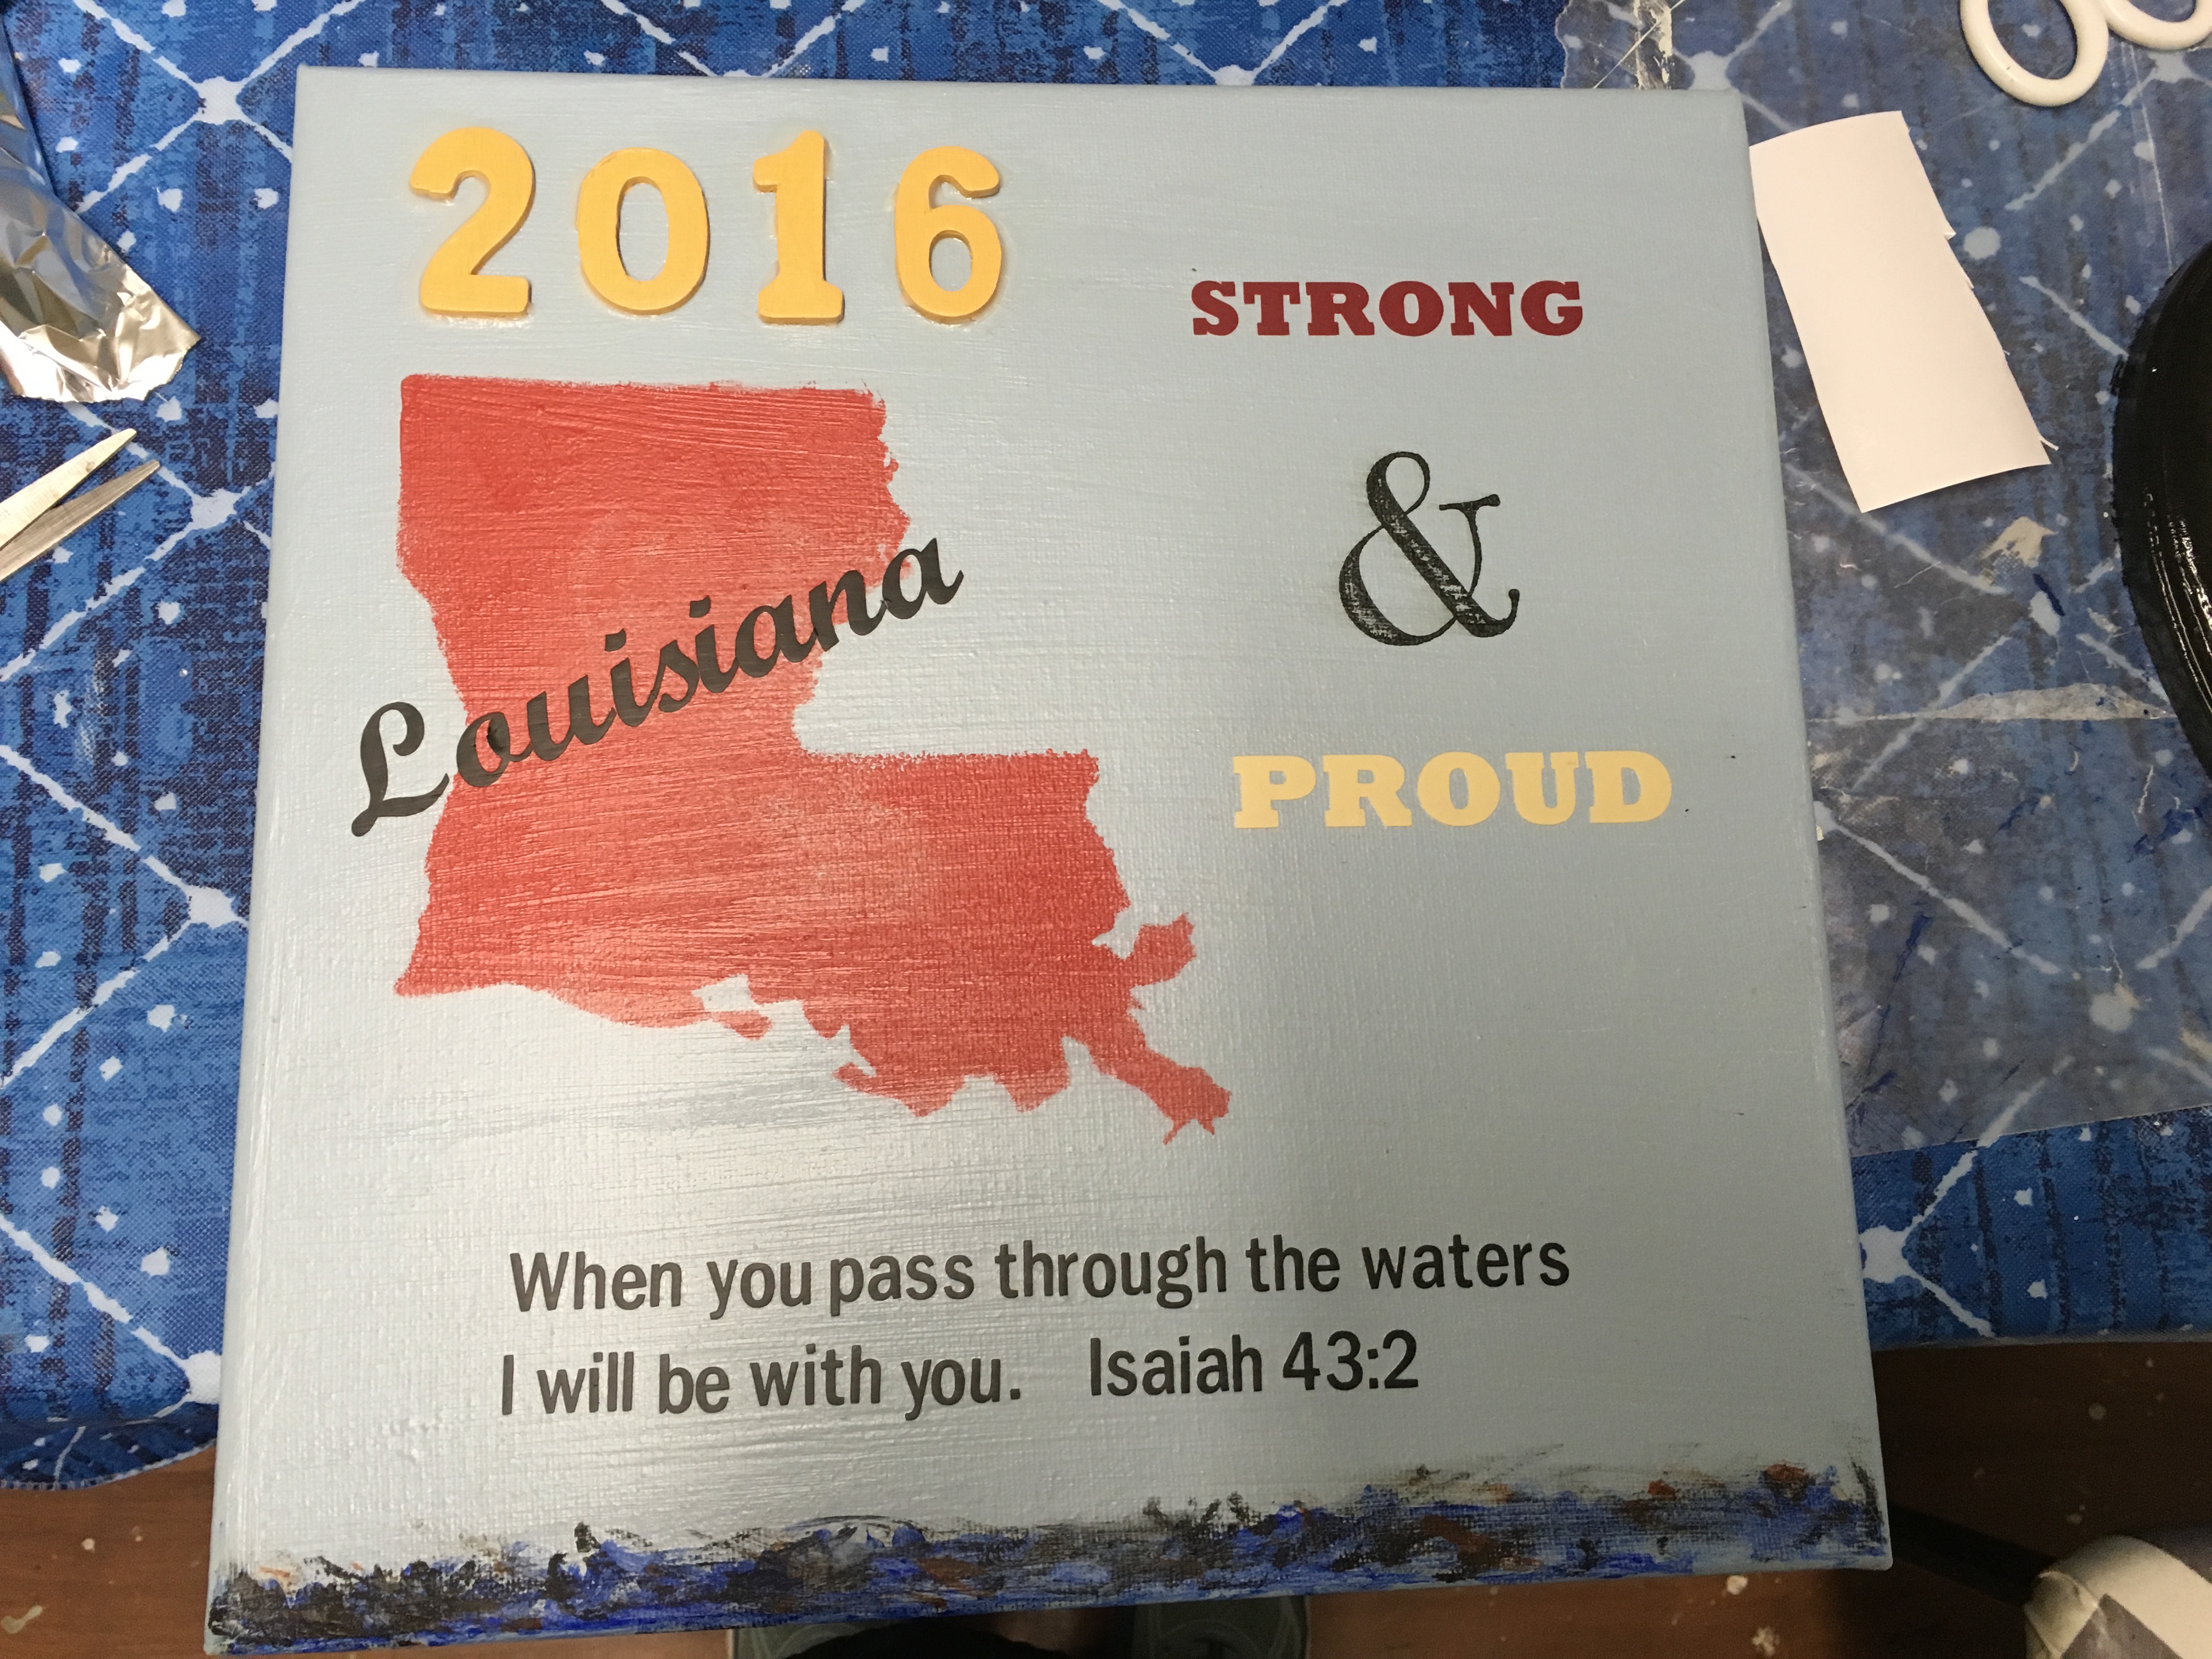
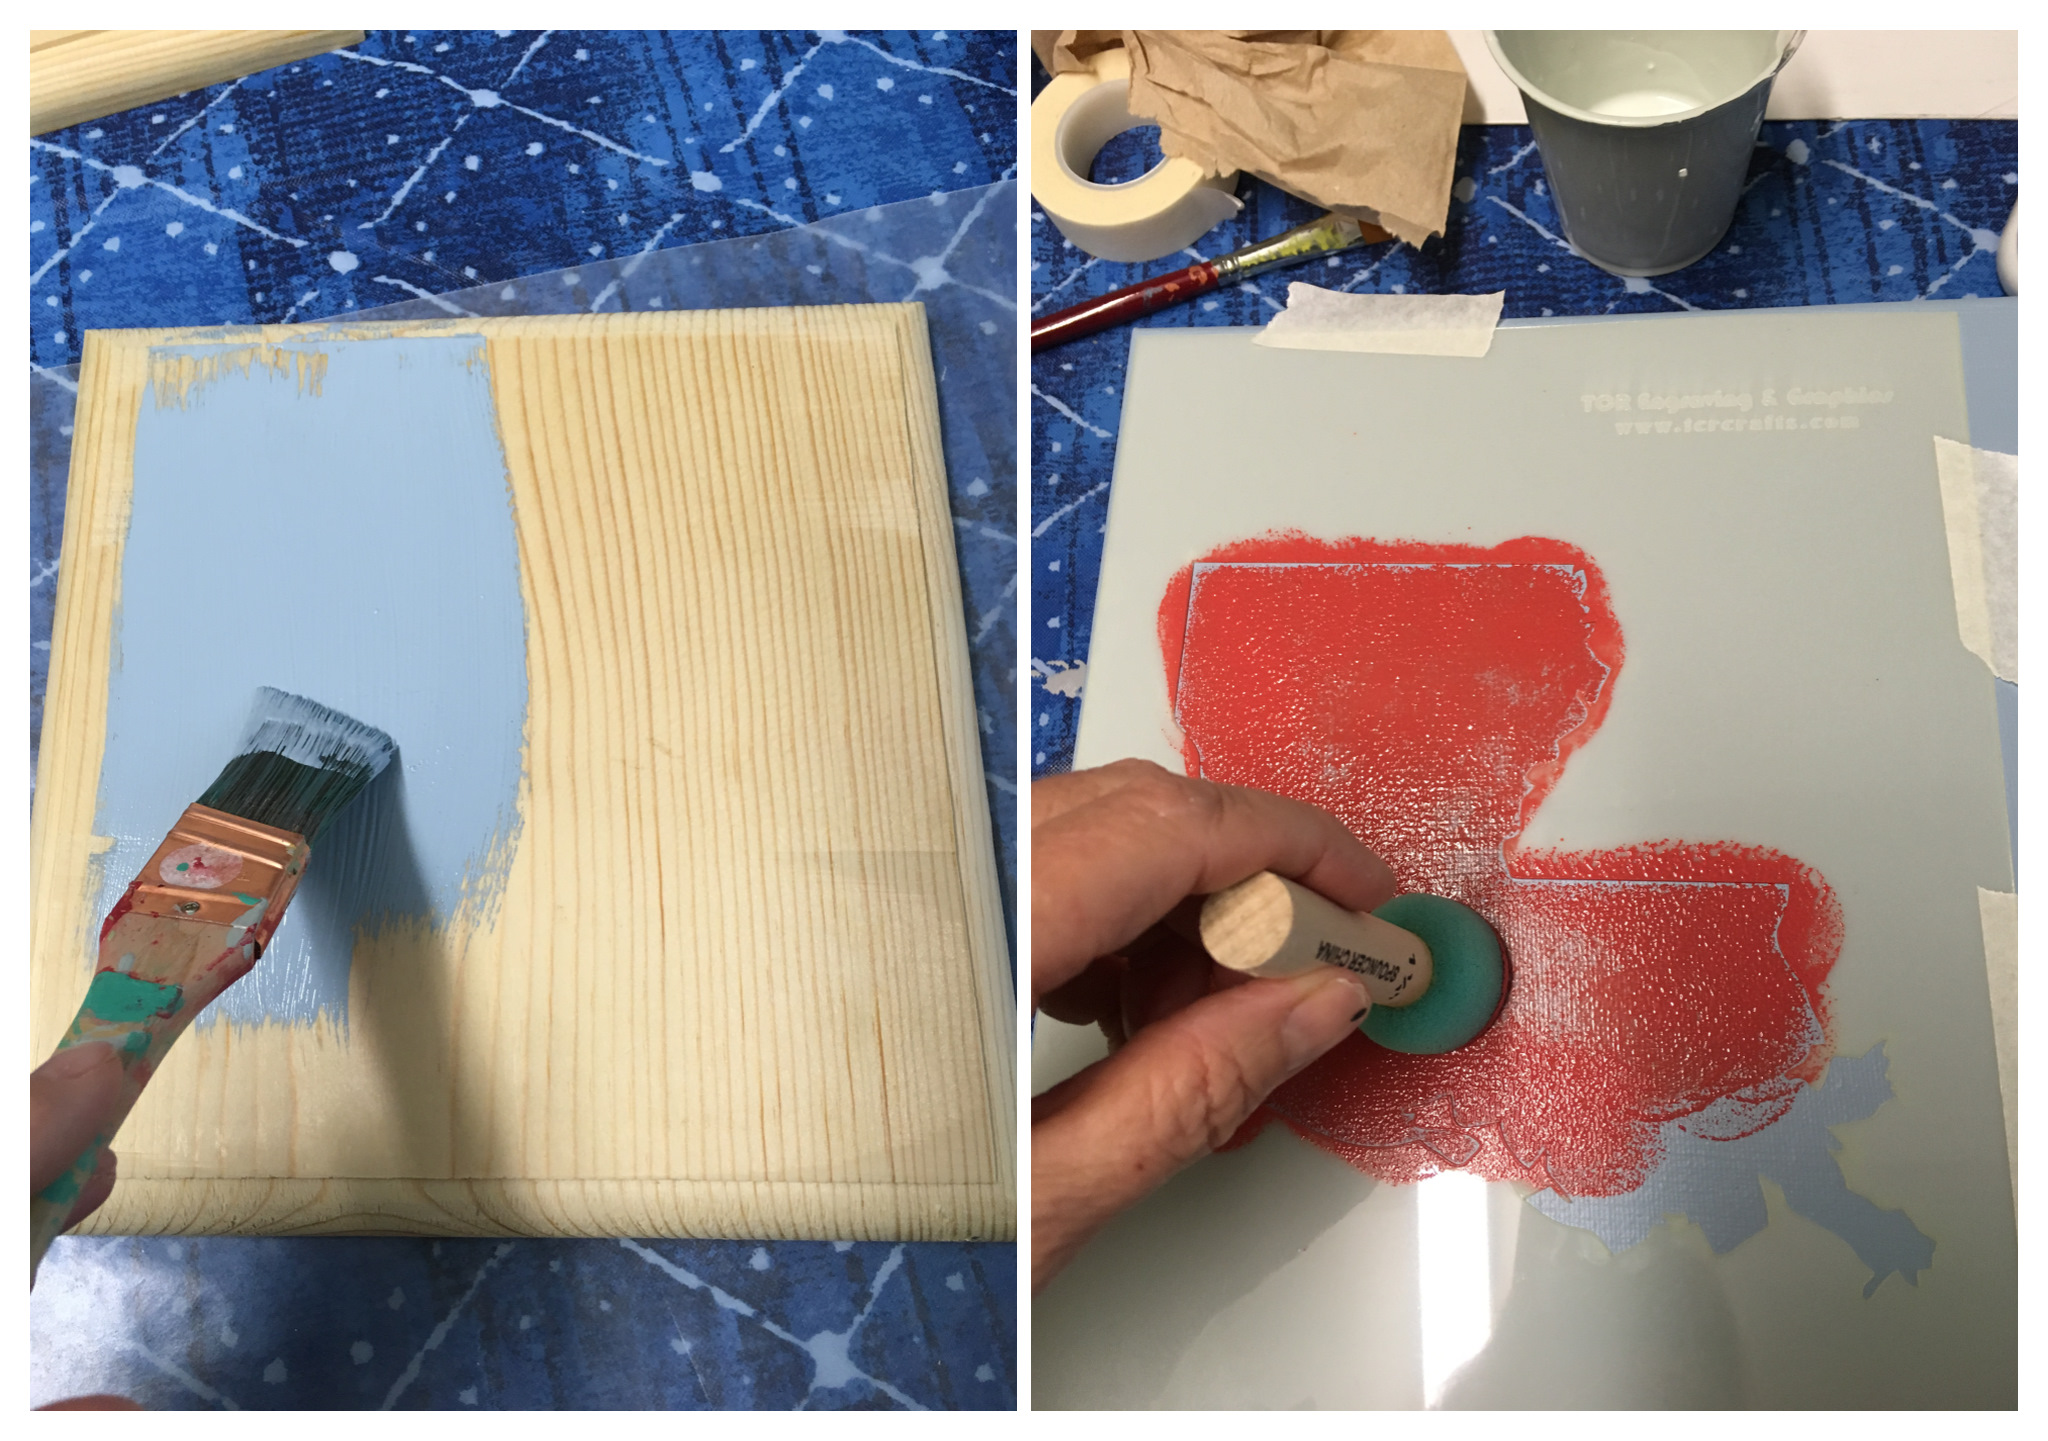
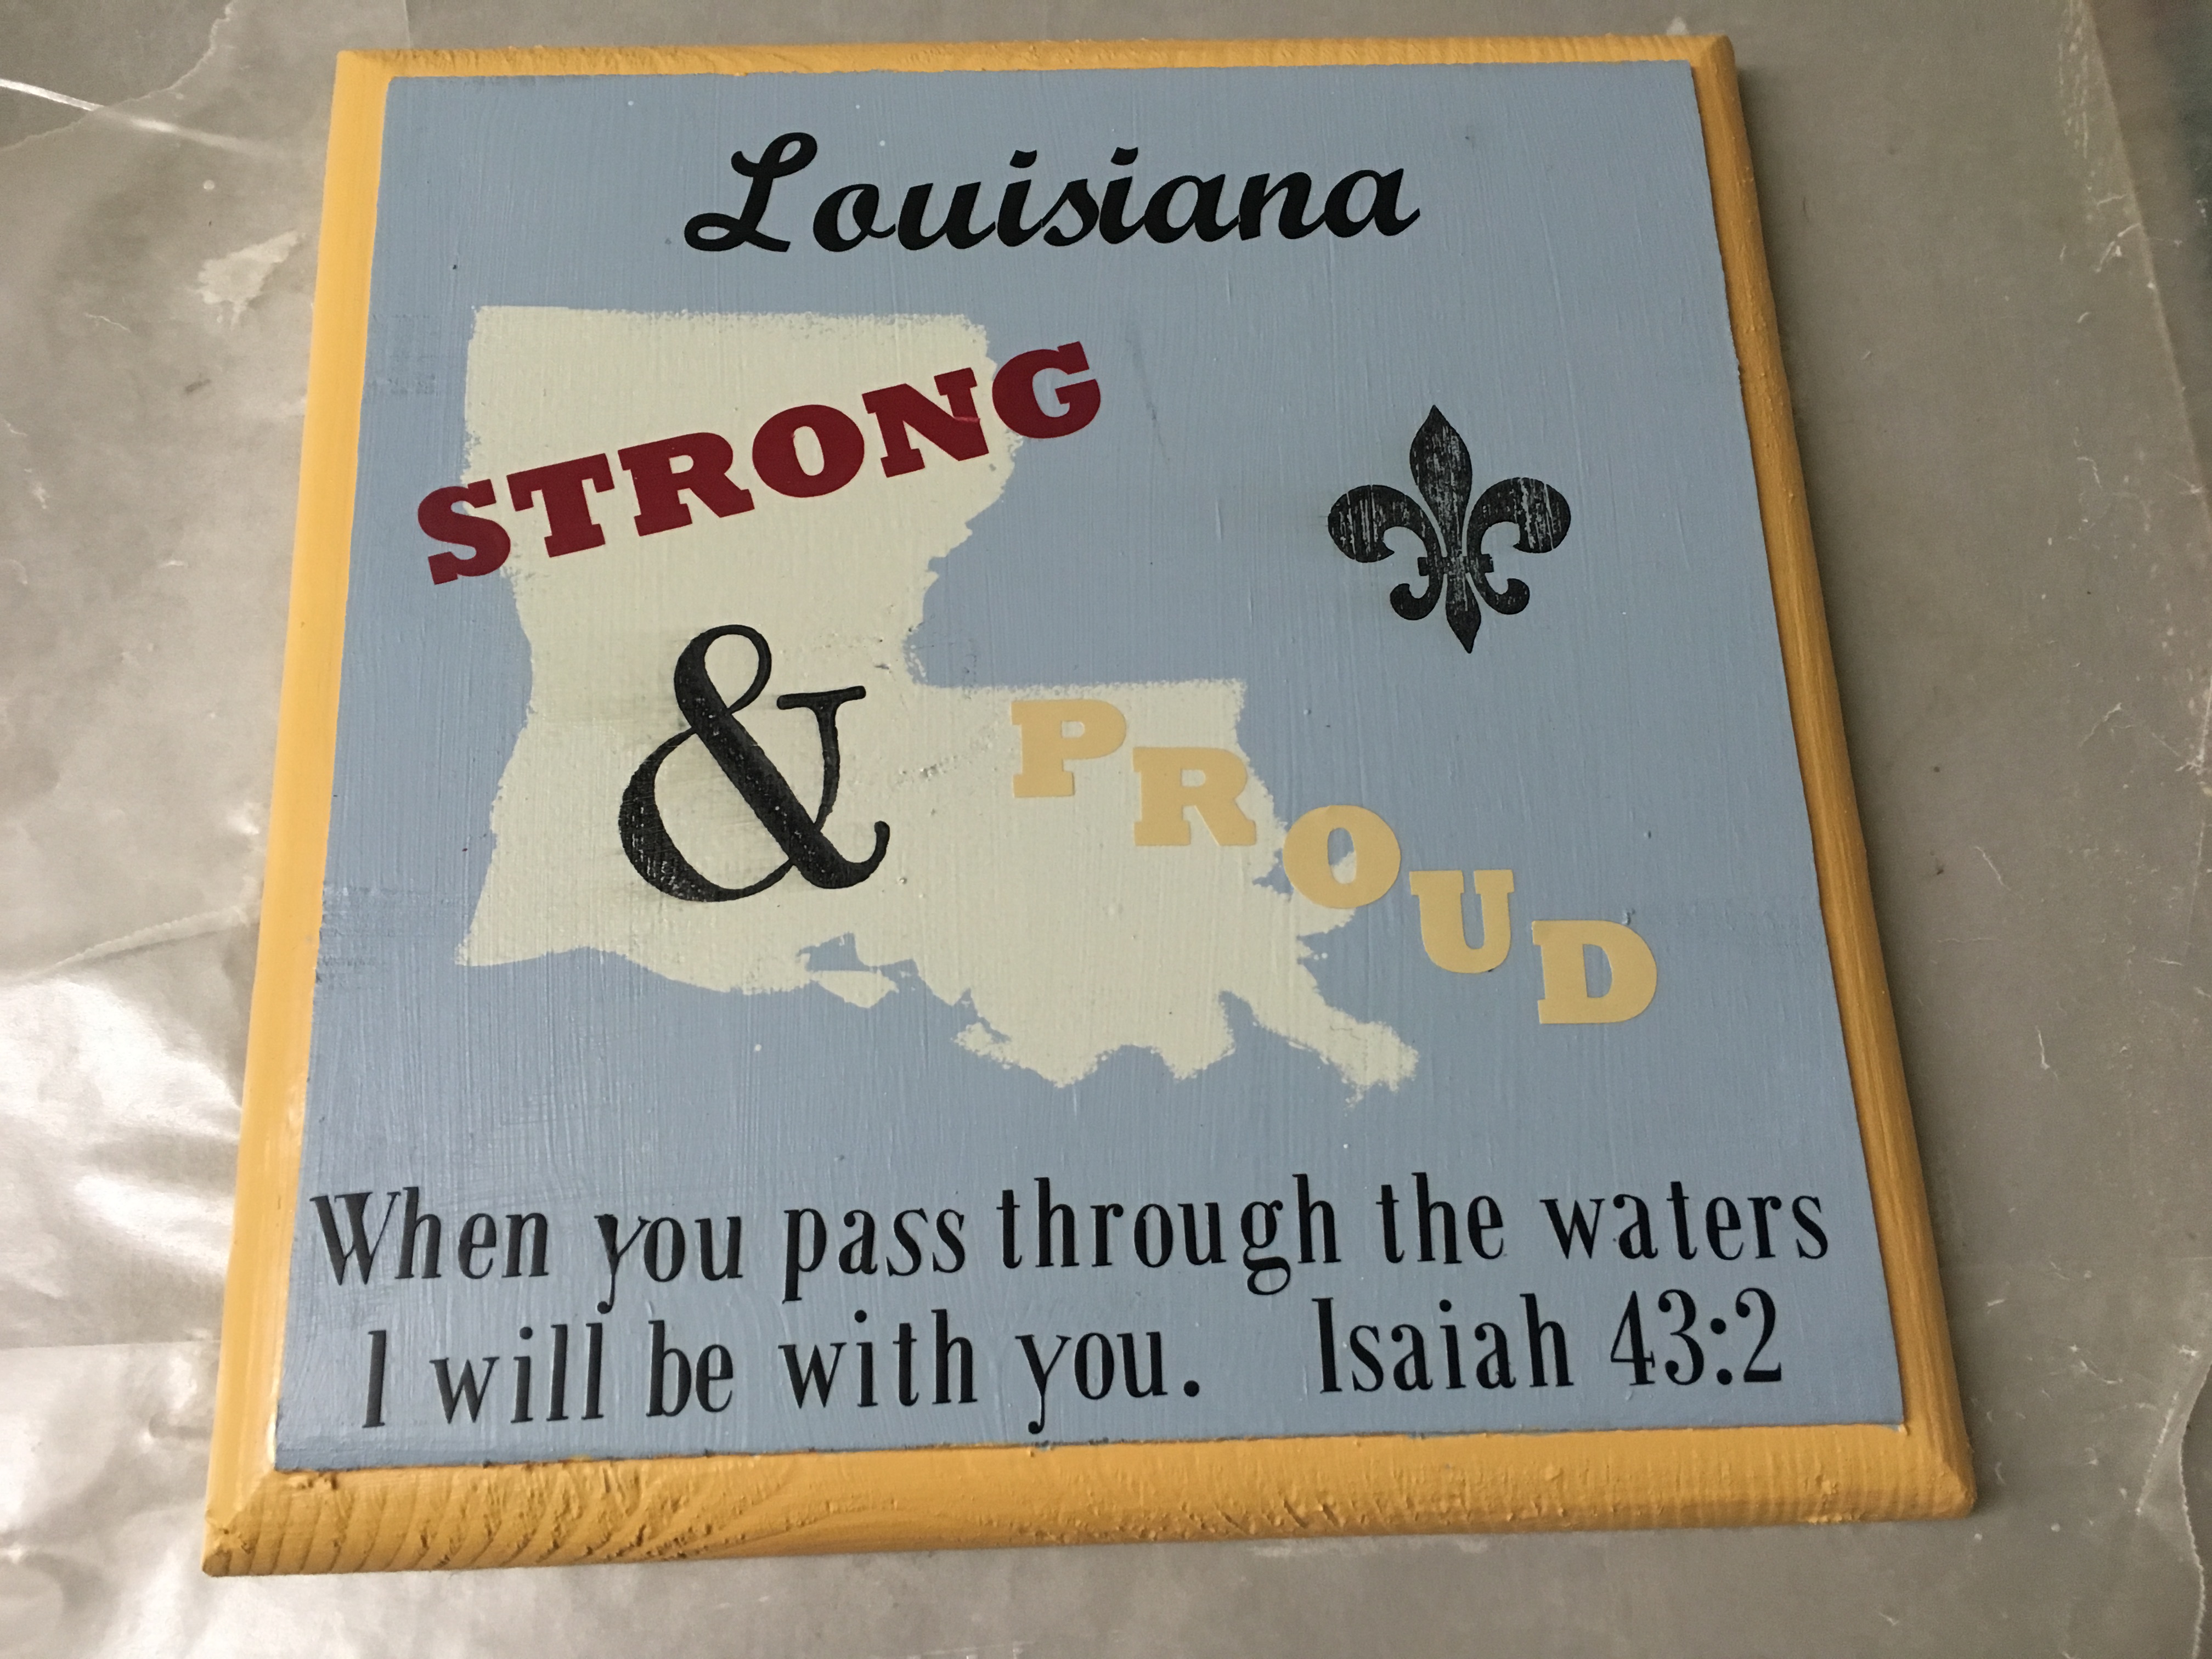
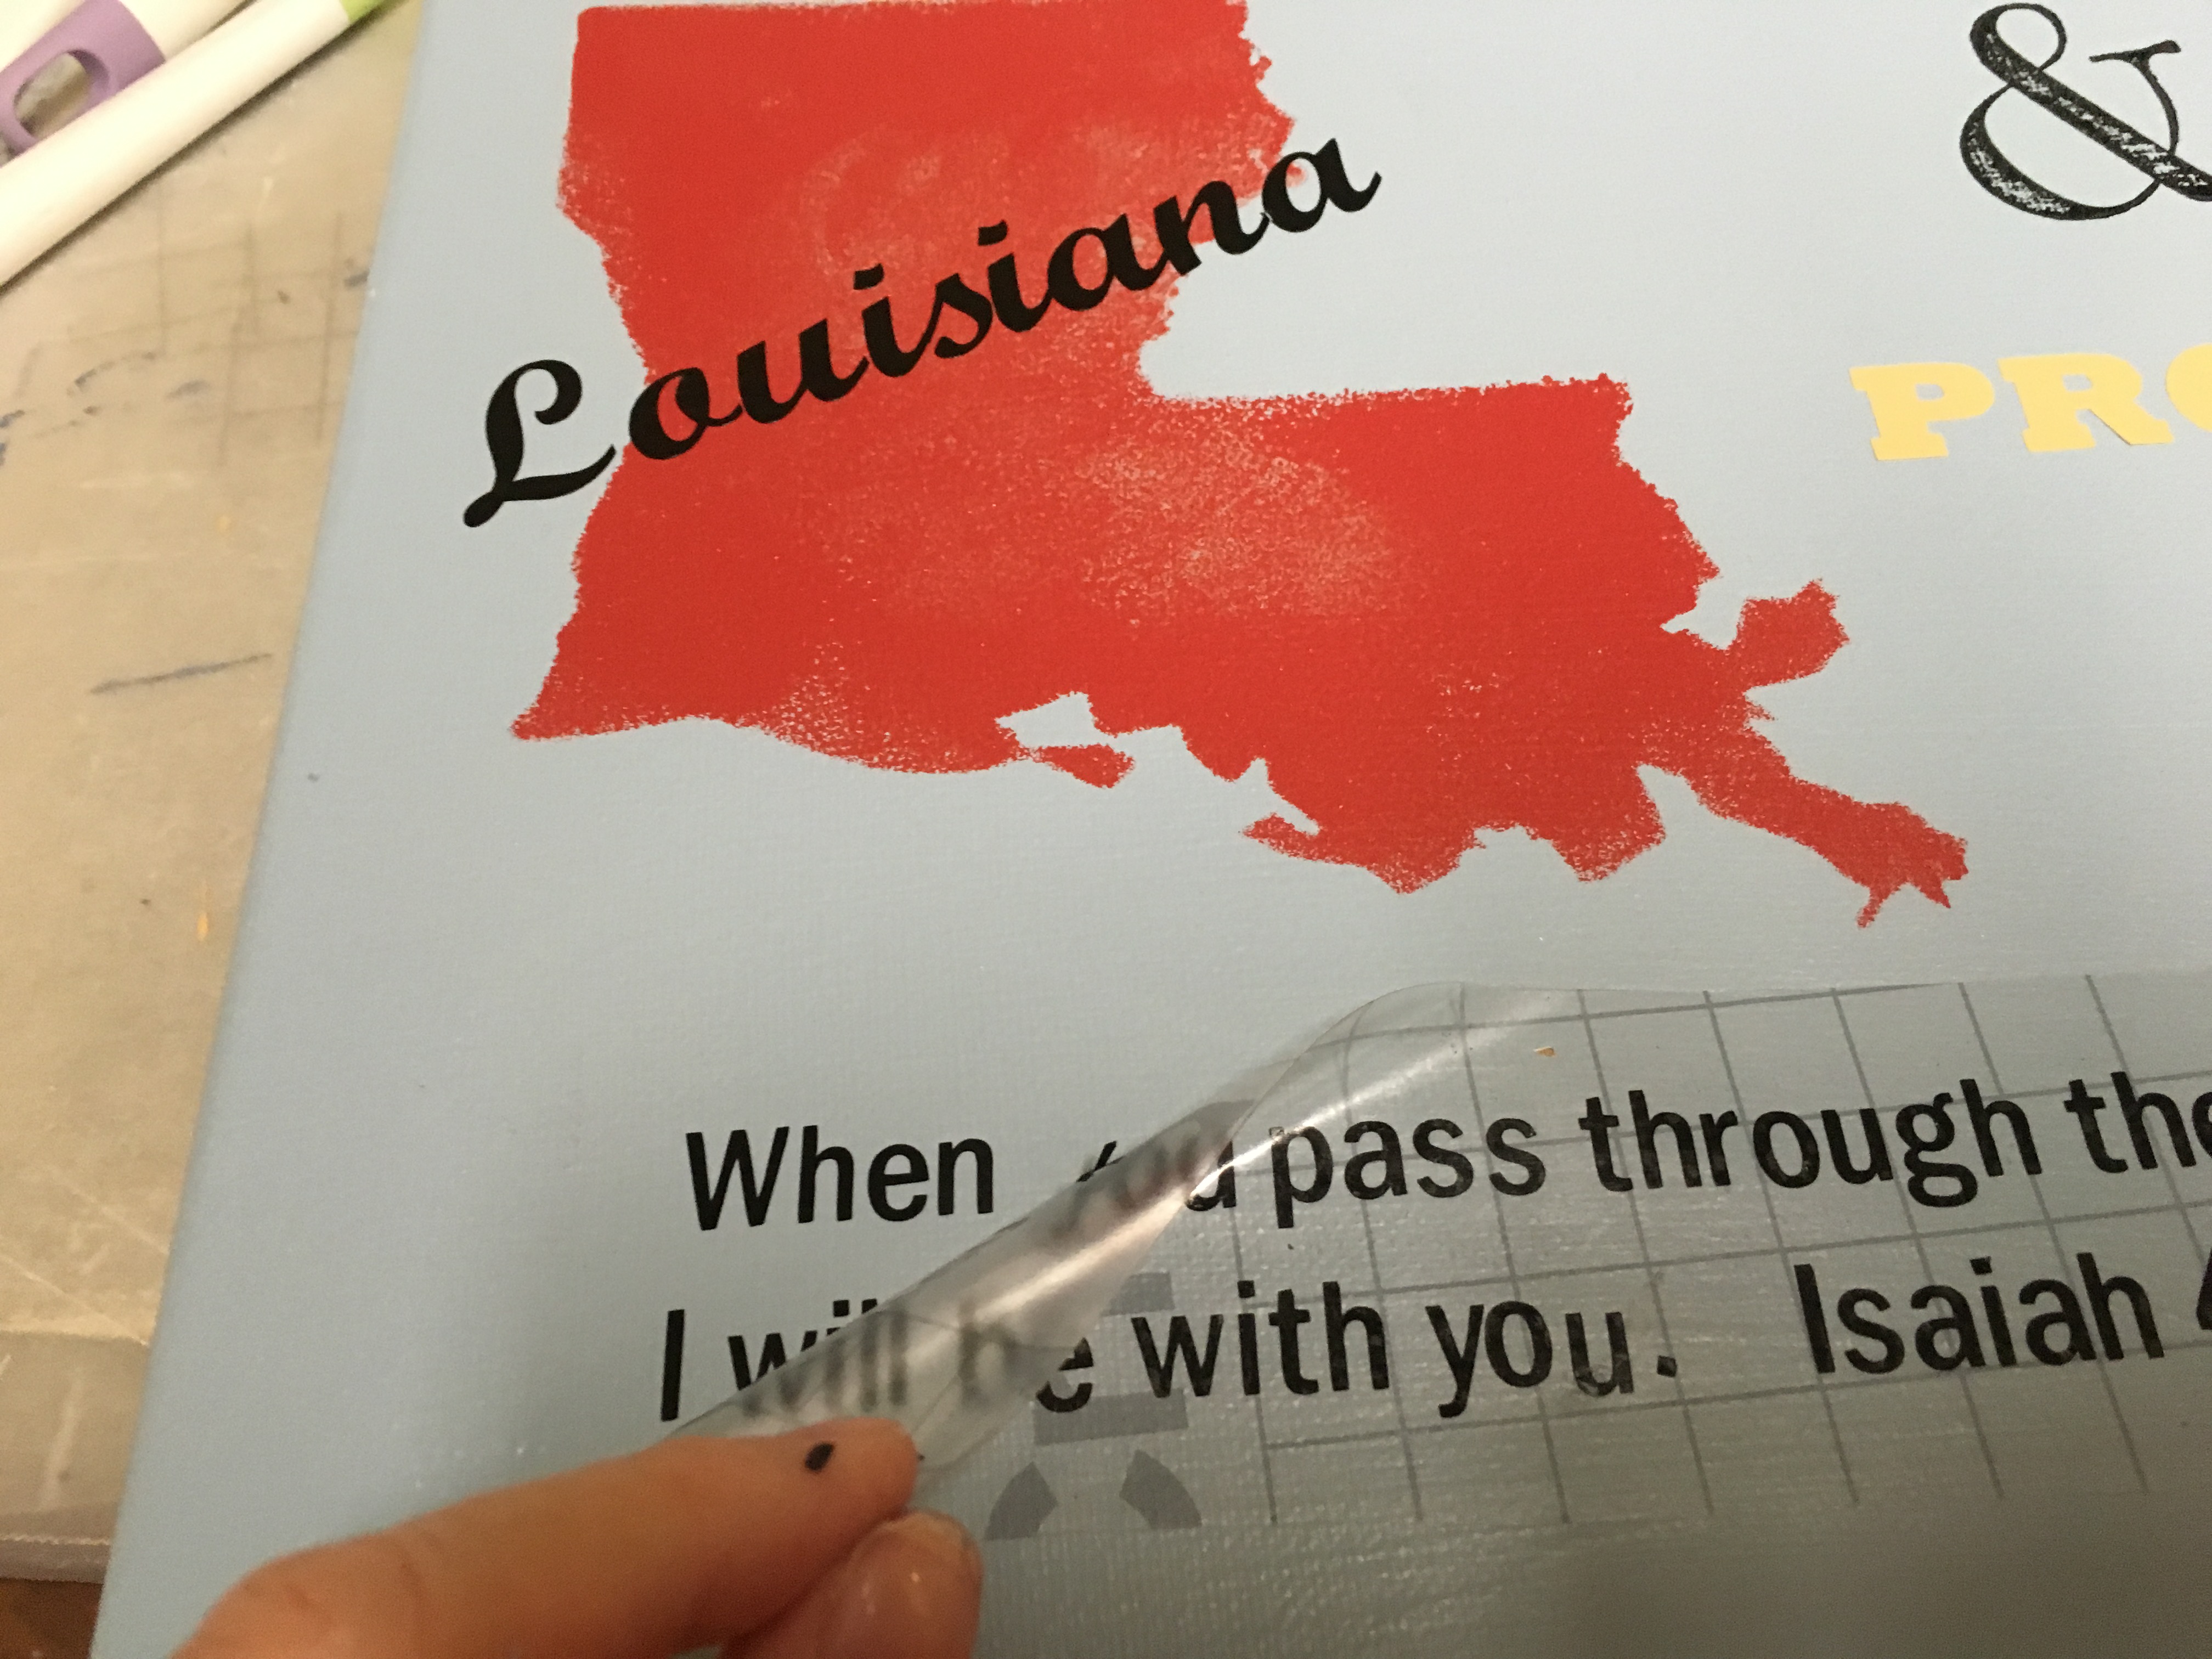
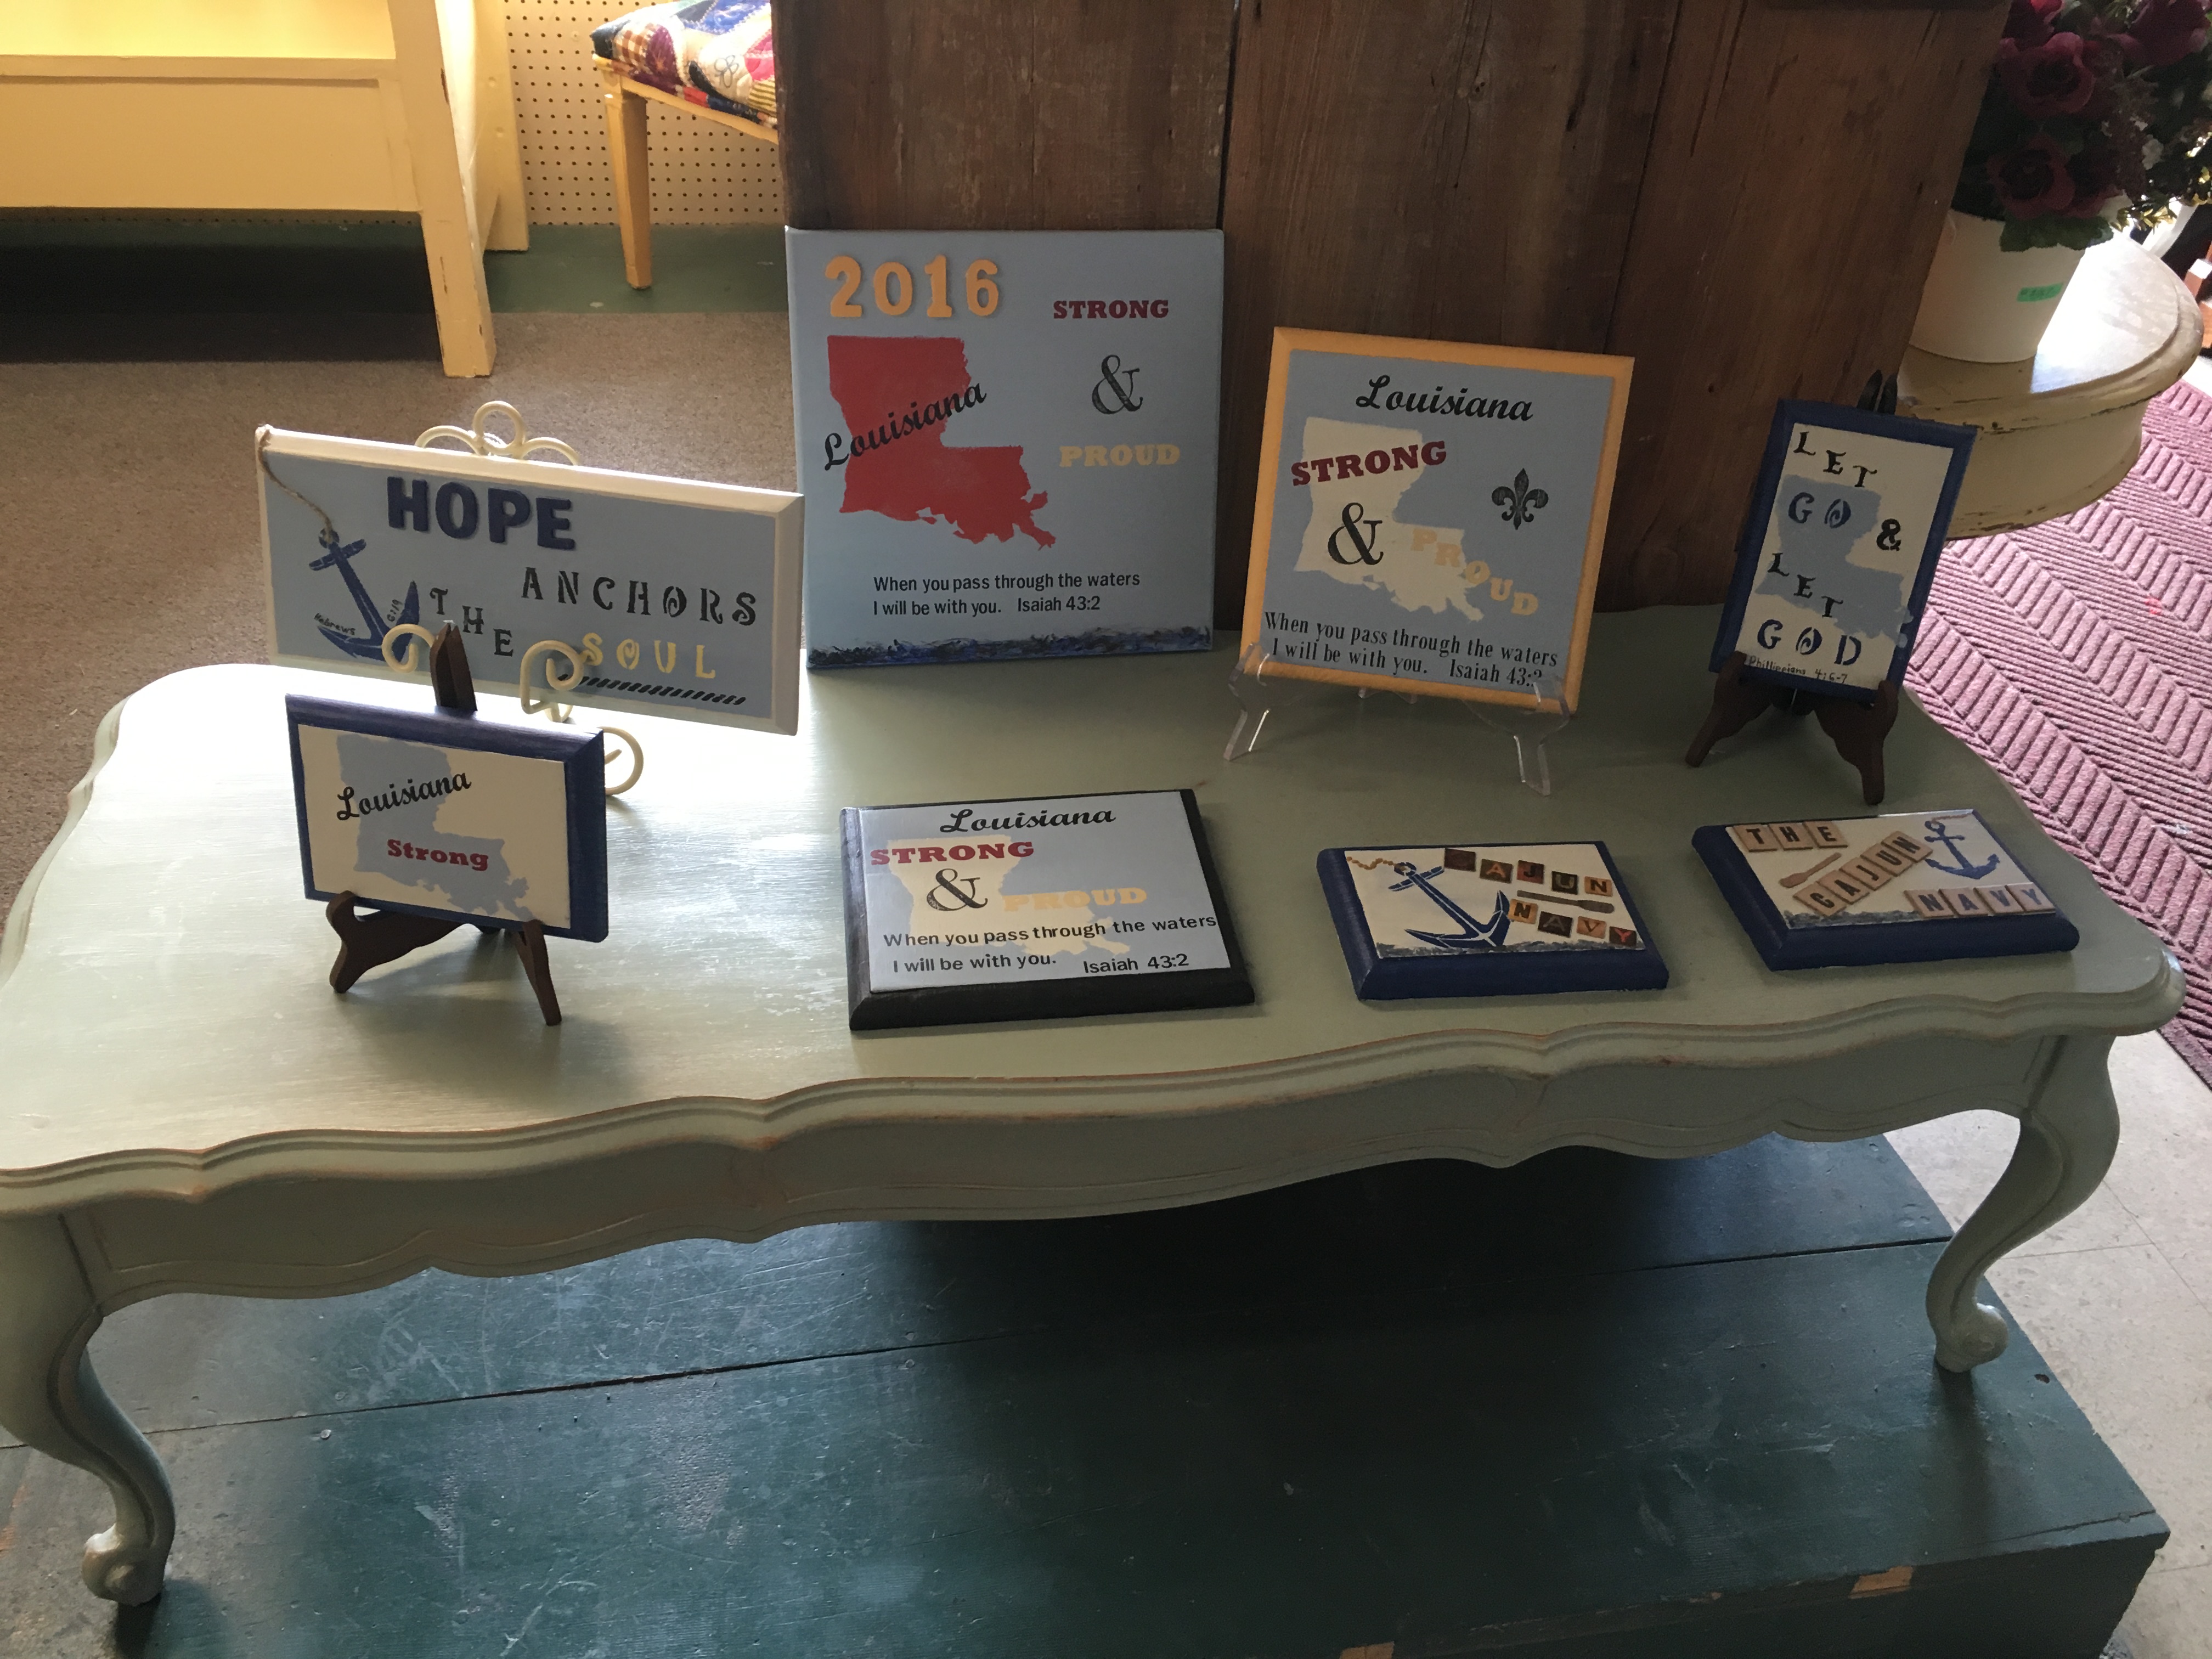
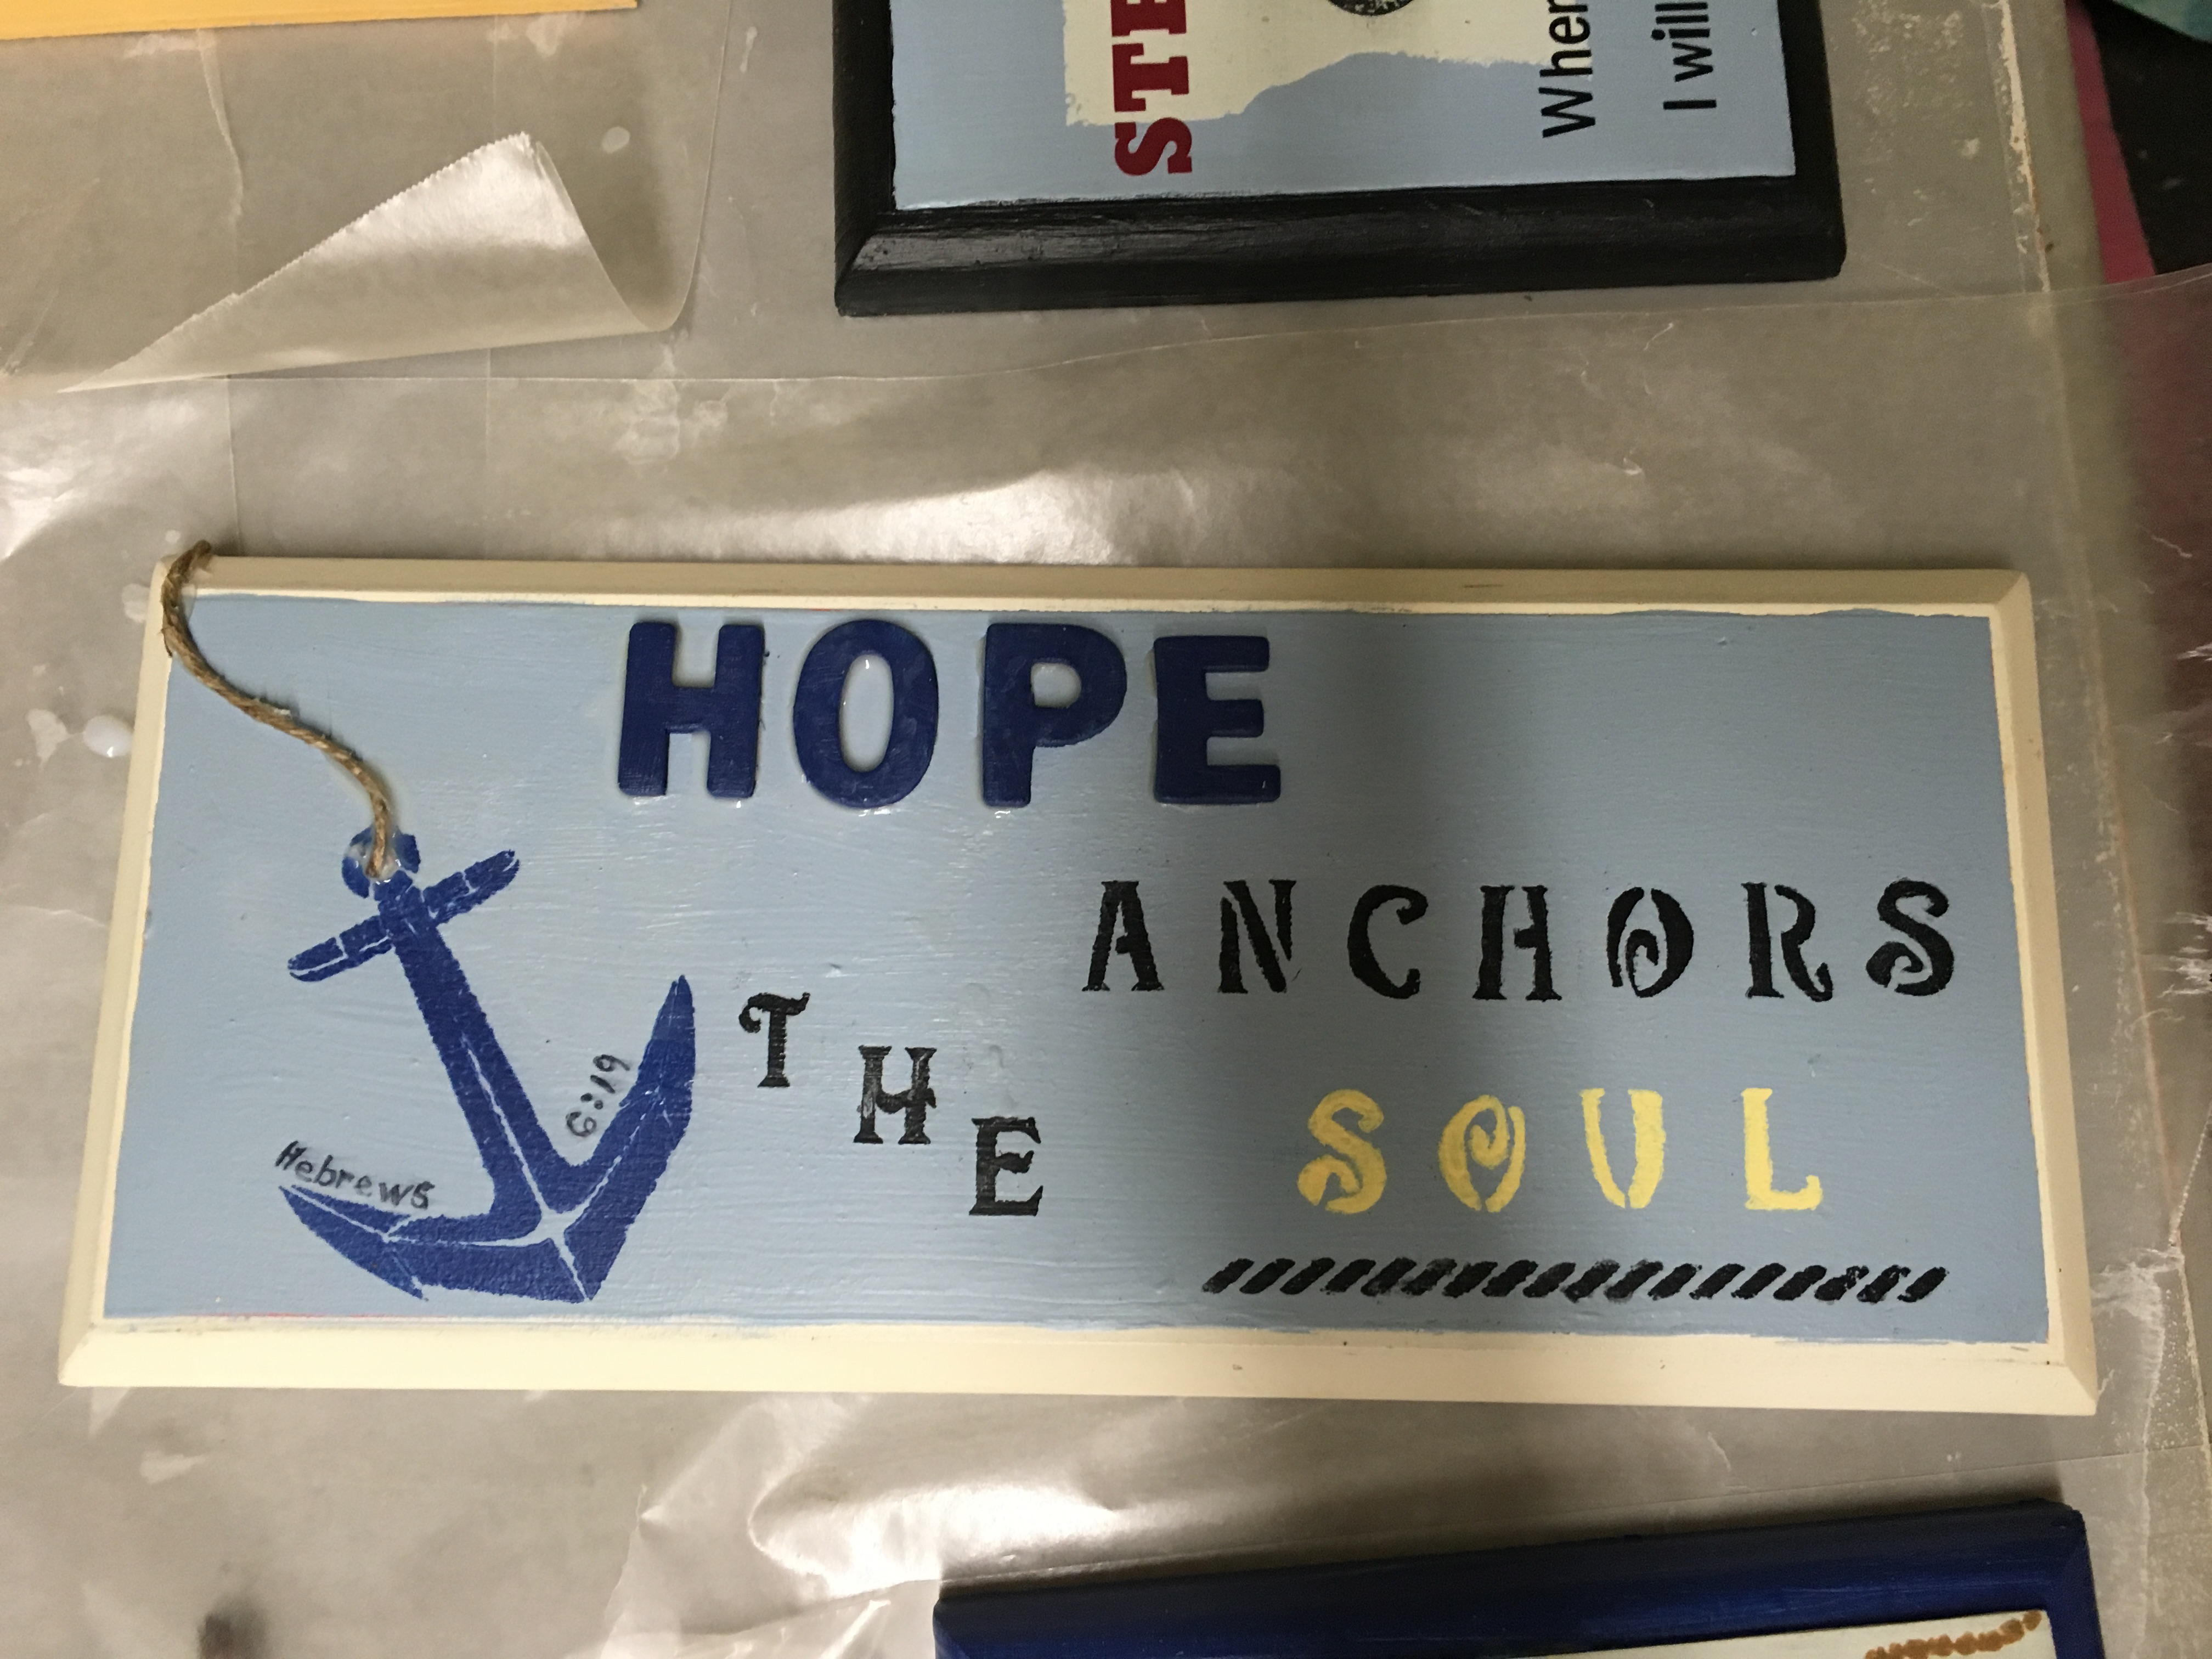
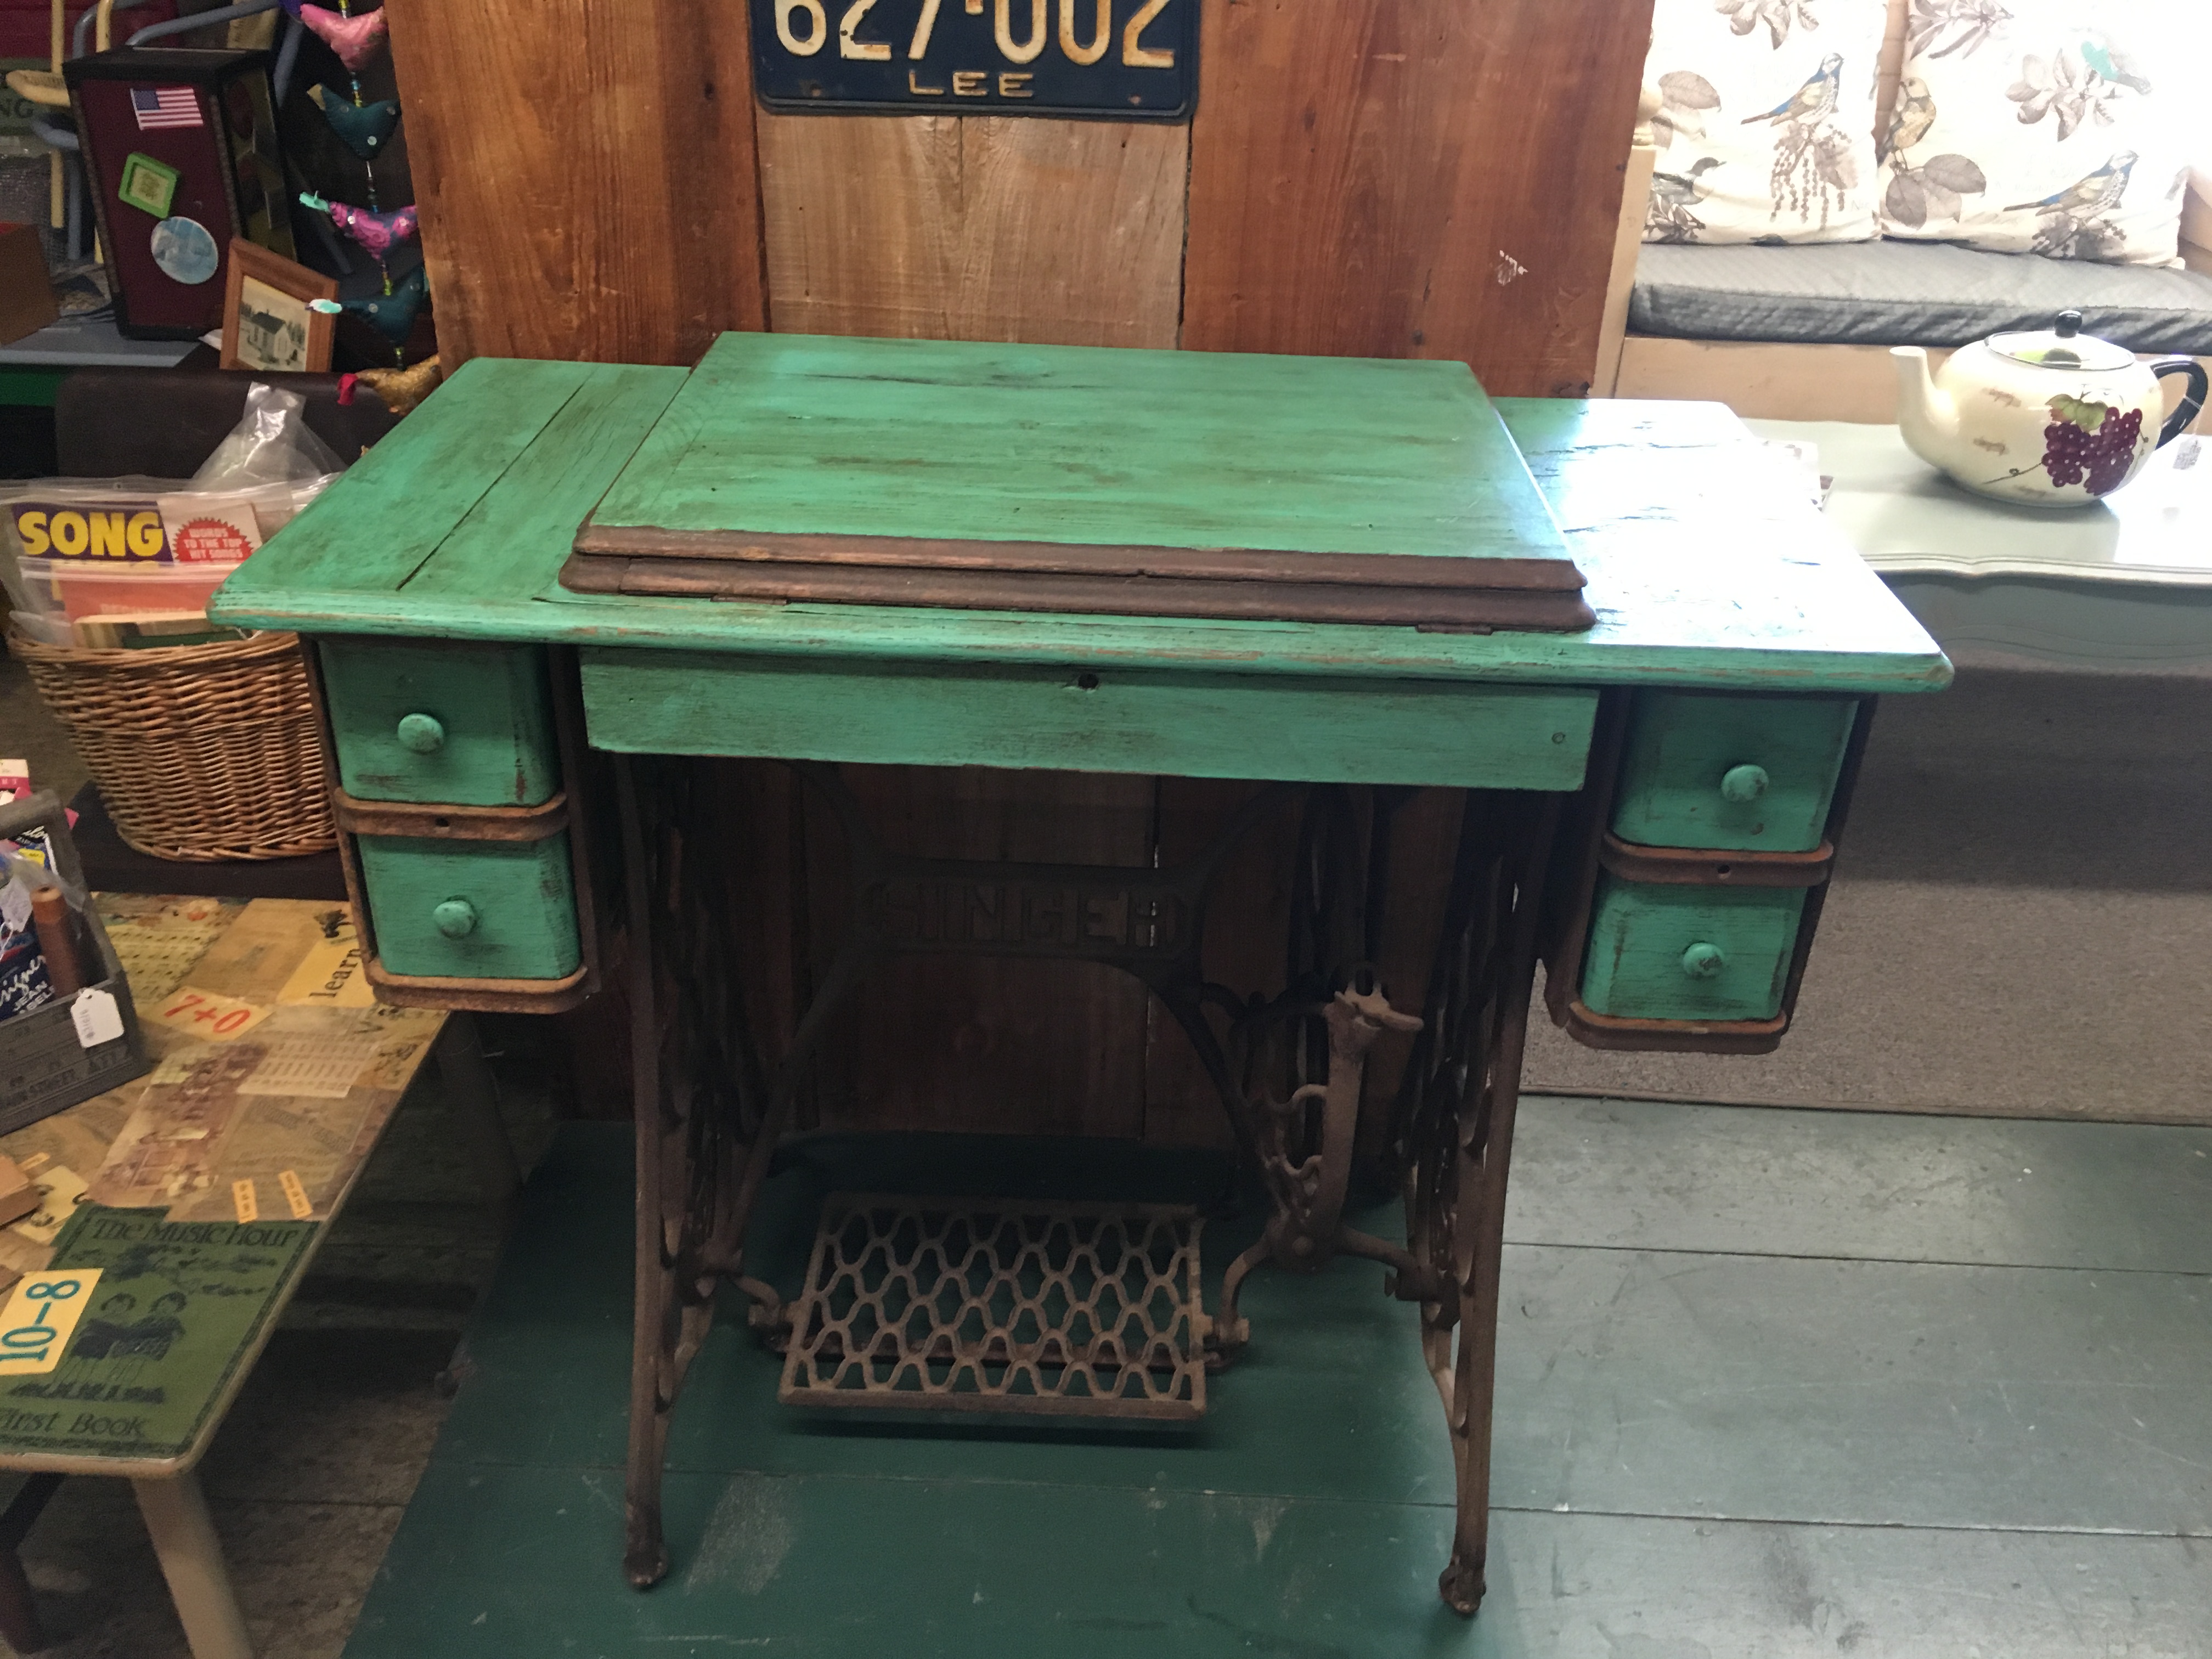
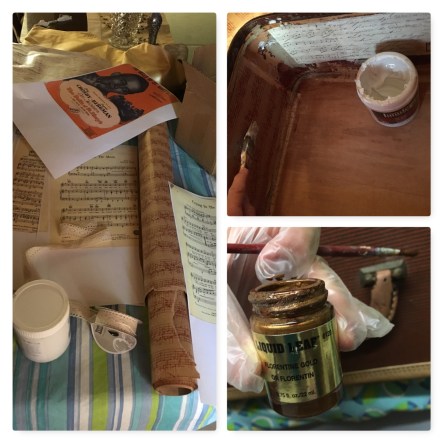
My workshop where I do my crafting was loaded with stuff of my daughters. It was all disorganized thrown in whatever could hold stuff, mostly garbage bags. So when I finally got it packed in storage containers and moved to other areas of storage I had to do some crafting. Crafting is my STRESS RELIEF and boy did I need it! The idea of making some plaques about Louisiana and what we were going through had come to me during the 2nd week of it when I saw sayings all over media and facebook about Louisiana Strong. I ordered some Louisiana stencils on Amazon. About the 3rd week of recovery I was able to take a break and do some crafting and it was a comforting, release of stress.

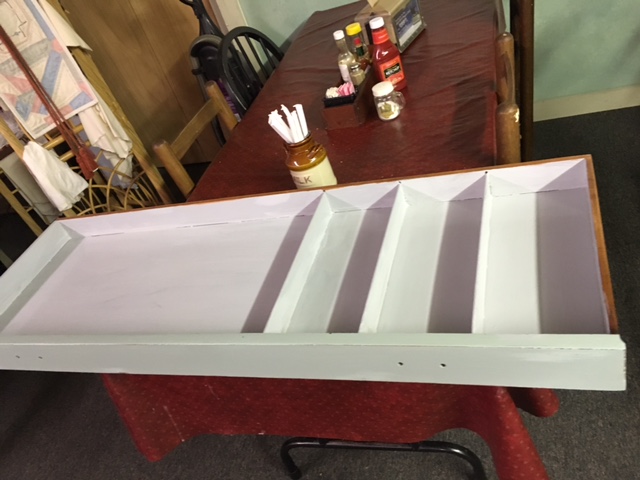
I used my cricut machine to do some of the lettering. I already had the wooden plaques. My husband had made them months ago and I was just waiting for the right project to use them on.


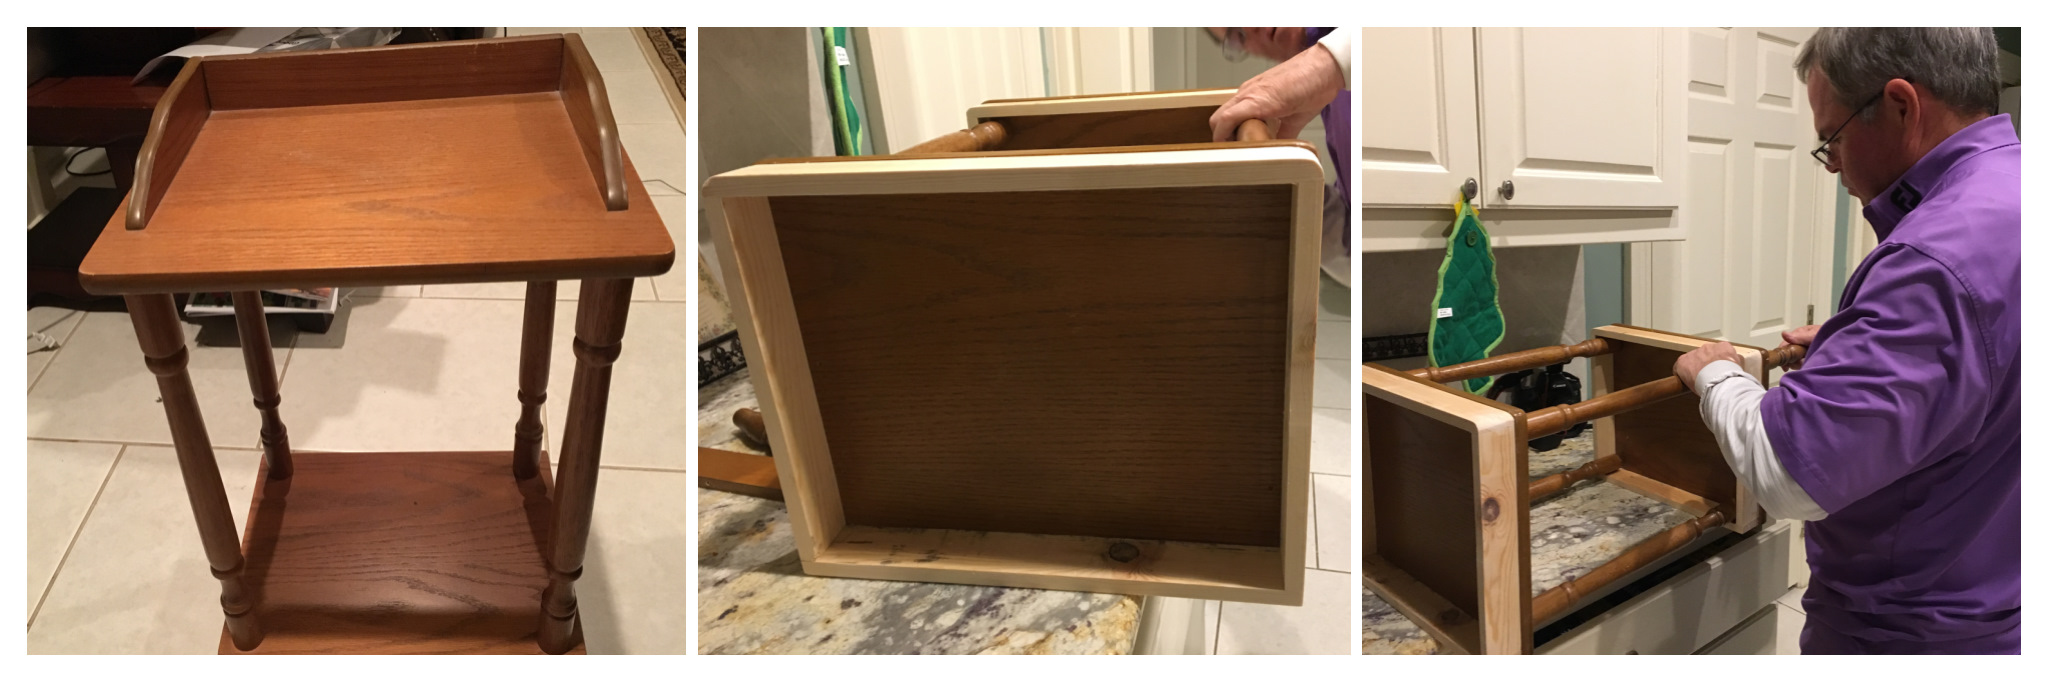
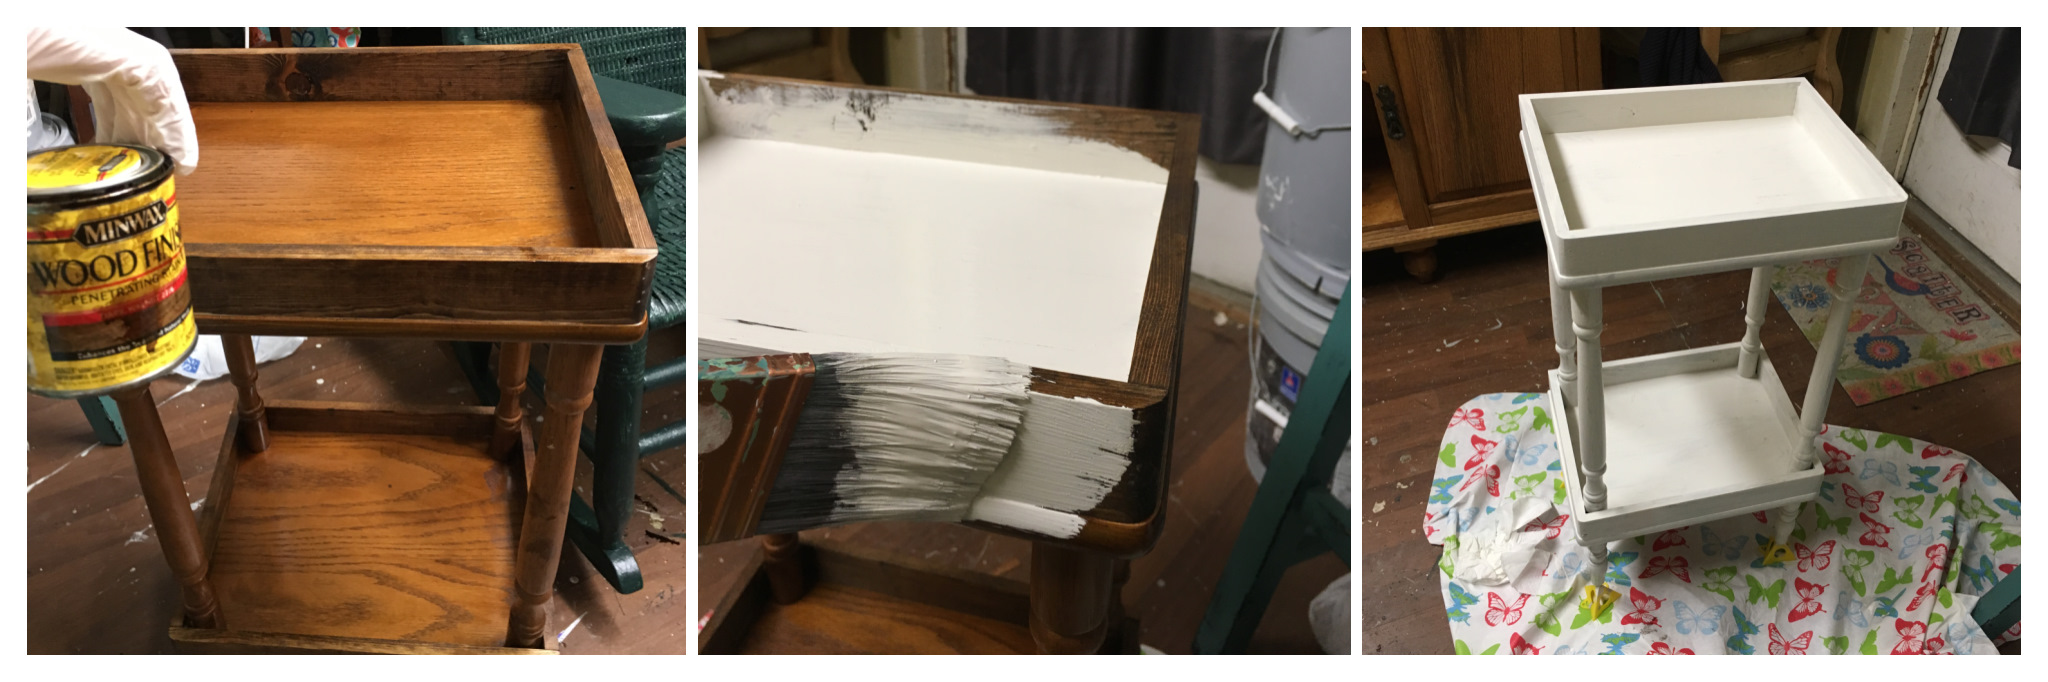
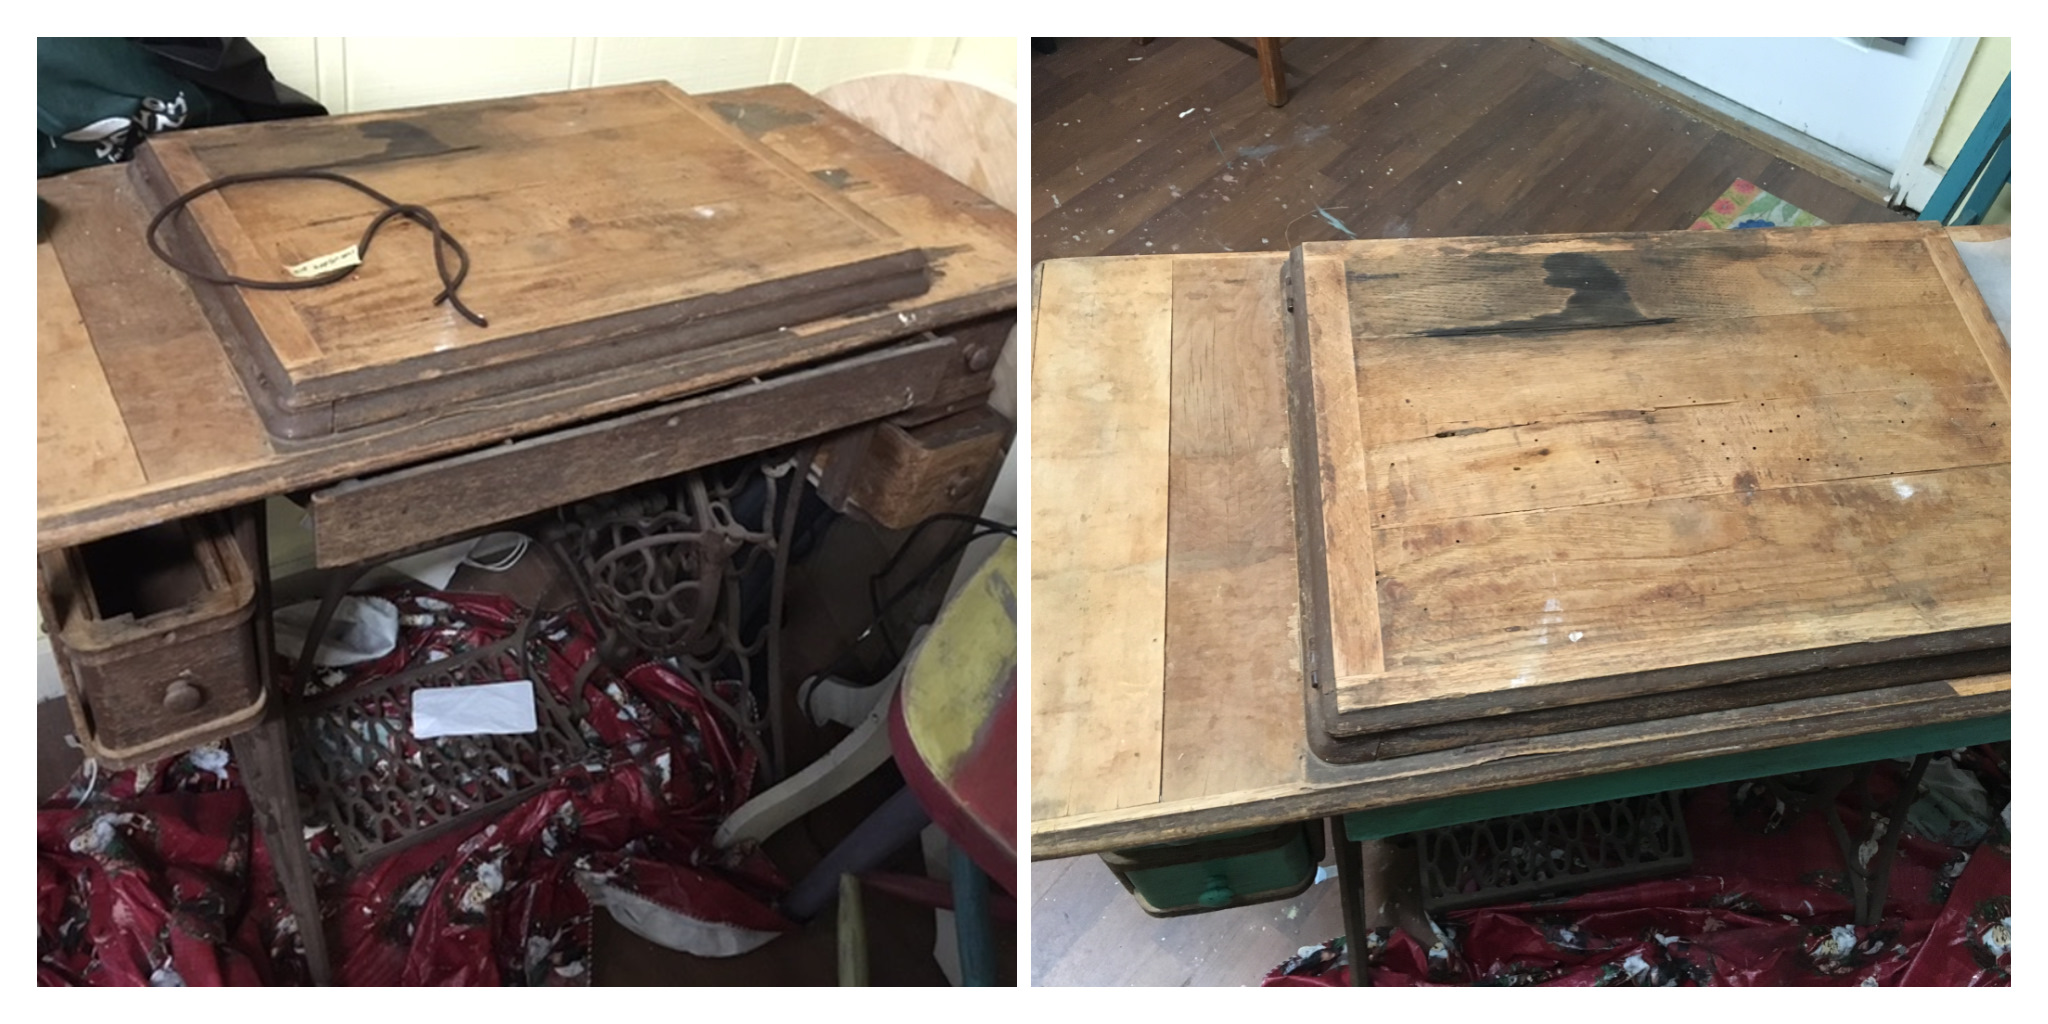
Another hard thing to deal with was the losing of almost all of the furniture that I have made for my daughters the last 5 years. When I look at my blogs and my “Gingerly Refurbished” page I see so many projects that I did that had to be thrown out. I was at my daughter’s house (the photographer) and witnessed the truck scooping up her furniture and things into the dumpster. That was hard to watch. I know it is just things and we shouldn’t be attached to things but it is still hard seeing your labors of love go in the dumpster. Two sentimental pieces were saved at my other daughter’s house – the coffee table and end table that I had in my house growing up. Those were the only pieces of furniture she put up high before she left. Neither of my daughters thought their house would flood. They were out helping with flood relief the day before their houses flooded.

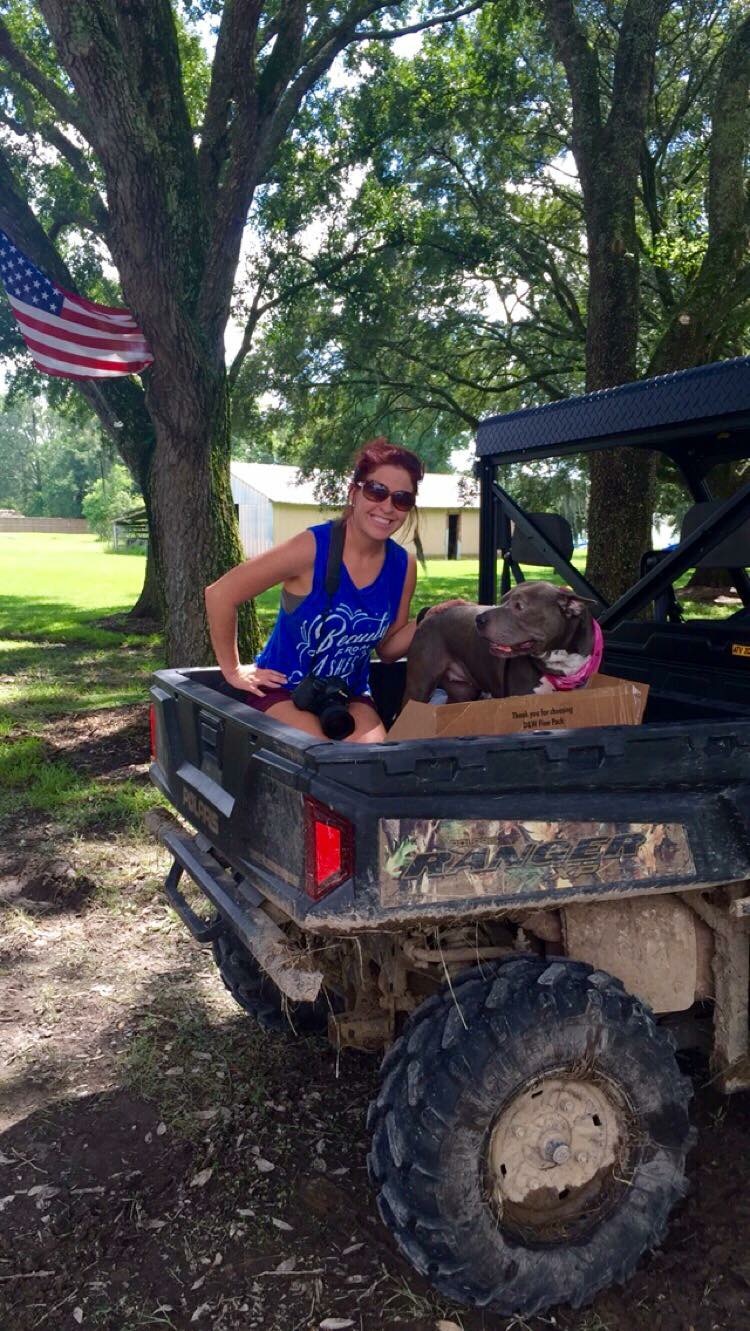
Here is my daughter bringing supplies to flood victims. Little did she know the next day her house would be flooded.
We have seen a lot of good come out of the “Great Flood of 2016”. We pray for the people of Louisiana and know that we will recover and we will be stronger for it. It is just going to be a long road for a lot of people and we have to be patient and trust God. He will provide!


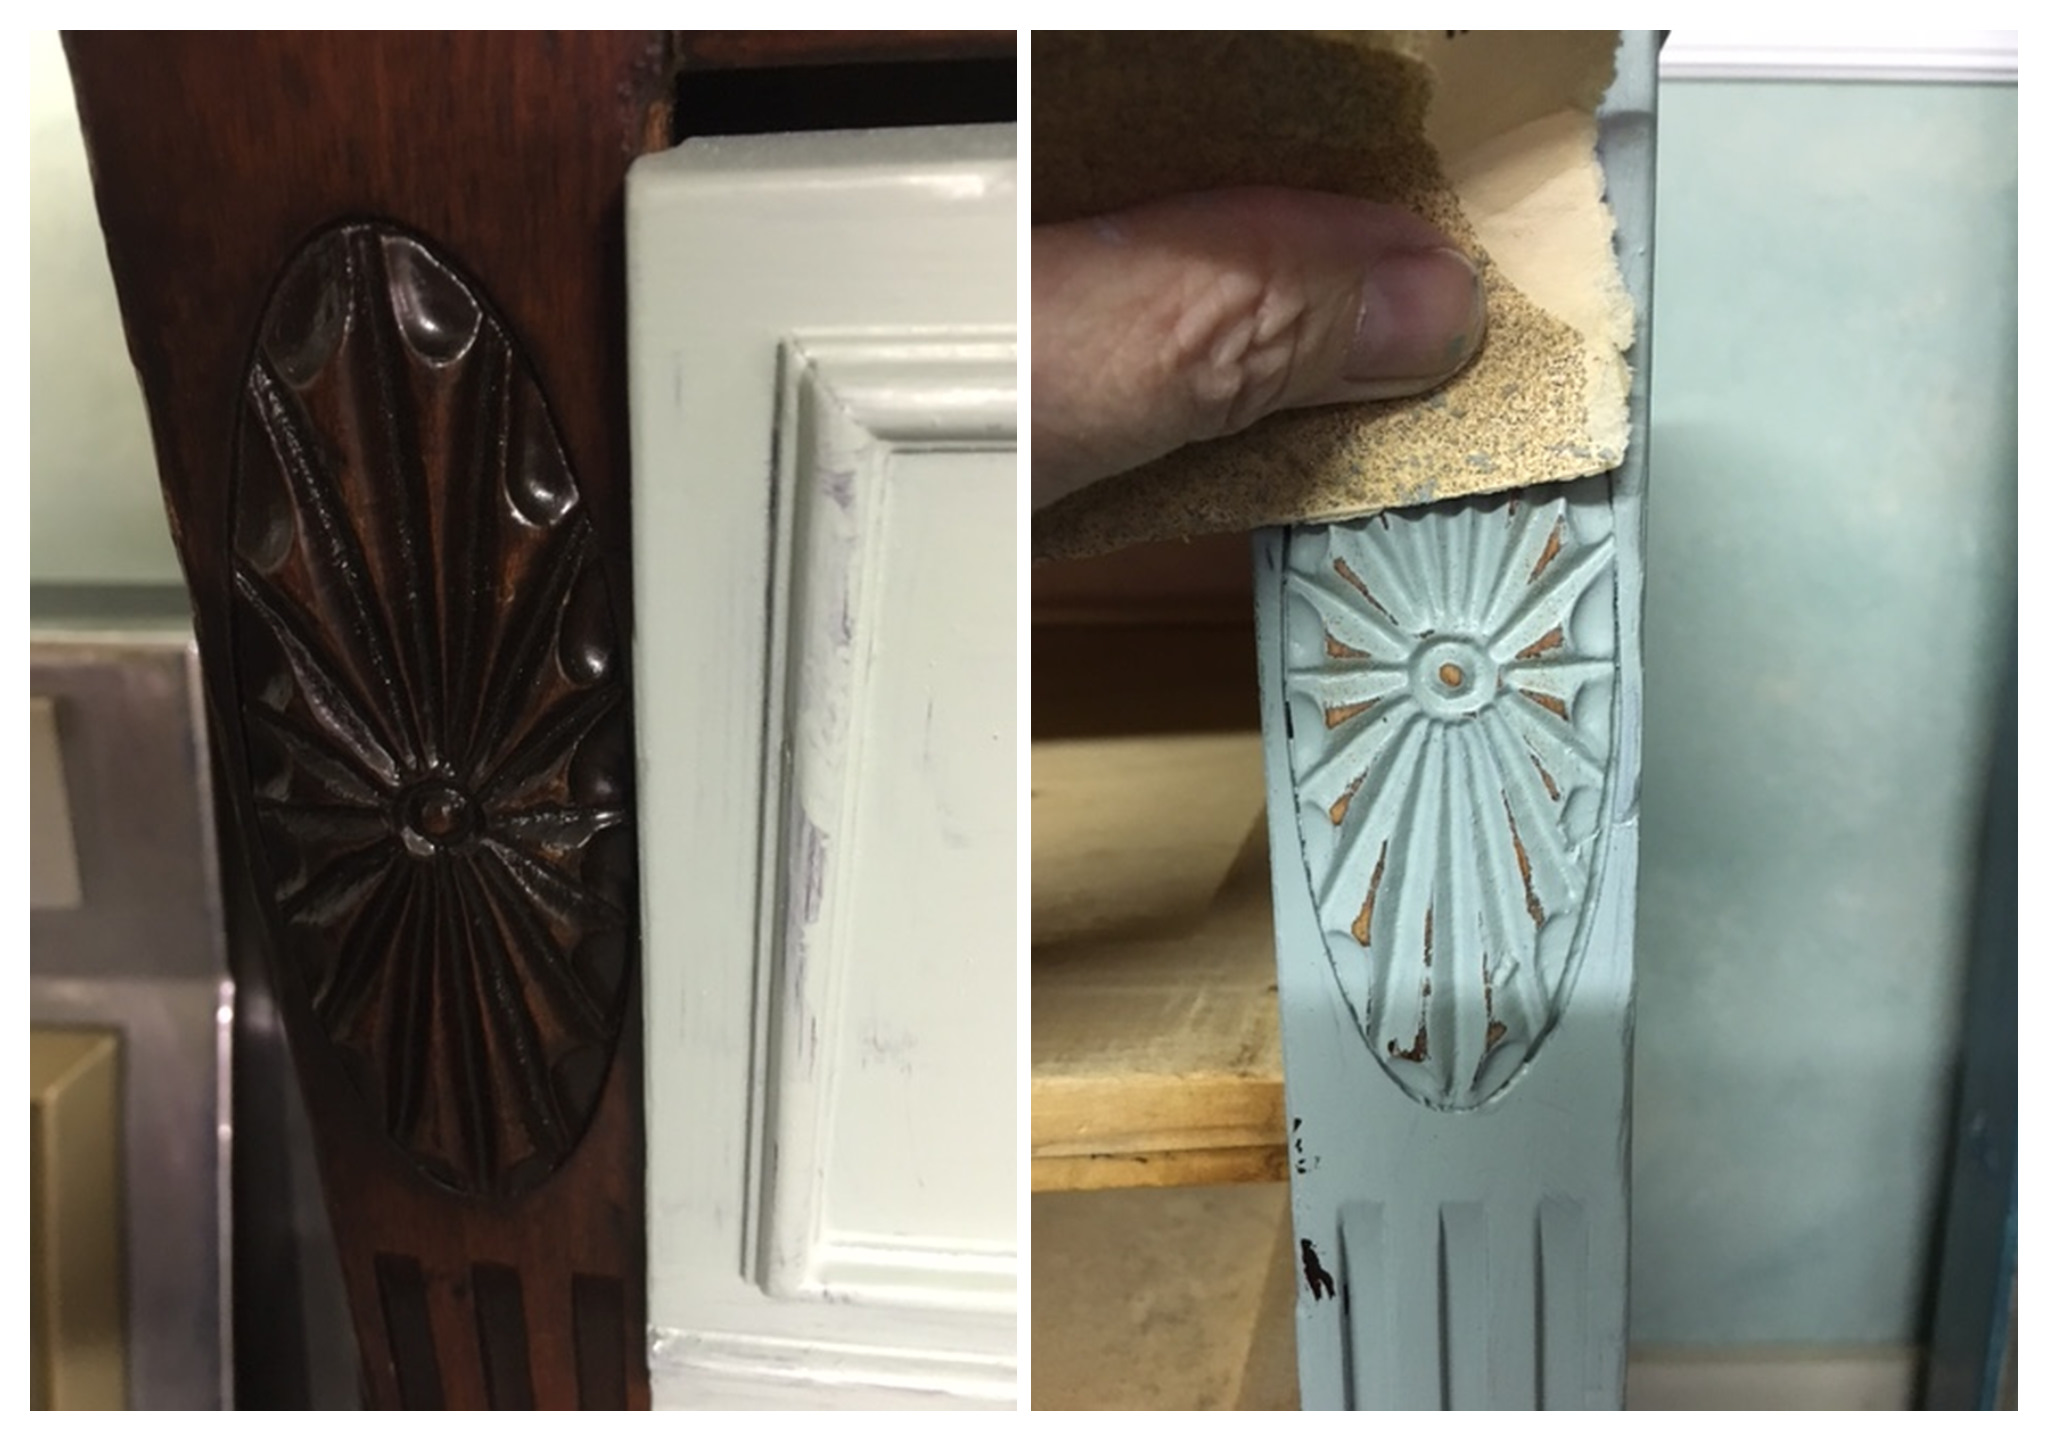
 The next piece was a dresser that my friend wanted to match to the bed even though they originally didn’t go together. I first planned to paint the entire dresser but as I examined the wood I didn’t want to cover it all. The top was in great condition and had such a shiny varnished surface. I knew it would be better to leave it alone. The parts of the dresser that framed the drawers were also left with the original wood . I experimented with leaving the middle panel of wood on each drawer and the cabinet with the original wood but ended up painting that later. I kept on the original hardware & added some rub on bronze to help them tie in with the bronze accents on the metal lattice on the headboard.

 Next I painted a matching nightstand and mirror.
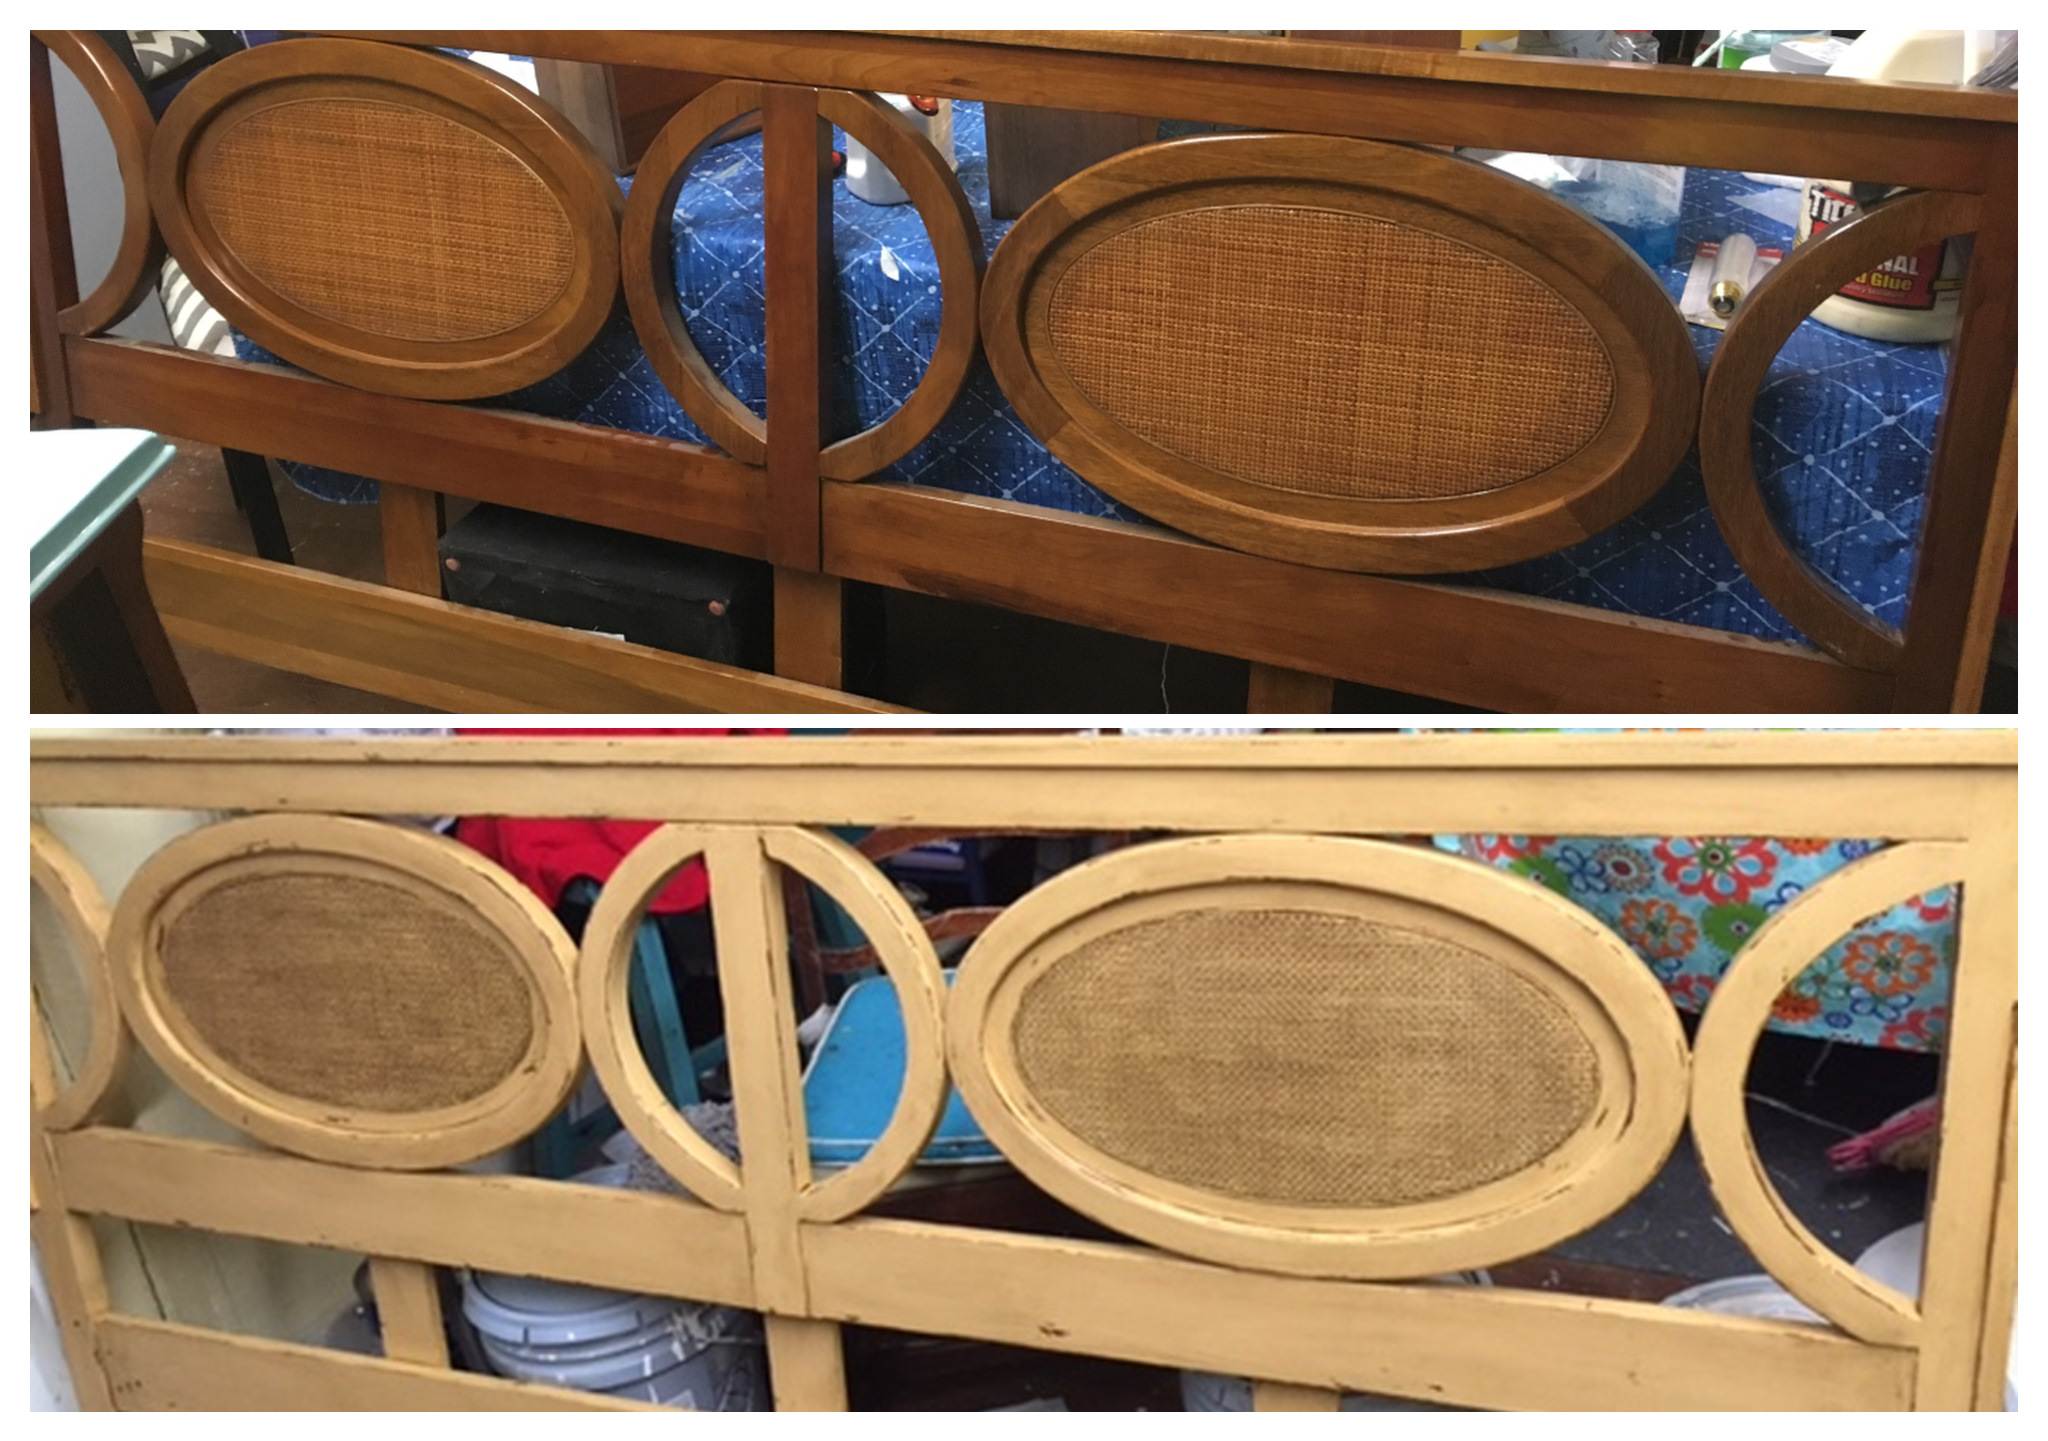
 Another furniture piece was this headboard for another bedroom. It is a very unique piece and had bamboo inserted in the center ovals. I painted both front and back with Sherwin Williams Viva Gold. I sealed it with a clear and dark wax.


 My
My