This coffee table is very special to me because it was in my house growing up. The legs on each side look like half a wagon wheel. For years I used it in my classroom and when I retired I gave it to my daughter. I had some old map wrapping paper and scrapbook paper that I have been wanting to use and I wanted to try out some new wax products and techniques. I painted the top of the table a light grey. Then I cut up some of the map papers and experimented as to which ones I would use and how to lay them out. Because of it being a coffee table I wanted the maps to go all different directions since you would be seeing it from different angles. I decided it would be best to not have the paper go into the 3 grooves that separate each board of the table. This made it easier for lining up the papers and for giving me 4 areas to work with at a time when I did the actual decoupaging with Mod Podge. It was very hard to make it smooth especially since some of my pieces were large. I would recommend doing smaller pieces and using thicker paper. I used Valspar clear wax over the top after the Mod Podge dried. Then I put Valspar antiquing wax (dark) over it the next day and rubbed it off with cheesecloth. This technique does work well with a decoupaged surface and acts as a durable coating. But I still had to put a few layers of thick polyurethane to make it smoother and to protect it from my grandkids that tend to be very hard on furniture. My daughter is happy with it and the 1st picture shows it in her home.
Update: This was one of the few pieces of furniture that my daughter was able to save in the flood of 2016 in Louisiana. She put this up on a couch before leaving her home when the water was rising.

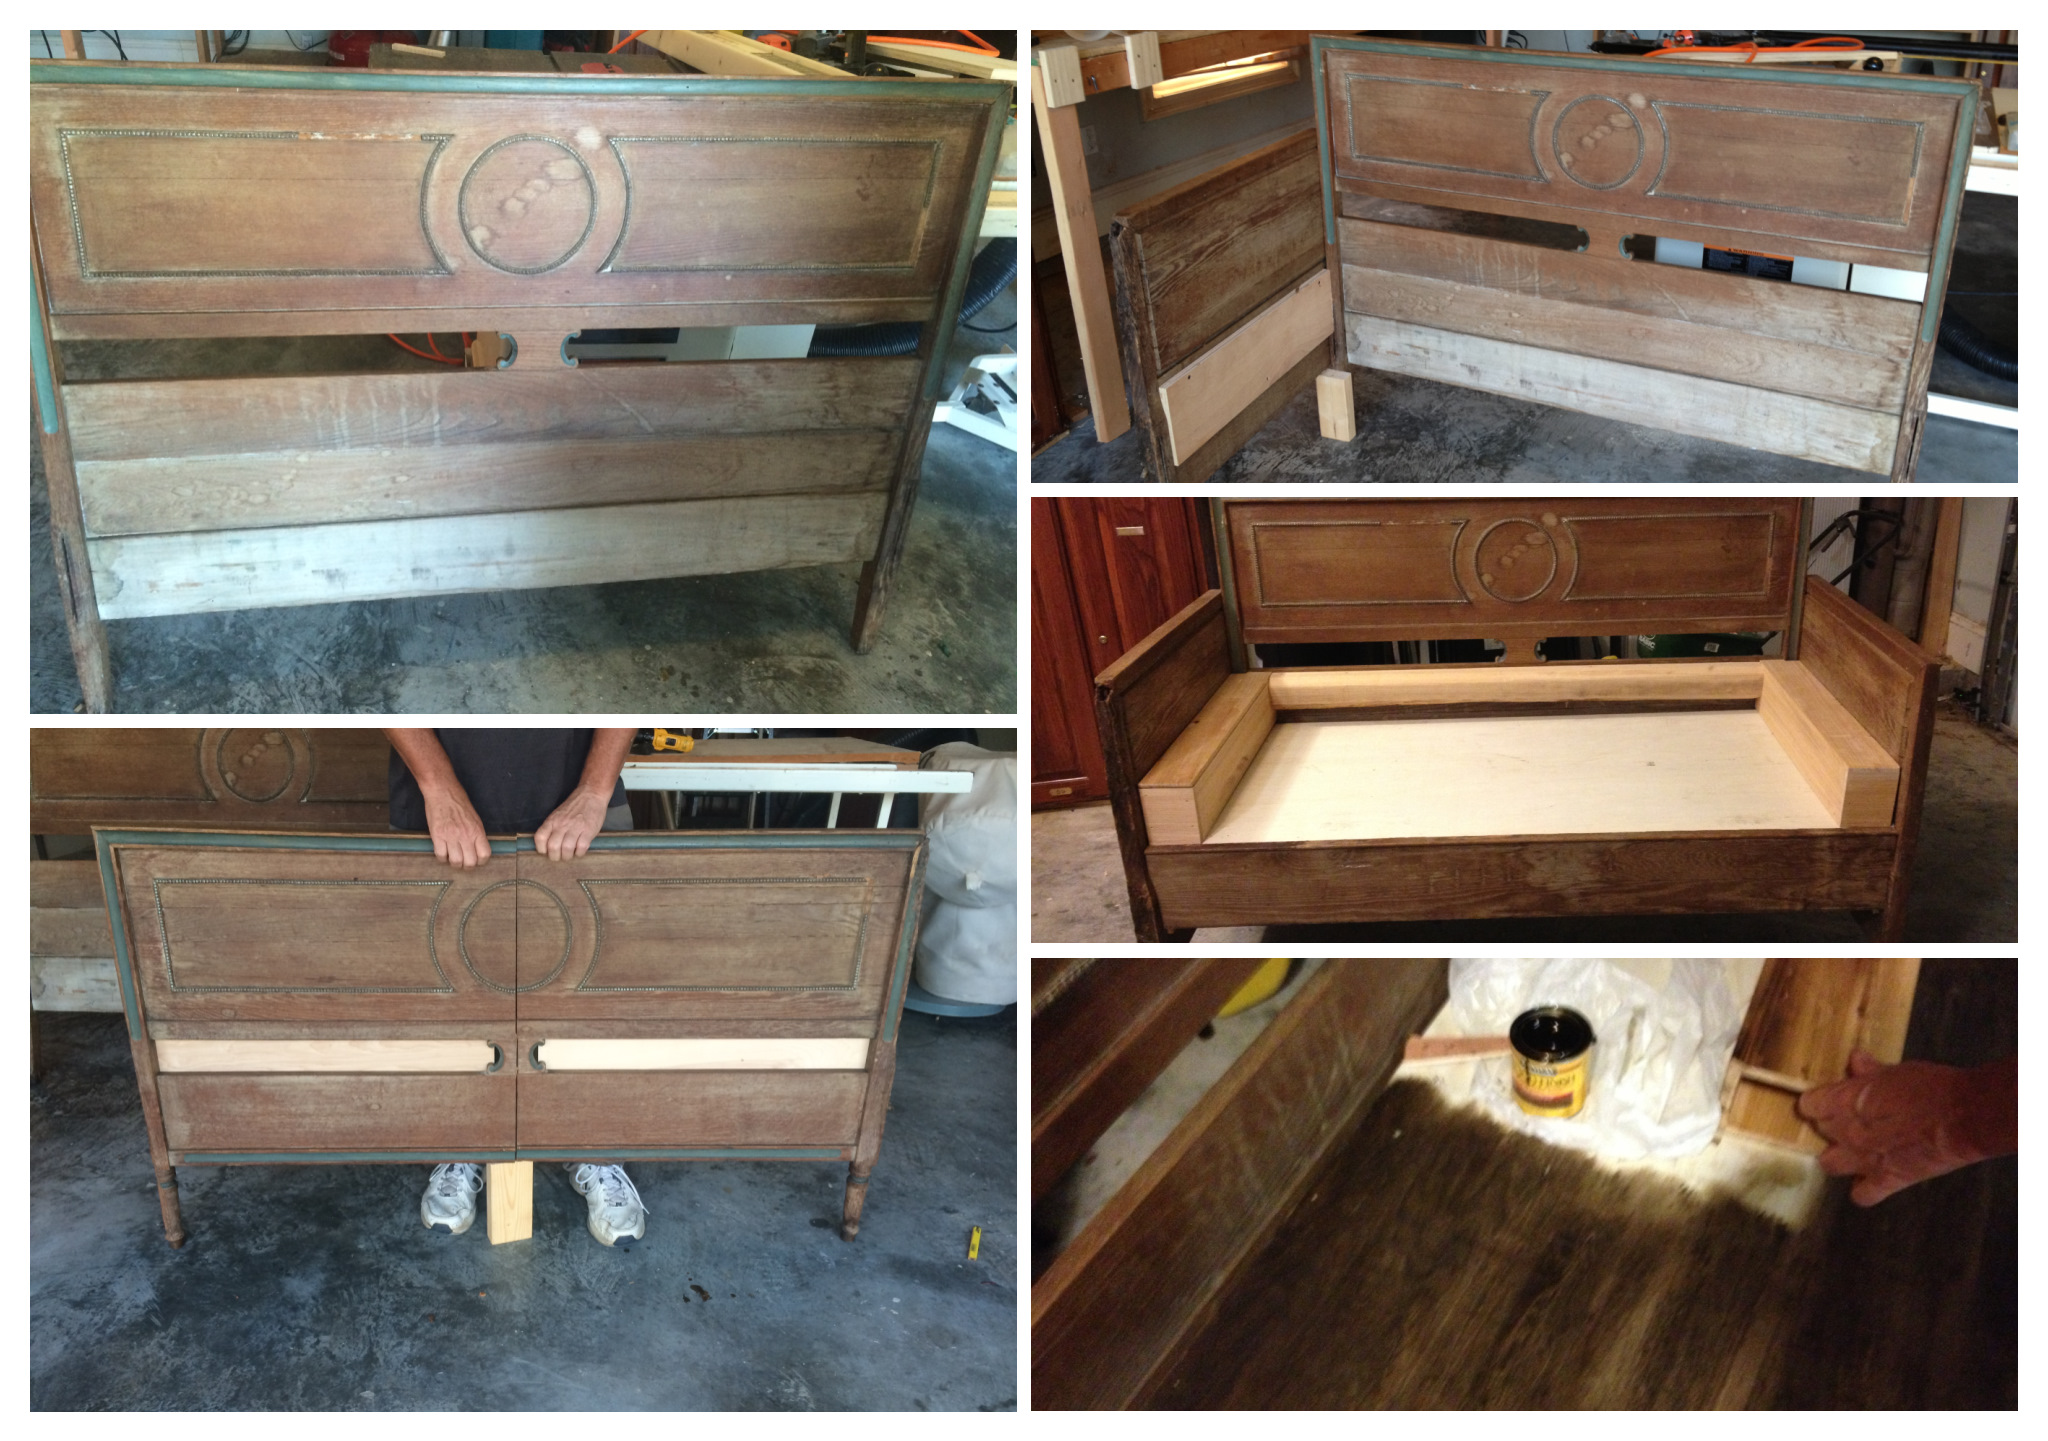
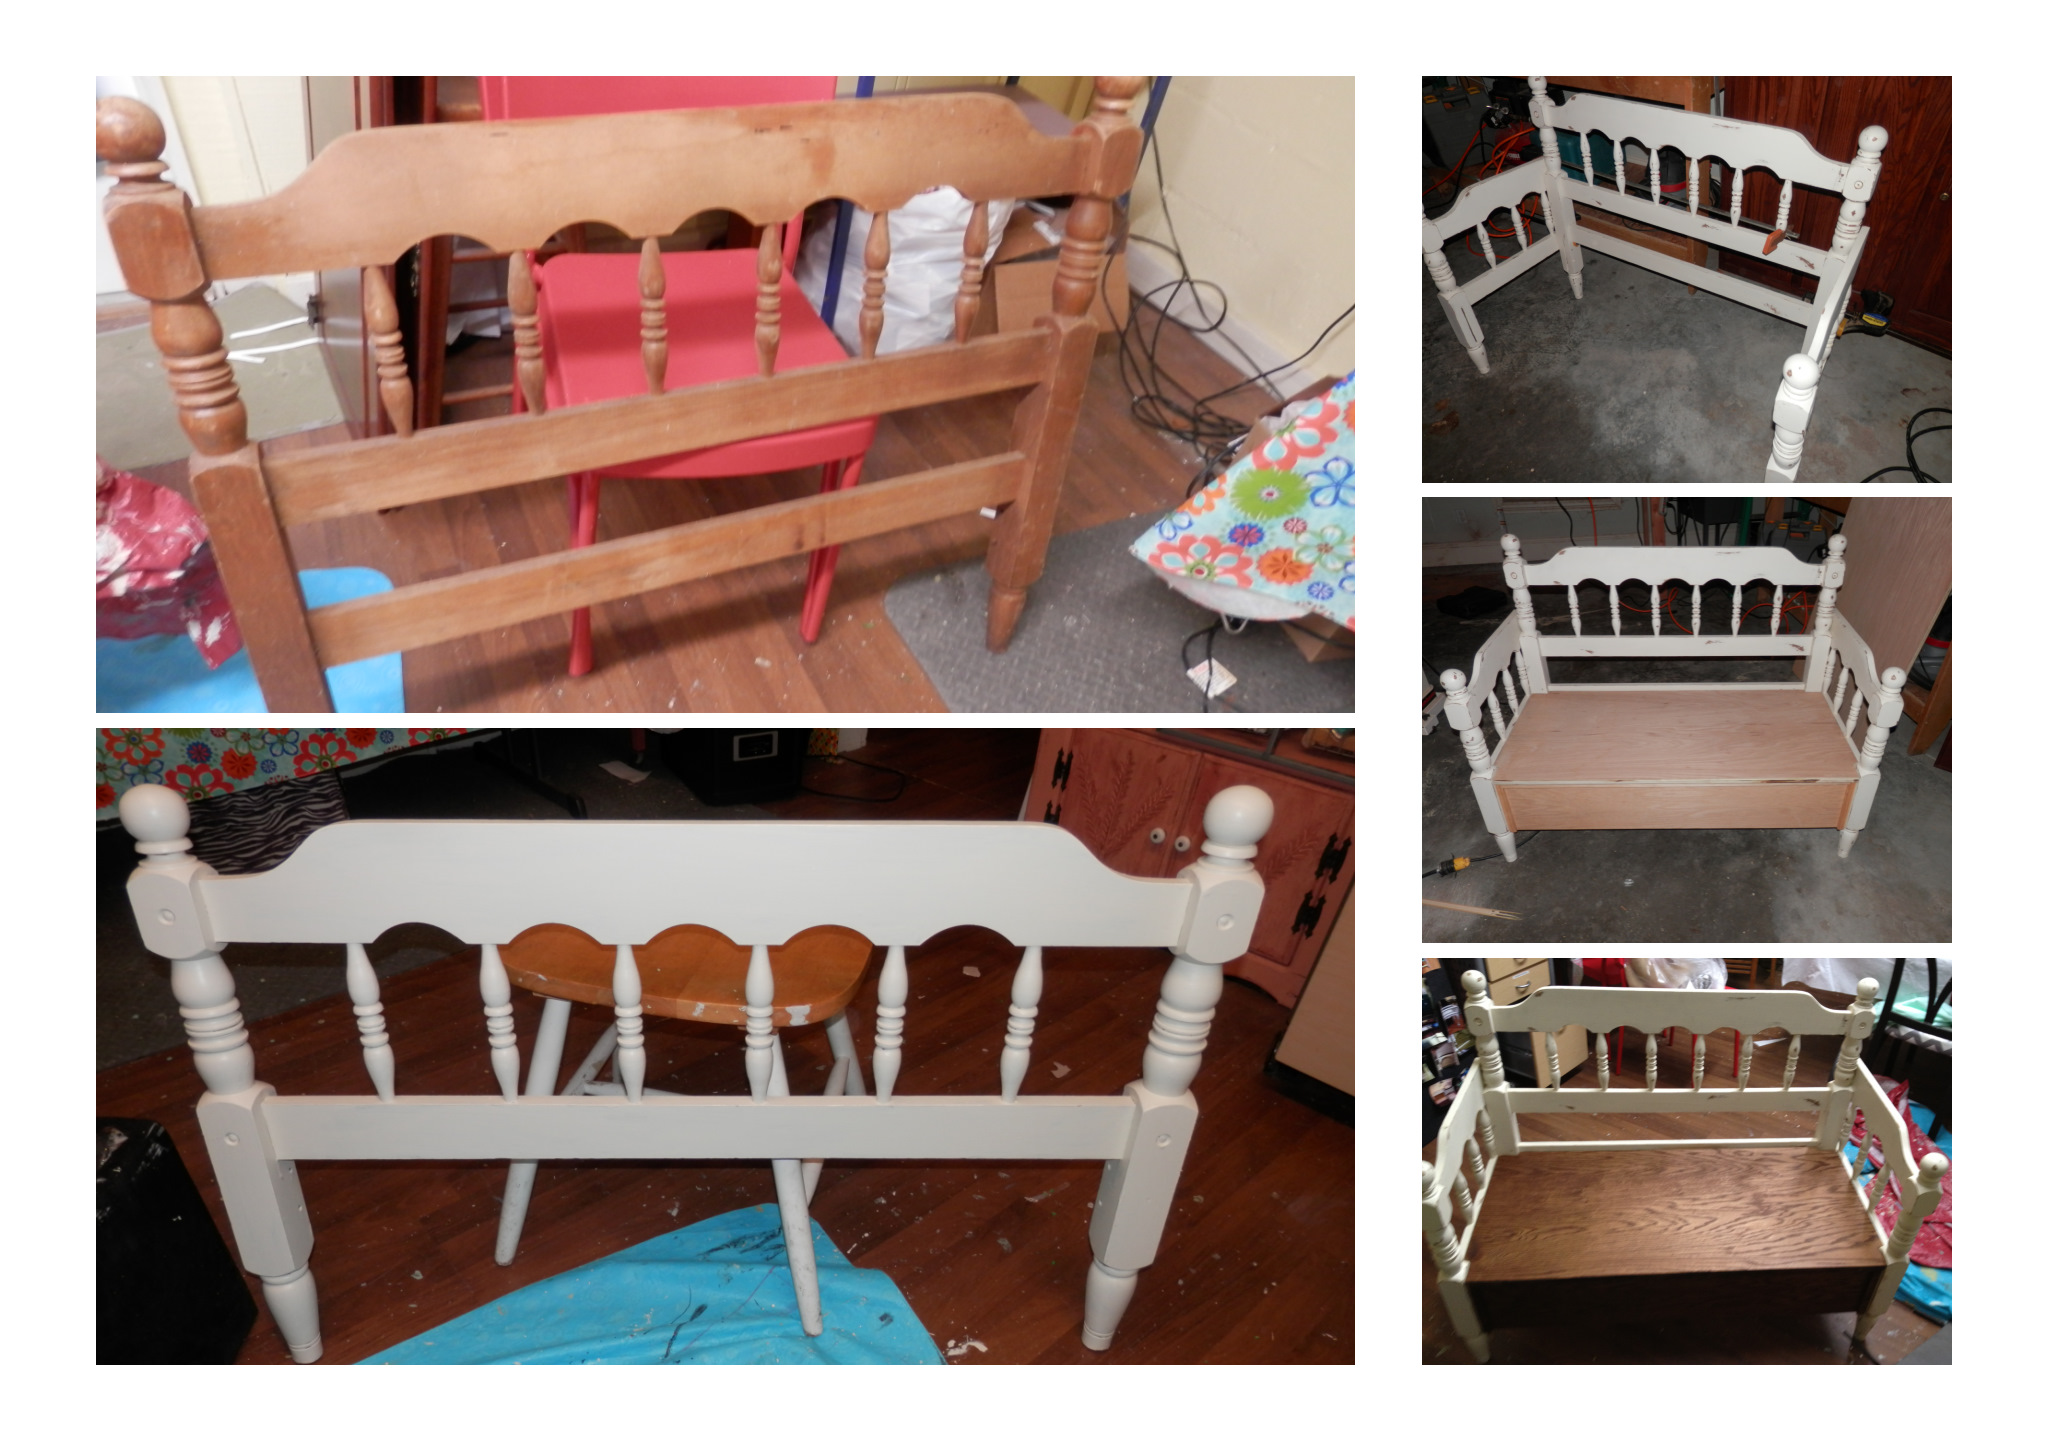
Collage of before pic and process of getting paper/maps ready
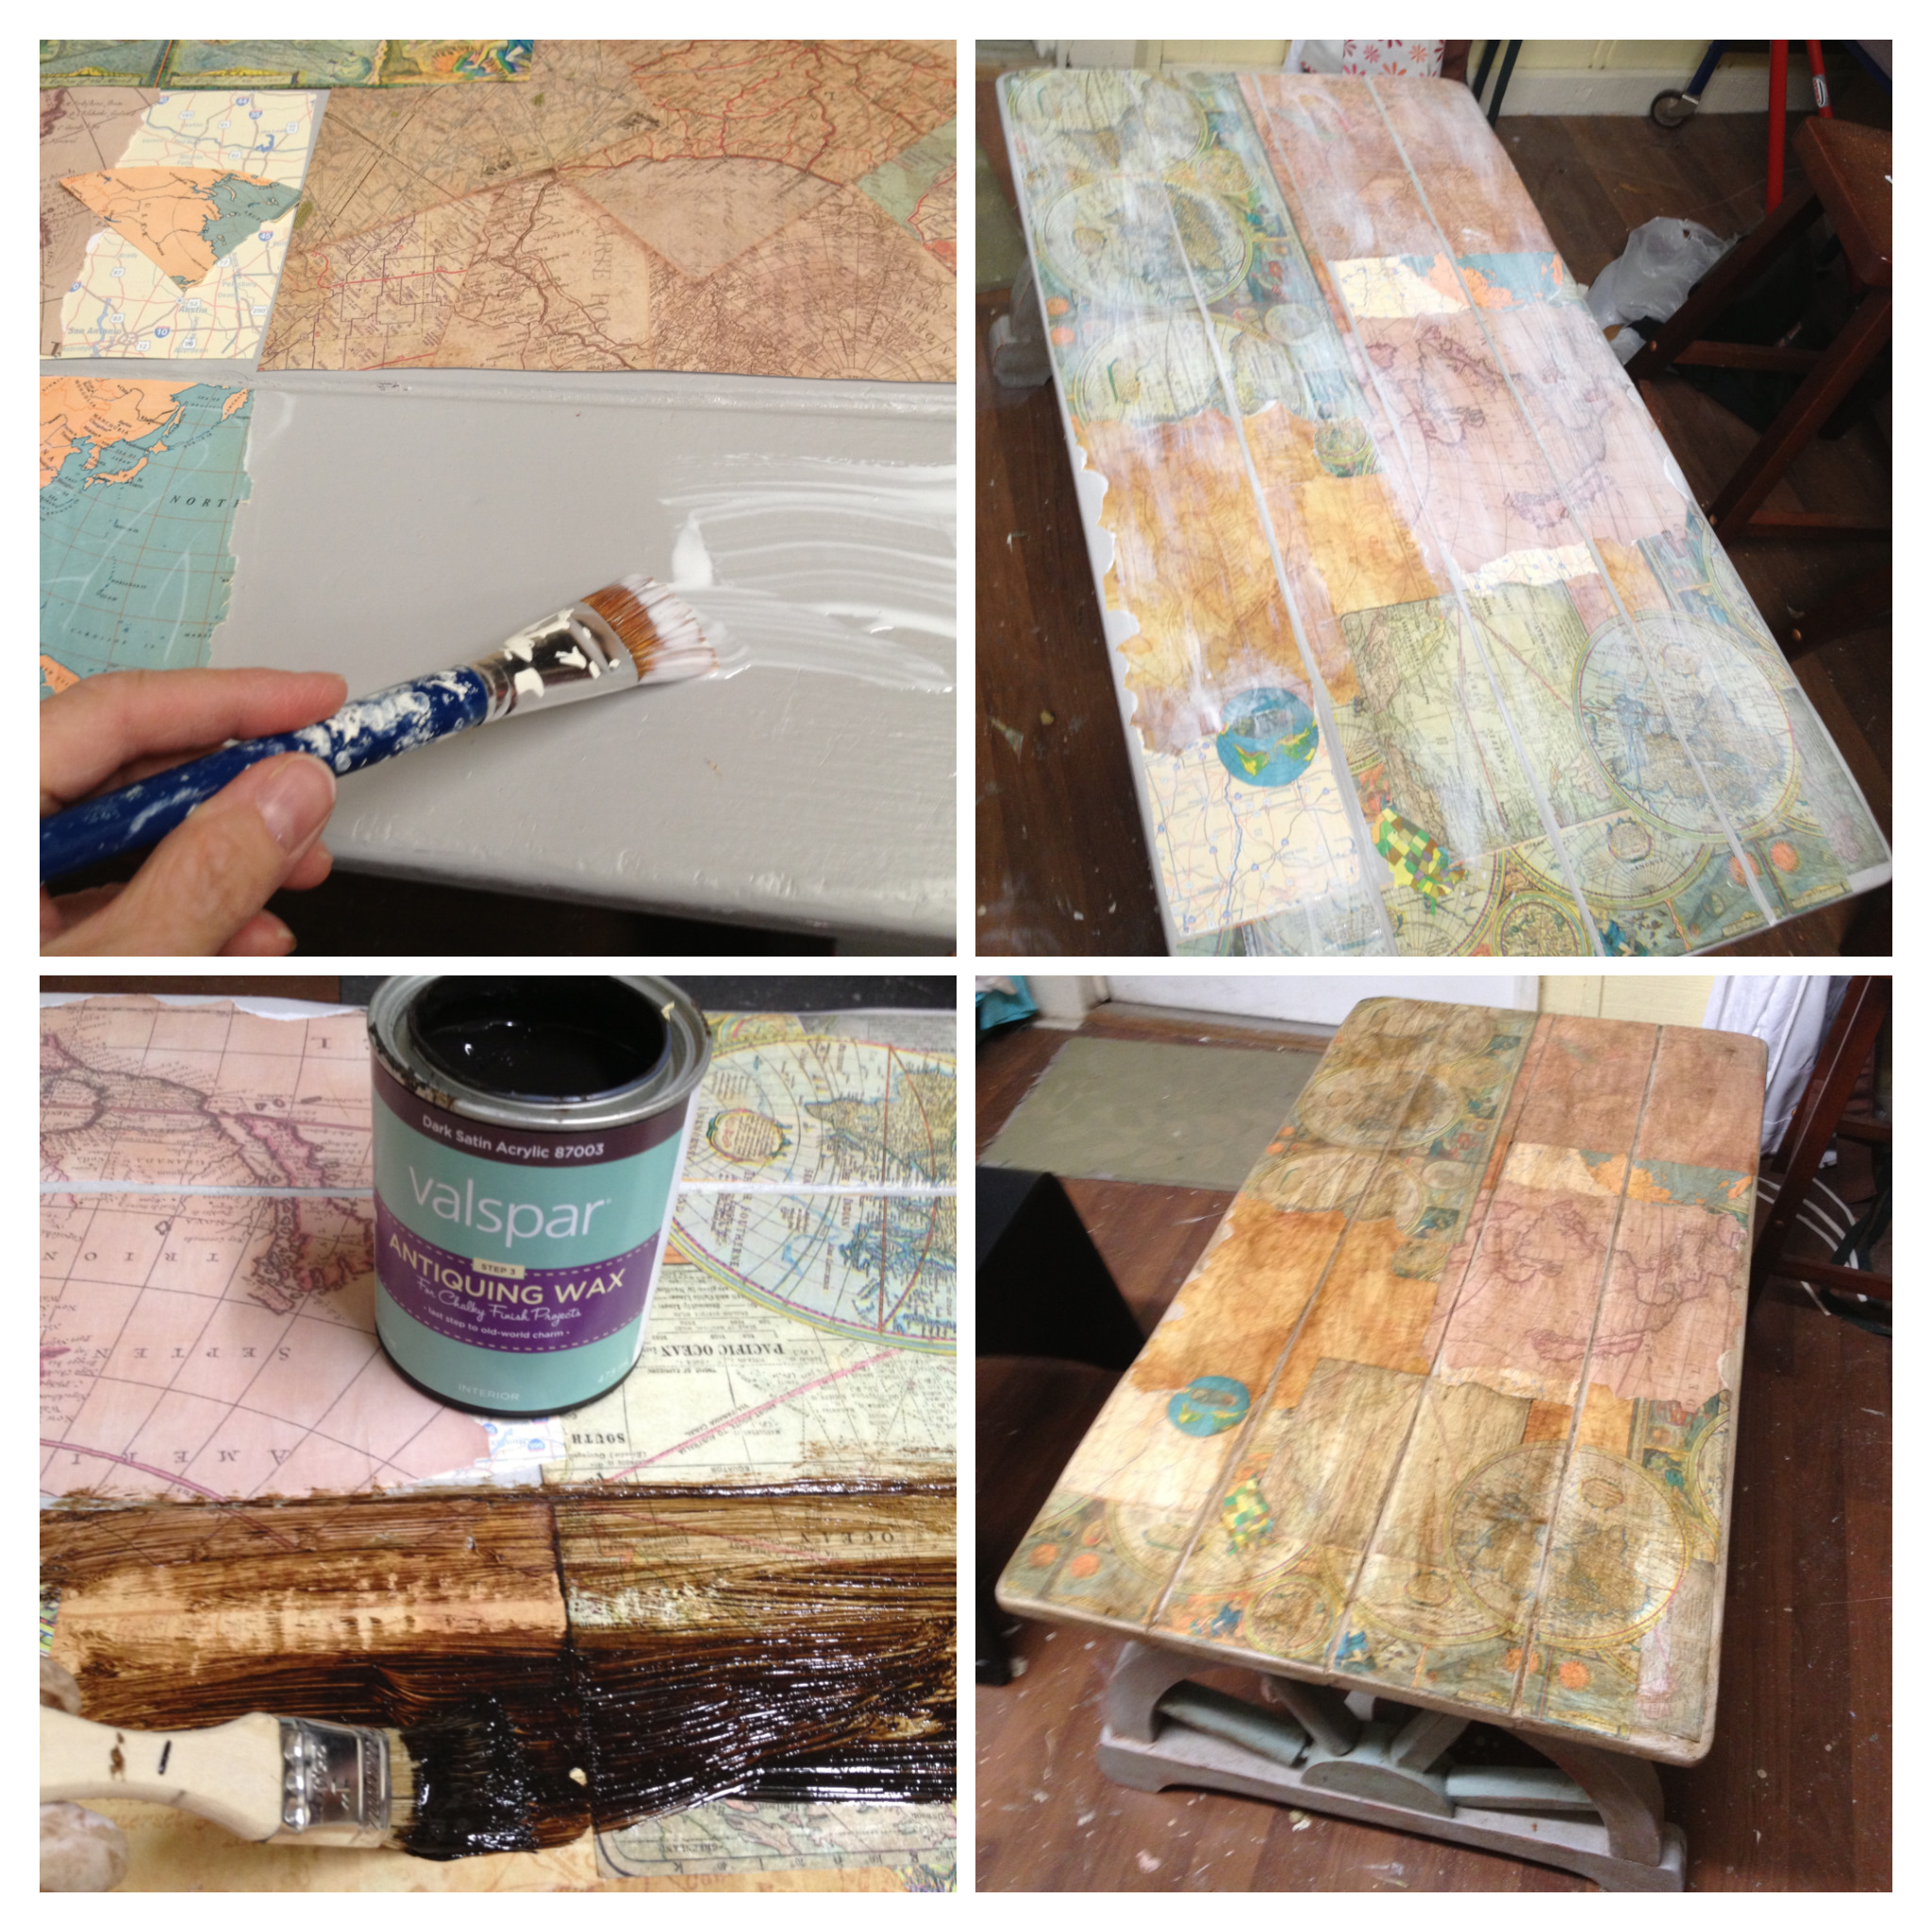
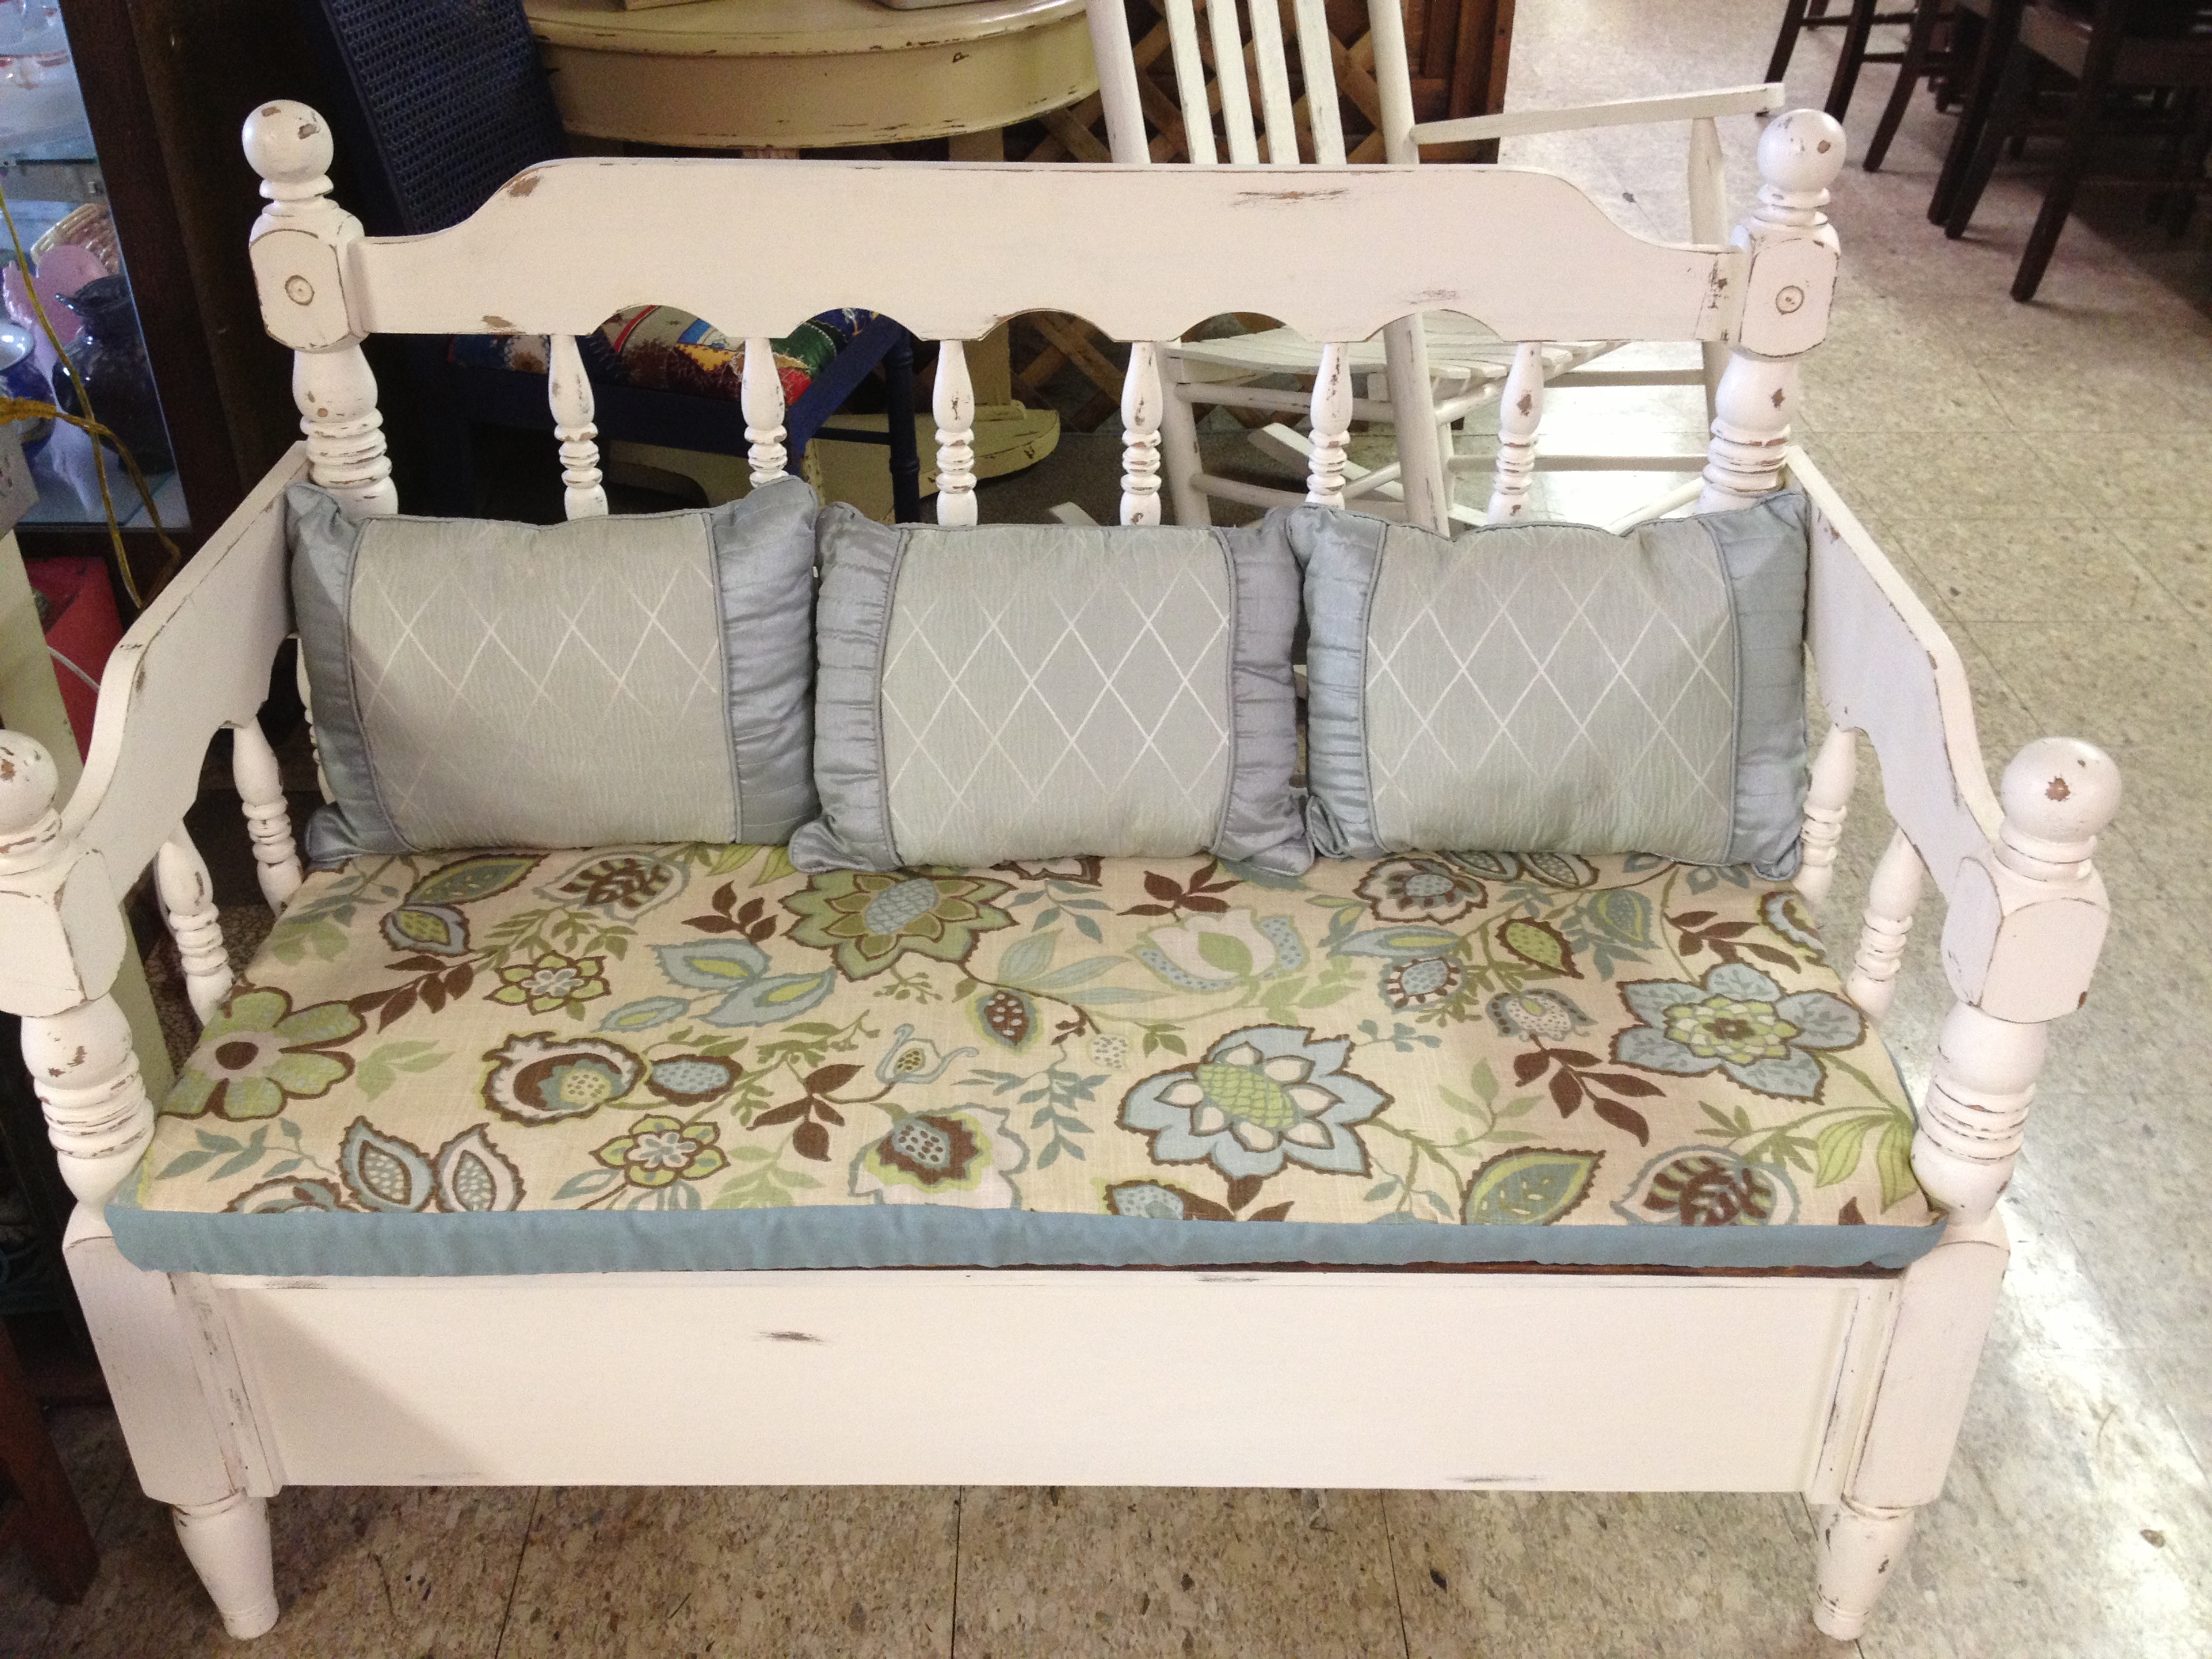
collage of the decoupaging process