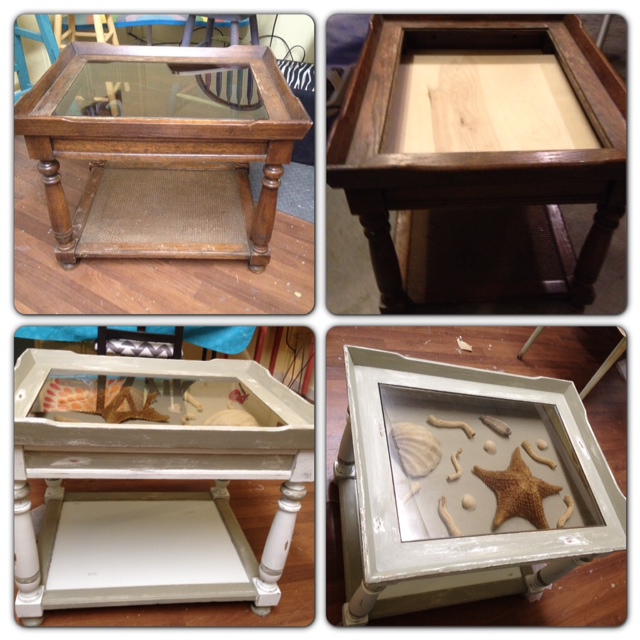
Before pic of buffet
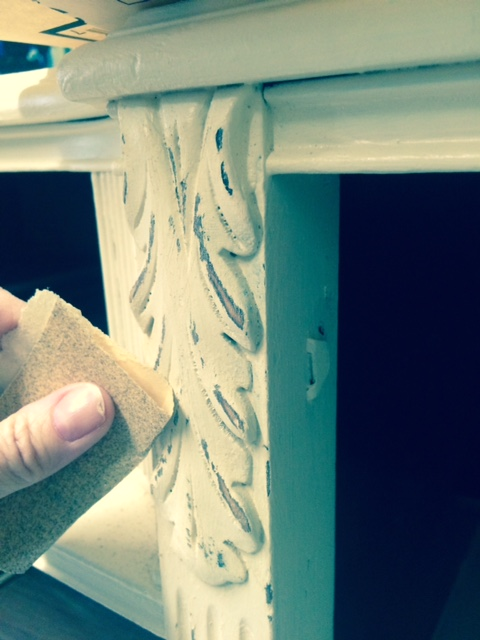
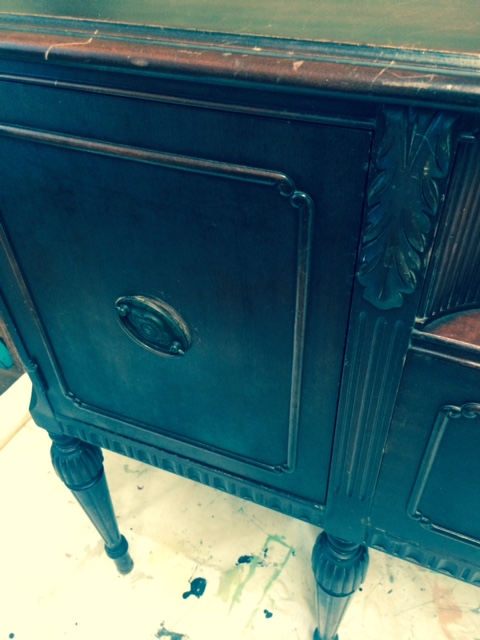 This antique buffet was passed down to my husband and I when we got our first house 34 years ago. It first belonged to my grandparents and then to my parents. I have always loved it even though I had to keep a runner on the top to cover up the bad areas and one of the side cabinet doors wouldn’t open most of the time. We recently painted the interior of our house and as always that started a wave of other changes such as putting up some new pictures on the wall and updating and redecorating. I decided to make a change with this piece which was not easy for me, being that is was such an old piece and part of my family for so long. The designs in it are spectacular and just were not being noticed with its dark color. My husband encouraged me to do it and I am glad now that I did it. I painted it a stone color (matching our living area which is adjoining the room it is in). The sanding of all the ornate areas was the hardest and seemed to take forever. Then I put a coat of clear wax and dark wax. The dark wax as you will see in the picture made the biggest difference. I also added some filigree round pieces that I had found years ago in an antique store and knew one day I would find just the right place for them. I took the original top drawer knobs and put these with the filigree piece on the cabinet doors. So I had to use two new knobs on the top drawer but all the rest was original to the piece. Now both cabinet doors open with ease. We love the way it came out and the new color and antiquing shows off the beautiful structure and designs on the piece.

Before the dark wax


After the dark wax – See how much better it shows up the designs

It was a challenge covering up these bad marks on the top of the buffet. I finally tried primer just on this area and that worked.

This shows the pretty round filigree that I put behind the knob.
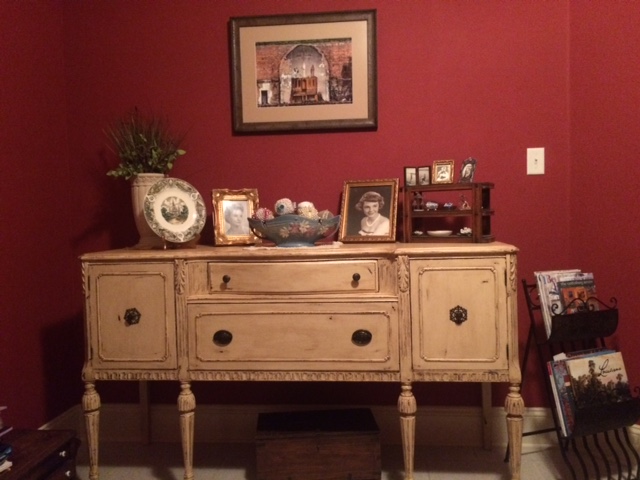
The finished piece in my home.